background image

0

Select Your System Settings

NOTE:  When the console is turned on, its default setting 
is factory default unless a Surgeon Preference setting is 
selected as the start up default.  See Surgeon Preference for 
further details.

.

  Handpiece select buttons enable you to activate the 

handpiece plugged into one of the three ports on the 
front of the console.  

To display the control screen for 

the handpiece plugged into the TPS port, touch the 
corresponding handpiece select icon. 

 The icon highlights 

and appears pressed down.  


NOTE: Selecting a handpiece icon activates the 
corresponding handpiece and displays its specific control 
screen.

2.  Change the maximum handpiece speed.

  Press the 

adjustment arrows to change the handpiece speed setting 
incrementally until the desired speed is reached. 


• Saws - The set point is displayed as a percentage of 
maximum power and vertical line on the speed ramp.  During 
handpiece operation, the percentage reading and  speed 
ramp displays the power level.


• Rotary handpieces - The speed set point is displayed.  
During handpiece operation, the current speed is displayed.

3.  Select various settings as desired.

  Refer to the control 

screens on the following pages for details for each 
handpiece.

4.  Select the OPT icon to access the MAIN OPTION screen.  

This screen allows access to general console and user 
settings as well as direct access to each handpiece option 
screen.


NOTE: The screen returns to the active handpiece 
adjustments screen when the handpiece name is touched.

5.  Touch the EXIT icon to return to the active handpiece 

control screen.

Handpiece Irrigation

Irrigation  functions  pertain  only  to  Irrigation  Console  REF 
500-50.

Press  the  icon  to  start  irrigation  flow  while  the 
handpiece is running.  

If irrigation is desired while the handpiece is stopped, press and 
hold the icon until the pump is activated.  The pump can be turned 
off by touching the icon again.

Irrigation flow rate can be adjusted from the HANDPIECE screen 
or the HANDPIECE ADJUSTMENTS screen.

From  the  HANDPIECE  screen,  toggle  the  SPEED 
icon  to  WATER  before  using  the  arrows  to  adjust 
flow rate.

-OR-

From the HANDPIECE ADJUSTMENTS screen, select 
the WATER icon and use the arrows to adjust flow 
rate.  Flow rate diminishes as the setting approaches 
zero.  

NOTE:    Flow  rate  may  vary  among  handpiece 
models.

The pump can also be turned on and off with the footswitch.

Main Option Icon

The  option  icon  appears  on  all  handpiece  screens 
and allows access to the MAIN OPTION screen.  See 
MAIN OPTION SCREEN for further details.

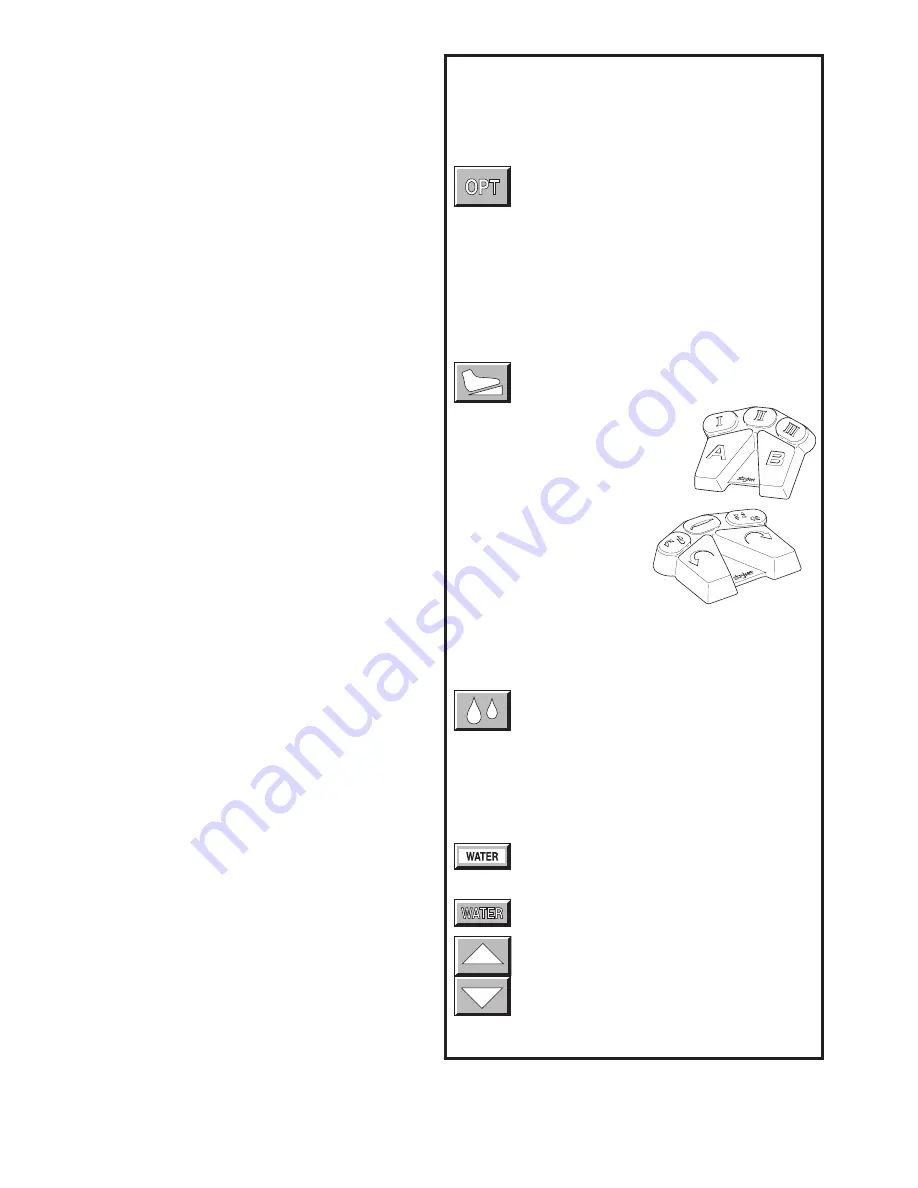
Footswitch Icon

The footswitch icon only appears when a footswitch 
is plugged into the console.  

If using a footswitch with these graphics, 
pedal functions can be reprogrammed.  
See Footswitch Adjustments and Footswitch 
Button Mapping.

A footswitch with these graphics
cannot be reprogrammed.

Standard Features

Summary of Contents for TPS 5100-1

Page 1: ... answers to questions about other equipment see the information supplied with that equipment 4100 E Milham Kalamazoo Michigan USA 49001 1 800 253 3210 1 269 323 7700 www stryker com 5100 001 709 Rev F 10 05 V e r s i o n 4 x US Patents D398 598 D415 134 5 543 695 5 689 159 6 017 354 6 025 683 6 045 564 6 329 778 and other patents pending European Authorized Rep RA QA Manager Stryker France ZAC Sat...

Page 2: ... 12 Rotary Handpiece Screen TPS Universal and MicroDrills TPS MicroDriver 13 Stryker Endoscopy and Leibinger Handpiece Screen SE5 hand controlled Endo Shaver QuadraCut Shaver QuadraCut Bone Plug and QuadraCut Small Joint Hummer 4 Formula 6K Micro 12K Micro 14 Other Screens Main Option Screen 15 System Information Screen 16 Handpiece Adjustment Screen 17 Console Adjustment Screen 18 Footswitch Adju...

Page 3: ...nse to use the software in the product in which the software was initially installed Any license granted by Stryker Corporation to use the software contained in its products does not give the licensee the right to copy alter disassemble reverse engineer create derivative works of such software or to use such software in either original or modified form in any product other than the Stryker Corpora...

Page 4: ...nformation literature a cutting accessories guide additional TPS maintenance manuals and component instructions by dialing 1 800 253 3210 Outside the U S A contact your nearest Stryker subsidiary See the TPS Cleaning Maintenance and Sterilization Recommendations booklet for care information Warning Caution Note This symbol is used to alert the reader to important safety and precautionary informati...

Page 5: ...ge to tissue in the surgical site due to loss of control of the bur Burs and blades are intended for single use only Excessive pressure such as bending or prying may cause acces sory to bend or break and cause tissue damage to patient and or operating room staff Heavy sideloads and or long operating periods occasionally will cause overheating of the distal tip and the body of handpieces to the poi...

Page 6: ...ort 2 TPS1 TPS Handpiece Port 1 Symbol Definition Footswitch Connector The Stryker Total Performance System is intended for use in the cutting drilling decorticating and smoothing of bone and other bone related tissue in a variety of surgical procedures It is also used for the placement or cutting of screws wires pins and other fixation devices as it can be used to cut metal TPS console powers mul...

Page 7: ...nt REF 275 601 NOTE If using a TPS Universal Handswitch attach it to the handpiece before you plug the cord into the handpiece 7 Plug the other end of the handpiece cord s into the handpiece s 8 Attach cutting accessories to handpieces Instructions supplied with each handpiece or attachment provide details for cutting accessory assembly WARNING Use only Stryker approved cutting accessories 9 If us...

Page 8: ...ble with the TPS console or a faulty or damaged handpiece or cord This example shows that no handpiece is attached to the cord plugged into the TPS2 port TPS Start Up Screen This display appears on the screen every time the console is turned on This display remains on the screen until a cord is plugged into one of the TPS handpiece ports or the OPT button is depressed If a handpiece cord is plugge...

Page 9: ...highlights to indicate that it is activated See Icon Definition NOTE An audible signal indicates interface with icons NOTE Buttons such as the adjust arrows or OPT button which are temporary toggles or adjustment buttons only highlight while depressed NOTE Buttons with a white background are toggle buttons NOTE Options vary among different handpieces The console will only display the options avail...

Page 10: ...nsole and user settings as well as direct access to each handpiece option screen NOTE The screen returns to the active handpiece adjustments screen when the handpiece name is touched 5 Touch the EXIT icon to return to the active handpiece control screen Handpiece Irrigation Irrigation functions pertain only to Irrigation Console REF 5100 50 Press the icon to start irrigation flow while the handpie...

Page 11: ...e a white background Speed Use with the increase and decrease icons to adjust rotary handpiece speed Water Use with the increase and decrease icons to adjust irrigation flow Power Use with the increase and decrease icons to adjust saw power Variable Handpiece speed responds to varying degrees of pressure on the footswitch or handswitch Nonvariable Handpiece operates at constant set point speed pow...

Page 12: ...reen METHOD OF OPERATION Saws can be operated with the TPS Universal Handswitch or TPS Footswitch Handswitch Handpiece selection can be made by depressing the handswitch once The handpiece select icon changes to indicate the active handpiece Depress the handswitch again to run the handpiece Handpiece runs from start up to the maximum selected speed Footswitch Handpiece runs from start up to the ma...

Page 13: ...ezing both triggers simultaneously runs the handpiece in the oscillate mode The oscillate icon will become highlighted Footswitch Handpiece runs from start up to the maximum selected speed The direction icon on the screen changes when the corresponding footswitch pedal is depressed Footswitch operation overrides handpiece settings Example If the footswitch reverse pedal is depressed while the hand...

Page 14: ...ars when a Formula handpiece with cutter recognition is selected The oscillate mode is selected and Set Speed is set at 1 800 RPM TPS1 TPS2 and the footswitch icons indicate that other instruments are plugged into the console WARNING Read and understand the Stryker Endoscopy handpiece instruc tions If instructions were not supplied with your handpiece refer to the appropriate Stryker Endoscopy Ope...

Page 15: ... only when handpieces are plugged into the corresponding console ports A handpiece must be plugged in to program its settings To go to the HANDPIECE ADJUSTMENT screen touch the option button that corresponds to the desired handpiece Refer to HANDPIECE ADJUSTMENT The MAIN OPTION screen also gives DIRECT access to Refer to SURGEON PREFERENCE Refer to CONSOLE ADJUSTMENT Refer to SYSTEM INFORMATION EX...

Page 16: ... Screen Selecting the INFO icon from the MAIN OPTION menu displays the part numbers and revision levels of the configured system components This information is used as a diagnostic aid only Return to the MAIN OPTION screen ...

Page 17: ...de where the number of turns are based on the speed of the handpiece Water At 100 irrigation volume is greatest Volume decreases as the setting approaches zero ATTACHMENT Use the arrow icon on the left to scroll through the list of attachments Select the attachment that is assembled to the handpiece by stopping on it Selecting the proper attachment will optimize the performance of the handpiece fo...

Page 18: ...l is louder at higher settings Use the BIG SCREEN toggle button to select one of the following options Automatic A big screen is displayed while the handpiece is running and automatically returns to the full screen when handpiece stops On The big screen is continuously displayed It can be temporarily switched back to the full screen by touching the Full Screen icon which appears in the lower right...

Page 19: ...modate the surgeon s preferences The left and right toggle icons correspond respectively to footswitch pads A and B Press each icon to scroll through the following function options and stop on the desired setting Off Pedal is turned off Default Footswitch defaults to the settings selected on the handpiece screen Forward Pedal setting default is overridden Pedal will provide handpiece rotation in t...

Page 20: ...lts to the settings selected on the handpiece screen Handpiece operates in the high speed range Handpiece operates in the low speed range Handpiece operates in oscillate mode RUN MODE Footswitch defaults to the settings selected on the handpiece adjust screen Variable Variable speed control Speed responds to varying degrees of pressure on the footswitch Nonvariable Handpiece operates at a constant...

Page 21: ...peed Water increment Increments the pump flow set point Water decrement Decrements the pump flow set point Water on off Toggles the pump on off button If pressed and held the pump can be turned on without running the handpiece Once started the pump can be stopped by pressing the button again or by starting the handpiece Button Function Description Osc High low Toggles the run mode between oscillat...

Page 22: ... Upon completion select ENTER 3 Use the key pad to enter the procedure name 4 Upon completion select ENTER The screen returns to the SURGEON PREFERENCE screen 5 Toggle padlock icon so that the padlock appears open 6 Select LOAD 7 Configure system settings 8 Upon completion return to the SURGEON PREFERENCE screen 9 Toggle the padlock icon so that the padlock appears locked NOTE If the padlock icon ...

Page 23: ...itch fault detected right pedal will be disabled Unplug Footswitch from console and plug in again Contact your Stryker service representative If problem persists return footswitch to Stryker for repair Error 005 Footswitch fault detected left pedal will be disabled Unplug Footswitch from console and plug in again Contact your Stryker service representative If problem persists return footswitch to ...

Page 24: ...cial distance Plug the TPS console and other operating room equipment into different outlets Environmental Conditions These conditions apply to all components of the TPS system unless otherwise specified in the information supplied with that device Environmental Conditions Operation Storage and Transportation Temperature Relative humidity Atmospheric Pressure Specifications listed are approximate ...

Page 25: ...e following standards and or other normative documents SAFETY art 3 1 a IEC 60601 1 1995 Medical Electrical Equipment EMC art 3 1 b EN 301 489 3 v1 3 1 Specific Conditions for Short Range Devices SRD operating on frequencies between 9 kHz and 40 GHz SPECTRUM art 3 2 EN 300 330 2 v1 1 1 Harmonized EN Covering Essential Requirements Under Article 3 2 of the R TTE Direc tive OTHER ANSI C95 1 Safety L...

Page 26: ...lass B Class A Complies Electromagnetic environment guidance The TPS Console uses RF energy only for its internal function Therefore its RF emissions are very low and are not likely to cause any interference in nearby electronic equipment The TPS Console is suitable for use in all establishments including domestic establishments and those directly connected to the public low voltage power supply n...

Page 27: ...y part of the TPS Console including cables than the recommended separation distance calculated from the equation applicable to the frequency of the transmitter Recommended separation distance d 1 67 P d 1 67 P 80 MHz to 800 MHz d 2 33 P 800 MHz to 2 5 GHz Where P is the maximum output power rating of the transmitter in watts W according to the transmitter manufacturer and d is the recommended sepa...

Page 28: ...r hospital environment If the user of the TPS Console requires continued operation during power mains interruptions it is recommended that the TPS Console be powered from an uninterruptible power supply or a battery Power frequency magnetic fields should be at levels characteristics of a typical location in a typical commercial or hospital environment NOTE UT is the a c mains voltage prior to appl...

Page 29: ...d unit will be shipped back and the repair invoice will follow under separate cover Under most conditions repair turnaround time will be approximately 2 3 weeks 4 As soon as your repaired unit is returned return the loaner to Stryker Instruments Limited Warranty For all TPS products unless otherwise specified In the U S A only products of Stryker Instruments are warranted to the original purchaser...

Page 30: ...30 ...

Page 31: ...31 ...

Page 32: ... 1 269 323 7700 European equiv 5100 001 712 Japanese equiv 5100 001 720 N European equiv 5100 001 733 Polish Greek Equiv 5100 001 750 European Authorized Rep RA QA Manager Stryker France ZAC Satolas Green Pusignan Av de Satolas Green 69881 MEYZIEU Cedex France ...

Reviews: