


42
English
41
6.8 DVR
ᶀ
RWD(Rewind)
When playing a file pressing
will adjust the rewind speed. <Figure 6.8.6>
ᶀ
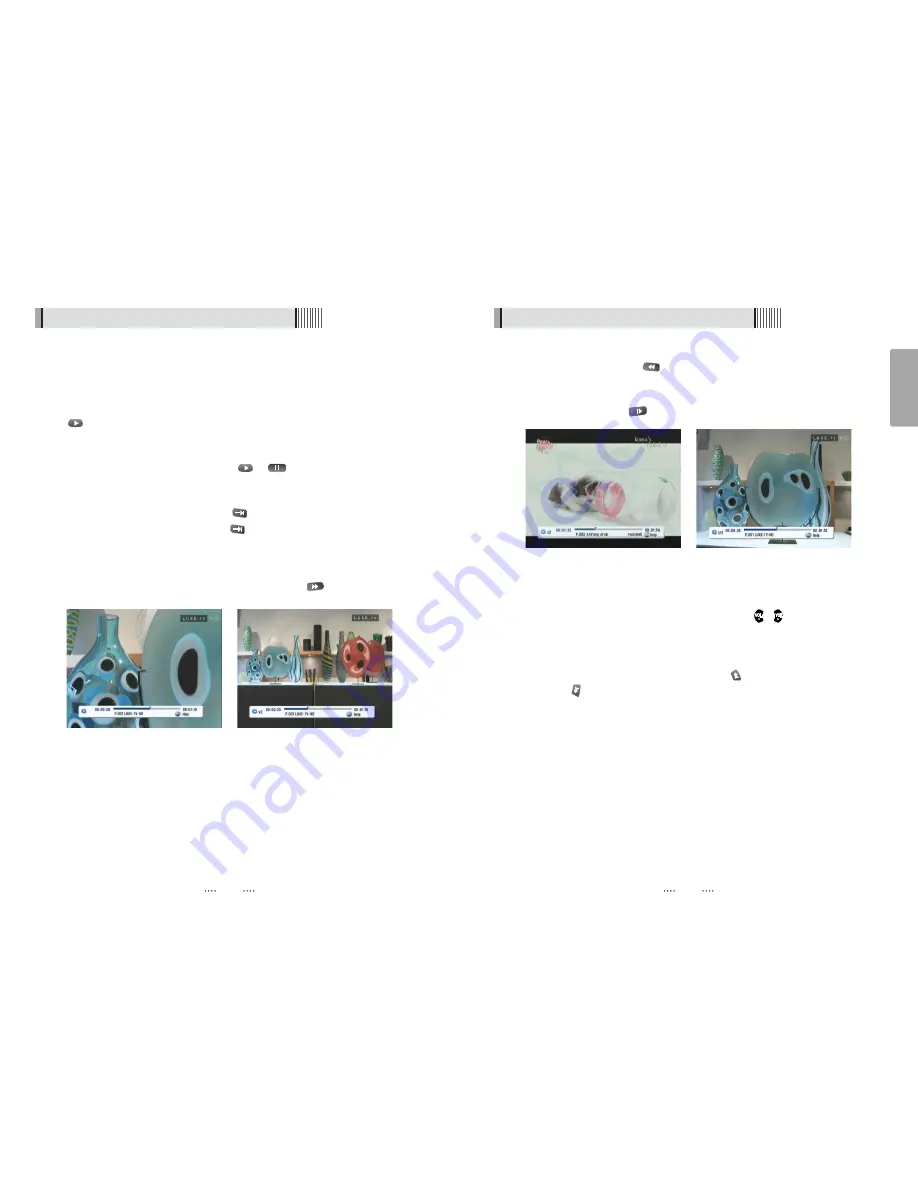
Slow(1/2x, 1/4x)
When playing a file press
to adjust the playing speed. <Figure 6.8.7>
<Figure 6.8.6>
<Figure 6.8.7>
ᶀ
Jump
- You can select the desired control position by pressing
/
.
- Pressing this key continuously will increase the position control.
ᶀ
Skip
- You can skip forward 15 seconds by pressing the
and backwards 15 seconds
using the
N
6.8 DVR
The Trick Mode is available when playing recorded files.
ᶀ
PLAY
This button will display a time- banner. To use the play list while playing the file press
.
ᶀ
PAUSE
This button will pause the file until pressing
or
. <Figure 6.8.4>
ᶀ
ADVANCE
- When Time Shift mode is enabled press
to jump to a live program
- If the playback mode is enabled press
to stop the current file playing and jump
to a live program.
ᶀ
FF(Fast Forward)
- When playing a file you can adjust the speed by pressing
<Figure 6.8.5>
2) Trick Mode
<Figure 6.8.4>
<Figure 6.8.5>


