27
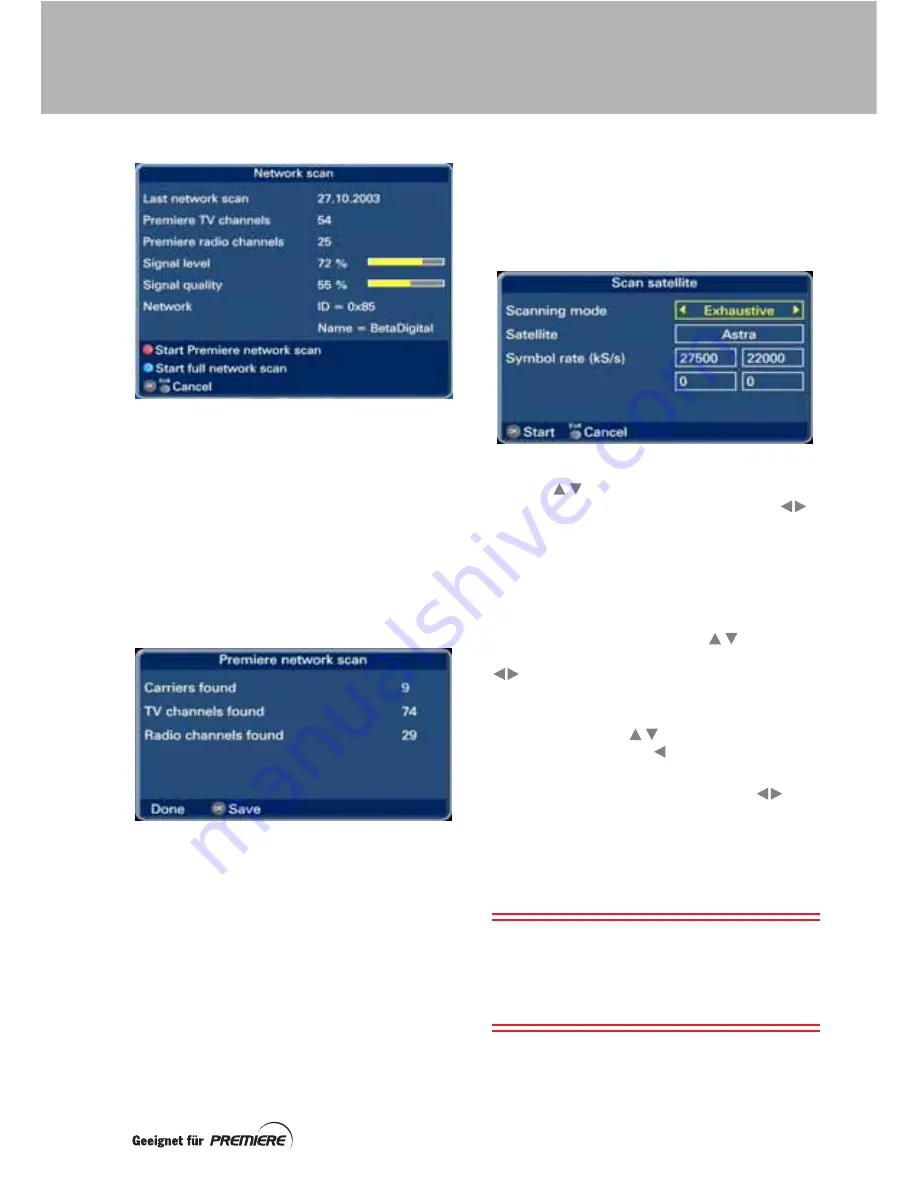
Premiere network scan
To start a
Premiere
network scan
, press the
red
button on your remote control while the
Network scan
screen is displayed.
The channel scan starts immediately and
takes only a couple of minutes. When it is
complete, the
Premiere
network scan
screen
appears with the word
Done
at the bottom.
This shows the number of carriers
(transponders) scanned and the number of TV
and radio channels found.
Press the
OK
button to save all the channels
that were found.
Full network scan
To start a
Full network scan
, press the
blue
button on your remote control while the
Network scan
screen is displayed.
The
Scan satellite
screen appears.
Use the
buttons to highlight the
Scanning mode
setting, then press the
buttons until the type of scan you want
(
Exhaustive
,
Fast (NIT)
or
Frequency
) is
displayed. If you choose the Fast (NIT) scan,
you can press the
blue
button to change the
settings, if required.
If you have a dish positioner, you can select
the satellite you want. Use the
buttons to
highlight the
Satellite
setting, then press the
buttons until the one you want to scan is
displayed.
To change any of the
Frequencies
or
Symbol
rates
, first use the
buttons to highlight
number. Then use the
button to delete the
digits and the number buttons to enter them.
To change the
Polarisation
, use the
buttons until the polarisation you want is
displayed.
When the scan is complete and the word
Done
appears, press the
OK
button to save all
the channels that were found.
IMPORTANT:
If you press the
Exit
button
while your set-top box is scanning, you will
lose all the channels that were previously
saved. You will therefore have to start a new
scan for channels.
SCANNING FOR CHANNELS


