14
15
HOW TO USE YOUR PANCAKEBOT
How to print your designs
LOADING THE BATTER
For optimal performance, please follow the instructions on pg. 19 on making your
batter. To ensure that the batter is clump-free, strain the batter before loading into
the Dispenser Bottle. We recommend that you remove the Dispenser Bottle from
the PancakeBot before filling so that batter does not leak onto the Griddle.
Watch the “How To” video on www.pancakebot.com to learn step by step.
1.
Unscrew the Dispenser Bottle Fill Cap and remove the Dispenser Bottle from
the Dispenser Holder. Attach the Drip Cap to the tip of the Dispenser Bottle
Nozzle.
2.
Fill the Dispenser Bottle with batter. Do not fill past the MAX line.
WARNING:
Do not overfill the Dispenser Bottle or tilt the Dispenser Bottle
while it is connected to the Air Hose and the PancakeBot is turned on. If you
see pancake batter entering the Air Hose, disconnect the Hose from the
Gantry and shut the PancakeBot off immediately. Thoroughly clean and dry
the Air Hose before reconnecting.
3.
Screw the Dispenser Bottle Fill Cap back onto the Dispenser Bottle and attach
the Air Hose.
4.
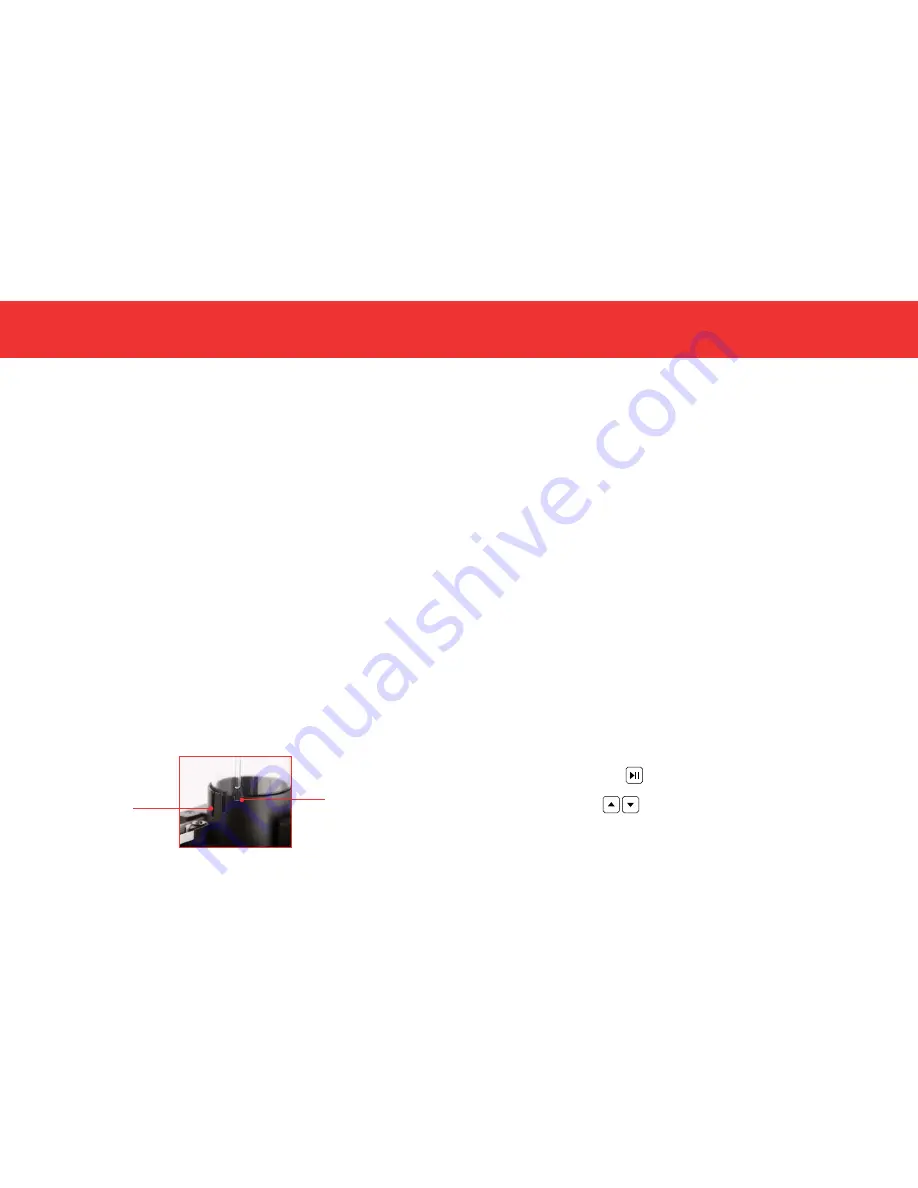
Slide the Bottle into the Dispenser Holder, aligning the Dispenser Bottle Spine
with the shortest Height Adjustment Slot. The shortest slot is for standby and
holds the batter furthest from the Griddle whereas the longest slot will be
used for printing. If you are using a taller griddle, you can use the shortest
slot for printing. Do not remove the Drip Cap until you have turned on the
PancakeBot.
Long Slot
Short Slot
PRINTING YOUR DESIGNS
There are many variables that will affect the end result of your pancake designs
including batter consistency, pressure, cooking temperature, and cooking time.
We highly suggest you run some tests and have fun in the process to become
acquainted with how these variables work together. Feel free to check out our
video tutorials online at
www.pancakebot.com
for tips and tricks on how to use
your PancakeBot.
1.
Turn the PancakeBot on by pressing the Power Button on the Control Panel.
2.
Before printing your design, make sure the Griddle is turned on and hot. Start
by setting your Griddle to the Medium temperature setting. You may need to
decrease or increase the temperature depending on the complexity of your
design.
3.
Lift the Bottle out of the Dispenser Holder, remove the Drip Cap, and return
the Bottle to the Holder. The Griddle will be HOT. Be very cautious while
removing the Drip Cap so you do not burn yourself on the Griddle.
4.
Position the Dispenser Bottle in the print mode (the Dispenser Bottle Spine
should be place in the longest Height Adjustment Slot). If you are using a
taller griddle, you should use a shorter Height Adjustment Slot depending
on the height of your Griddle. For best results, the Nozzle tip should be
approximately 15mm away from surface of the Griddle.
5.
Save a design on the SD card and insert it into the SD Card Slot (see pg. 20-
22) for more instructions on creating and saving designs).
6.
Press the START/PAUSE button once to initiate print mode.
7.
Use the UP/DOWN buttons to select the file you want to print and
press the START/PAUSE button again to confirm your selection.


