21
03/13424999487
Locking drive RM mini EasyDrive/2
Mounting
Instructions for installing the RM mini EasyDrive/2
locking drive
Note
: We recommend that the installation is designed
and fastenings are clarified before the drive installation.
For the various window systems there is a profile-specificfixing
set consisting of the matching bolt with plate for the locking rod
and an assembly drawing in which the mounting position and the
required cut-out on the profile exactly describes available.
Please address your enquiries to our distributors.
Caution
: Danger of injury due to suddenly opening
window! Please check that a safety shear is mounted
on the bottom hung window. If not, please install a
safety shear.
Attention
: Please avoid confusion regarding the fitting
dimensions! Compare the fitting dimensions with the
dimensions given and with the actual spacing of your
motor, before you mark the respective holes
and make cutouts.
Attention
: The permissible ambient temperatures are
to be taken into consideration when choosing the
installation site.
Fasten the drive in the frame
Attention
:
Material damage! Only use the fastening
screws suitable for your profile.
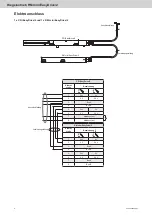
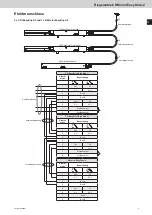
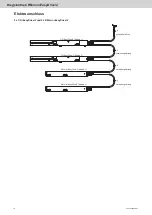
Previously (on page 22) prepare the electrical connection.
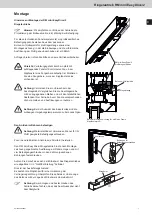
Place the RM mini EasyDrive/2 locking drive centrally into the
cutout frame opening and fasten using four fastening screws.
Make sure that the catcher of the locking drive is located in
"open position" as shown in picture
.
This is the factory setting.
Also check whether the position of the bolt and the
position of the catcher is coincident.
Attention:
Please make sure that the connection cable
is not damaged when the motor is positioned and
fastened.
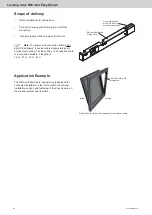
Example: Assembly drawing for a Raico frame tilt
windows profile
catcher
cutout in the frame profil
Holes for fastening screws
RM mini EasyDrive/2
profile integrated fitted
bolt with plate
locking rod

