


© 2007 Stevens AeroModel.
Page 9 of 35
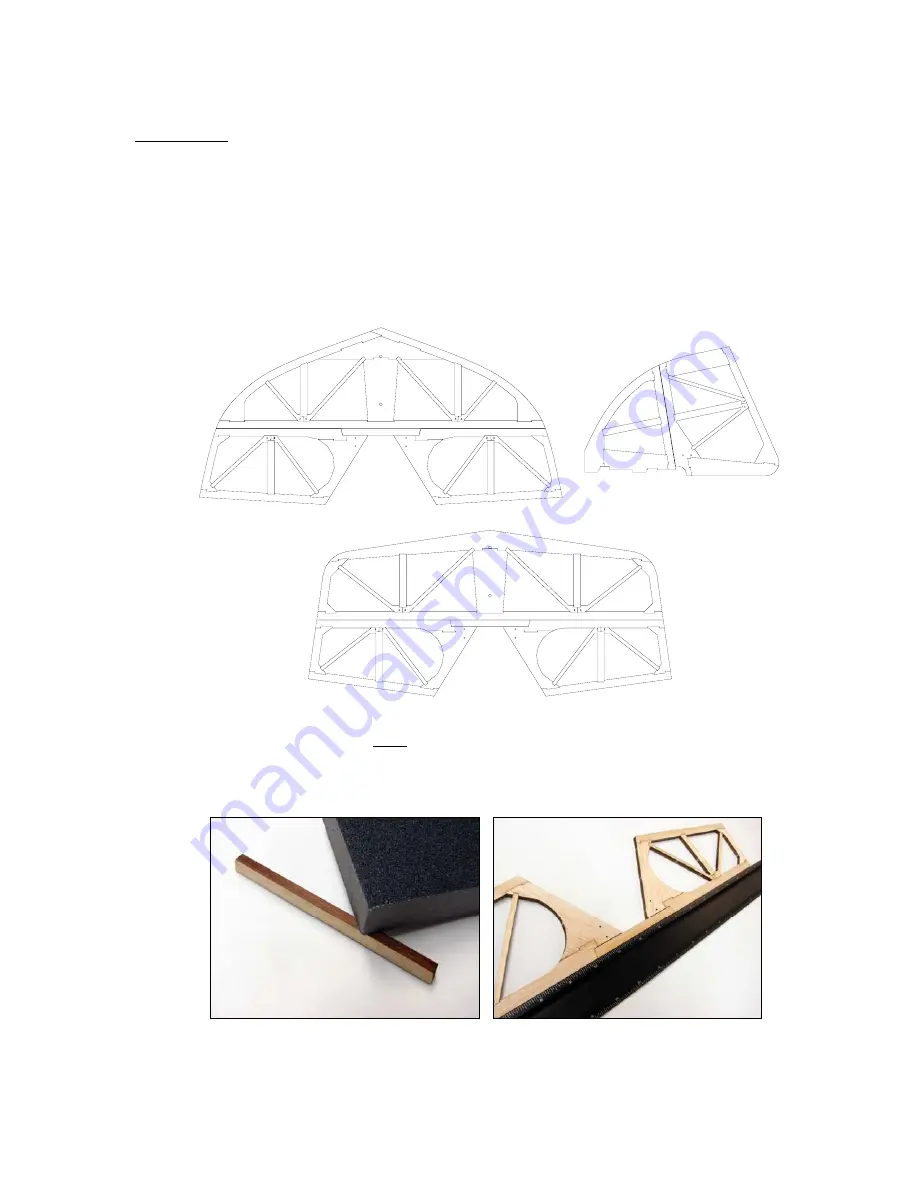
Tail Feathers
General Construction Notes: This kit features our proprietary Trus-Loc™ system as such typical “stick” type construction
has been replaced by precisely cut “stick” components that are keyed to fit in only one direction. The “knuckles” of the
truss are identified with an alpha-numeric use this to match adjoining truss components “A” to “A” and “B” to “B” etc. If a
part does not fit properly chances are very good that you have the wrong part or the part is in backwards. Under no
circumstances should you need to fill significant gaps or re shape the parts
.
1.
All of the parts to create the tail feathers are located on the 3/16” balsa sheets “SHAFT-17/21 and 18/21”.
This
kit is a bit special as we have included an alternate set of Horizontal Stabilizer and Elevator (for those who
prefer the “squared off” look of the stick plane – thus you’ll find an extra sheet 17/21 in this kit distribution)
Remove parts from the sheet with a sharp #11 hobby blade. Assemble the parts on top of your plan sheet
using the drawings on the sheet to reference part location and orientation. Frame up all tail feather components
as illustrated below.
2.
Join the elevator halves. Locate the provided 3/16” basswood laser cut elevator joiner, and prepare to bond the
two elevator halves together. Tip: Lightly sand the bass wood elevator joiner and elevator halves just enough to
remove the laser burn mark where these two components will be bonded (do not significantly alter the shape of
the parts)– this produces a stronger bond for this high stress area. Use a straight edge to align elevator halves
with bass wood joiner and bond with a high quality medium weight CA glue (Mercury 100XF works brilliantly
here).


