Getting Started
Place the steriliser on a flat, level, strong, heat resistant and water resistant surface.
Ensure a clearance of 50 mm to the top and both sides of the steriliser for adequate
ventilation.
Ensure that nothing that can be affected by heat is above or behind the steriliser.
Plug into the mains. The mains plug should be easily accessible should it be necessary
to disconnect the steriliser from the mains electrical supply for any reason.
Switch the power on. The steriliser is now ready for use.
Filling
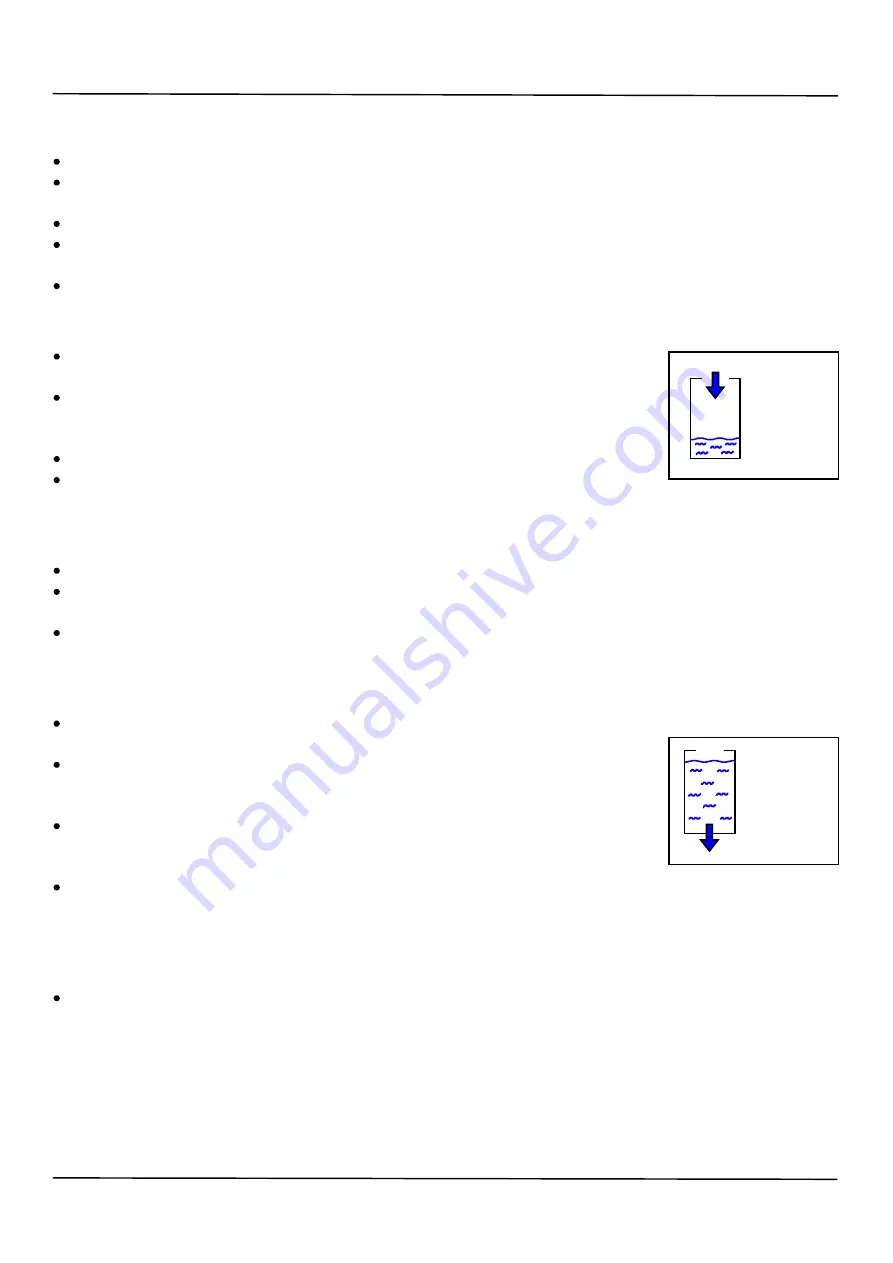
When the clean water reservoir is empty, the display will ask for the reservoir to be
filled.
To fill, pour water into the filling spout. The steriliser will be ready for use as soon as
the minimum water level in the clean water reservoir has been reached. This will be
indicated by the “Fill clean water tank” display being replaced by the time display.
Filling of the clean water reservoir can be continued until the filling spout is full.
There is also an auto fill connection on the rear of the steriliser that can be connected
to an external water supply to enable automatic filling of the steriliser.
Water Quality
The steriliser should be filled with distilled, reverse osmosis or purified water.
If the water used is low conductivity it will be acceptable. If poor quality water or
tap water is used the steriliser display will warn about water quality.
The steriliser may be used with poor quality water but this is not recommended
because of the risk of the heaters becoming scaled.
Draining
When the used water reservoir is full the display will ask for it to be drained. This will
need to be done before the steriliser will allow the next cycle to be run.
It is recommended that both water tanks are drained at the end of each working day
and left to dry overnight in order to keep the microbiological count as low as possible.
The clean water tank should then be filled at the start of the next working day.
Both water tank drains are located on the front of the steriliser. To drain either tank,
plug the drain pipe into the appropriate drain connector and allow the water to drain
into a sink or suitable container.
There is an additional used water drain connection on the rear of the steriliser. To
autodrain the used water, simply plug in a drain tube to this connection and run it to
a nearby sink or suitable container.
Options
The options menu is accessed from stand-by with the door open - press the “
i
” button,
then the “Options” button. The four options available are:-
1. Set drying time. This is the time that drying will run following sterilisation. It can
be set from anywhere between 0 and 60 minutes.
2. Run air leakage test. See Weekly Testing on the previous page.
3. Enable or disable autofill. Set to “Disable” for manual filling or “Enable” for
autofilling from an external water supply.
4. Enable or disable N-type cycle. Choose whether to enable or disable the N-type
cycle which is a fast non vacuum cycle suitable only for solid, unwrapped instruments.
5
Acuatic Vacuum steriliser
Getting Started
Fill clean
water tank
Drain used
water tank


