


Para borrar la última imagen:
1.- Presione el botón de Previo (Preview) una vez.
2.- Utilice los botones de Arriba / Abajo para seleccionar la foto o vídeo
que desee borrar.
3.- Presione el botón de Menú (M) para entrar al modo de borrado.
4.- Utilice los botones de Arriba / Abajo (Up / Down) para seleccionar la
opción deseada: Y para borrar la fotografía / vídeo actual ó N para
regresar a la vista previa.
5.- Presione el Disparador para confirmar la selección.
Para borrar todas las imágenes o vídeos contenidos en la memoria
de la cámara:
1.- Presione el botón de Previo (Preview) una vez.
2.- Presione el botón de Menú (M) dos veces, en pantalla aparecerá el
mensaje DEL ALL.
3.- Utilice los botones de Arriba / Abajo para seleccionar la opción
deseada: Y para borrar todo el contenido de la memoria ó N para
regresar a la vista previa.
4.- Presione el Disparador para confirmar la selección.
SELECCIÓN DE FRECUENCIA DE LUZ INTERNA
Coloque la frecuencia de la cámara de acuerdo al lugar donde piensa
utilizar el equipo. Normalmente en América y en la mayor parte de Asia, la
frecuencia de la lámpara utilizada es de 60Hz. En Japón y Europa, se
utilizan 50Hz. Si utiliza una selección errónea, las fotos o los vídeos puede
mostrarse en ángulo.
1.- Presione el botón de Menú (M) una vez.
2.- Presione el botón de Previo (Preview).
3.- Presione el botón de Menú (M) tres veces más para entrar en el menú
de Frecuencia.
4.- Utilice los botones de Arriba / Abajo (Up / Down) para seleccionar la
opción deseada: 50 o 60.
5.- Presione Previo (Preview) para confirmar la selección.
CÁMARA WEB
Ud. puede utilizar su cámara digital como cámara Web en los programas
de mensajería instantánea más populares del mercado.
Así mismo, mantenga video conferencias en línea, utilizando sus
programas habituales de video conferencia.
1.- Presione el Disparador y sin soltar conecte el cable USB en un puerto
disponible de la computadora.
2.- Automáticamente el equipo entrará en modo de Cámara Web.
3.- Ejecute su programa favorito de mensajería instantánea o de
videoconferencia,
TRANSFERENCIA DE FOTOGRAFÍAS Y VÍDEOS EN XP
Para transferir archivos fotográficos o de vídeo, simplemente conecte el
cable USB suministrado de la cámara a un puerto USB disponible en la
computadora.
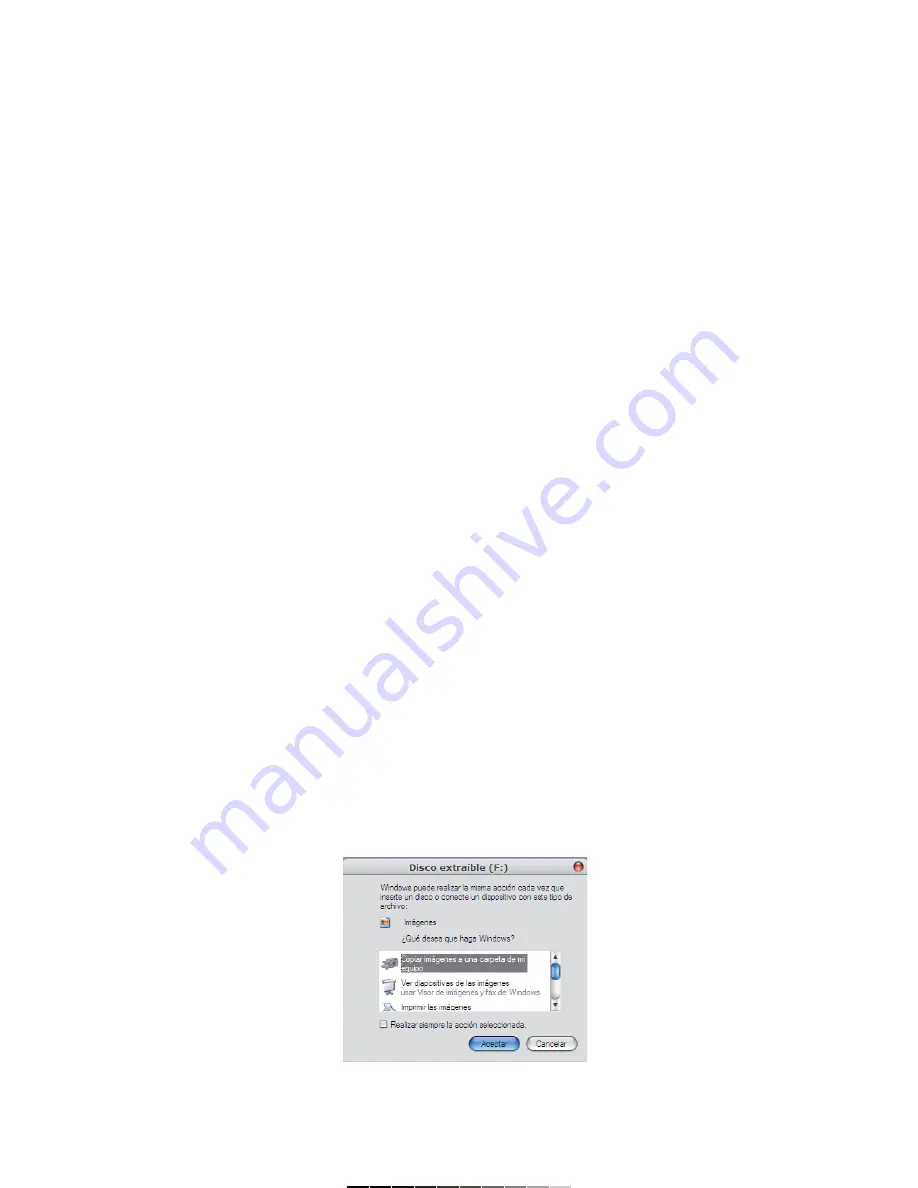
El sistema automáticamente detectará el equipo y mostrará una ventana
preguntándole que desea hacer. Seleccione copiar imágenes a una
carpeta de mi equipo y siga las instrucciones. Las imágenes y vídeos
serán copiados en su computadora.
Para visualizar los archivos utilice el visor fotográfico de Windows o
Windows Media.
To delete last picture:
1.- Press Preview button once.
2.- Use Up / Down buttons to choose the desired photo or video that you
want to delete.
3.- Press Menu (M) button to enter to Delete Mode.
4.- Use Up / Down buttons to select the option: Y to delete the current
picture / video or N to back to picture preview.
5.- Press Shutter to confirm the selection.
To delete all the pictures or videos contained on built-in memory:
1.- Press Preview (P) once.
2.- Press Menu (M) twice, the word DEL ALL displays on the LCD screen.
3.- Use Up / Down buttons to select one of the options: Y to delete all the
files contained in memory or N to back to picture preview.
4.- Press the Shutter to confirm the selection.
INTERNAL LIGHT FREQUENCY
Put the camera frequency in accord to the place where you want to use
the device.
Usually, in America and Asia, the lamp frequency is 60Hz. In Japan and
Europe, they use 50Hz. If you use the incorrect frequency, pictures or
video may displays in an angle view.
1.- Press Menu (M) button once.
2.- Press Preview button.
3.- Press Menu (M) button thrice to enter to Frequency Menu.
4.- Use Up / Down buttons to select the desired option: 50 or 60.
5.- Press Preview to confirm the selection.
WEB CAM
You can use the digital camera as Web Cam with the most popular instant
messengers on the market.
Likewise, realize on line videoconferences, using your favorite
videoconference software.
1.- Press and hold Shutter, then plug the USB cable into an available USB
port into the computer.
2.- The equipment automatically will enter in Web Cam mode.
3.- Run your favorite instant messenger or videoconference software.
TRANSFERRING PICTURES AND VIDEOS ON WINDOWS XP
To transfer pictures or videos, just plug the supplied USB cable to the
camera and into the USB port in the computer.
The computer automatically detects the device and then a new window
displays some options. Click on Copy images to a folder and follow the
instructions. The pictures and videos will be copied to the computer.
To visualize the files use the Windows Picture Viewer or Windows Media.