Cassette encoding
1. Set the unit in cassette mode by
press the “ Tape “ function button (19). Place the cassette tape to the cassette slot to
get ready playback.
2. P
ress “ USB/SD Record “ button (16) once, USB/SD operation display area (2 ) will show “USB” then press “
CD
I
/USB/SD R
ecord “ button (16) again to confirm encoding,
CD
I
/USB/SD operation display area (2) will change to
“ ENCODE “ again, and “
“ & “
“ icon will flashing on later on, encoding is performing now.
E-9
3. Start the playback of the cassette tape.
4. After completing of encoding, press
“
CD
I
/USB/SD R
ecord “ button (16) again to stop the encoding and then stop the
cassette playback.
Encoding bit rate (by remote handset)
You can select the desired bit rate for USD/SD encoding, the selectable range from 32 / 64 /96 /128 / 192 / 256 kbps.
Set in
“ Phono “ or “ Cassette “ function & remain stop mode.
1. P
ress the “ Info “ function and the USB/SD operation display area (2) will show the default bit rate (128 kbps).
2. Press skip
CD
I
/USB/SD
or
buttons to select the desired bit rate for encoding.
3. P
ress again the “ Info “ to confirm the setting and the LCD display (2) resume to “ Phono “ or “ Cassette “ mode.
Remark : Due to this unit was complicate design, thus, CD recording and USB/SD encoding from Phono/Aux or Tape
together at the same time was not recommend. Please perform it separately.
Track separation (by remote handset)
You can divide the recording music from track by trace during encoding. Ev
ery time when press the “
CD
I
/USB/SD
“ (track separation) button once at remote handset during encoding from Phono/Aux in, Cassette the system will generate a
new track and continuous the encoding. T
he text “ ENCODE “ at
CD
I
/USB/SD operation display area (2) will flashing one
time, it mean the unit is creating a new track successfully.
Copying of MP3 file
The system allow to copy the file from
CD
I
MP3 disc to USB or SD as well as SD to USB alternative by 1 files or all files.
Below explanation was from SD card copy to USB media.
i) Copy 1 track
1. Press
“
CD
I
/USB/SD R
ecord “ button (16) during the playback SD card of the
copying track, the USB/SD operation display area (2) will display
“
“ and
“
“ & “
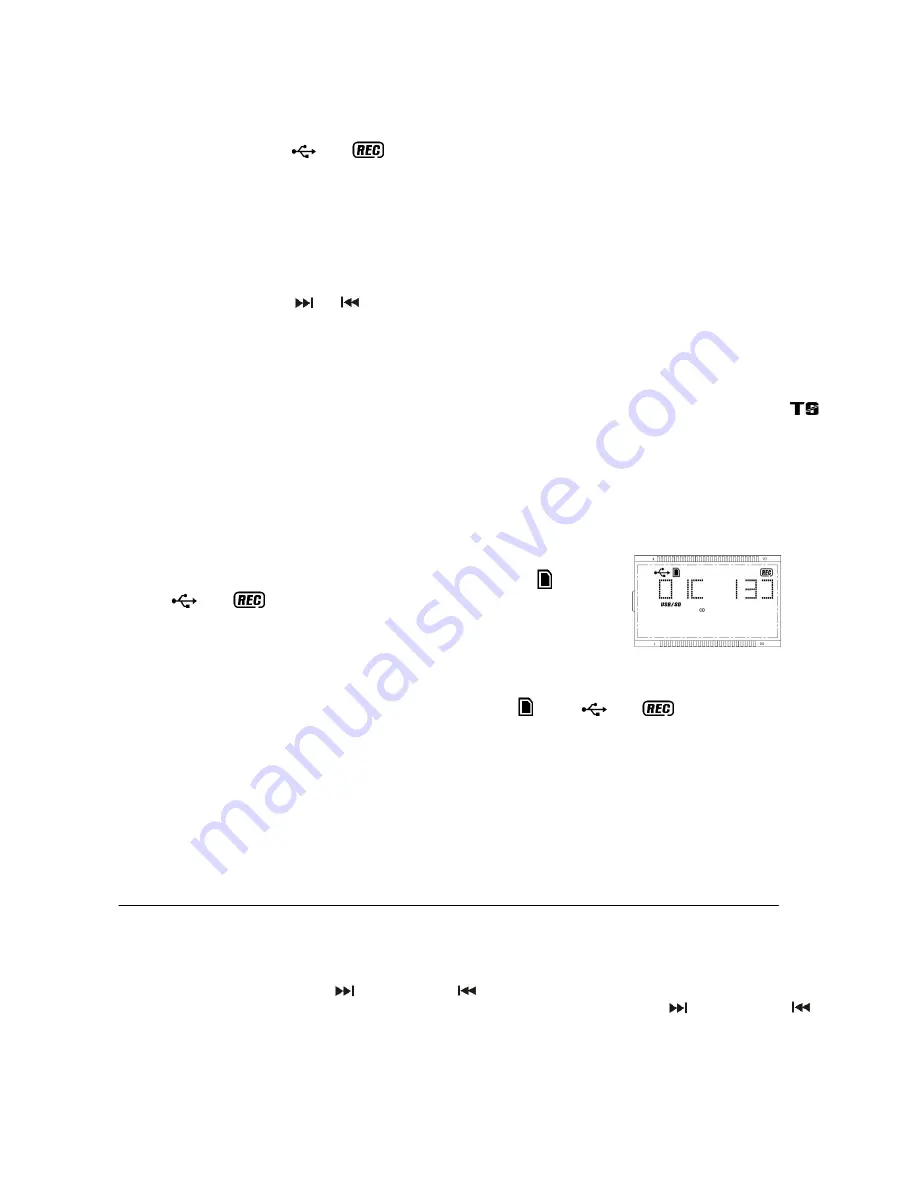
“ and flashing. Copying is performing now.(Figure 10)
2. After completing of copy, unit will go to stop mode automatically.
(Figure 10)
ii) Copy all track
1.
Insert the USB storage media and SD card and set the unit at SD card
“ stop “ mode after unit reading.
2.
Press
“
CD
I
/USB/SD R
ecord “ button (16) and unit will display “ “ and “
“ & “
“ are flashing. Copying is
performing now.
3.
After completing of copy, unit will stop playback automatically.
Remark:
-
If press
“
CD
I
/USB/SD R
ecord “ button (16) during playback of USB or SD source, the file will copy from USB to SD or
SD to USB.
-
T
he system will create a “ fcopy “ folder and store the copy track inside.
-
If putting a MP3 disc instead of a CD-disc, the system will copy the files to the USB or SD card once
press the “
CD
I
/USB/SD Record
“ button (16). The operation procedures is same as CD encoding as stipulate on above, and the system
will switch to copying mode only if MP3 file being read.
File delete at USB / SD card (by remote control)
This system is able to erase the file stored inside the USB pen drive or SD card by following:-
Single file delete
1
.
S
et at “ USB “ or “ SD “ mode.
2
.
P
ress and hold the “ Info/Delete “ button for 3 seconds and the USB/SD operation display area (2) will show (del ---001).
3
.
Press
“
CD
I
/USB/SD skip forward
or skip backward
“
button to select the file going to delete
4
.
P
ress the “
CD
I
/USB/SD REC
“ button to enter “ Yes / No “ mode and then press skip forward
or skip backward
to select “ yes “ or “ no “.
5
.
Press the
“
CD
I
/USB/SD REC
“ button again to confirm the deleting.
All files delete
1. Se
t at “ USB “ or “ SD “ mode.
2. P
ress and hold the “ Info/Delete “ button for 3 seconds and USB/SD operation display area (2) will show (del ---001)
3. Press and ho
ld the “ Info/Delete “ button for 3 seconds again, the USB/SD operation display area (2) will show “FORMAT
Summary of Contents for SMC1033
Page 14: ...E 12 ...


