49
key until the Available Options main menu is
displayed.
7. Select Print Server Information.
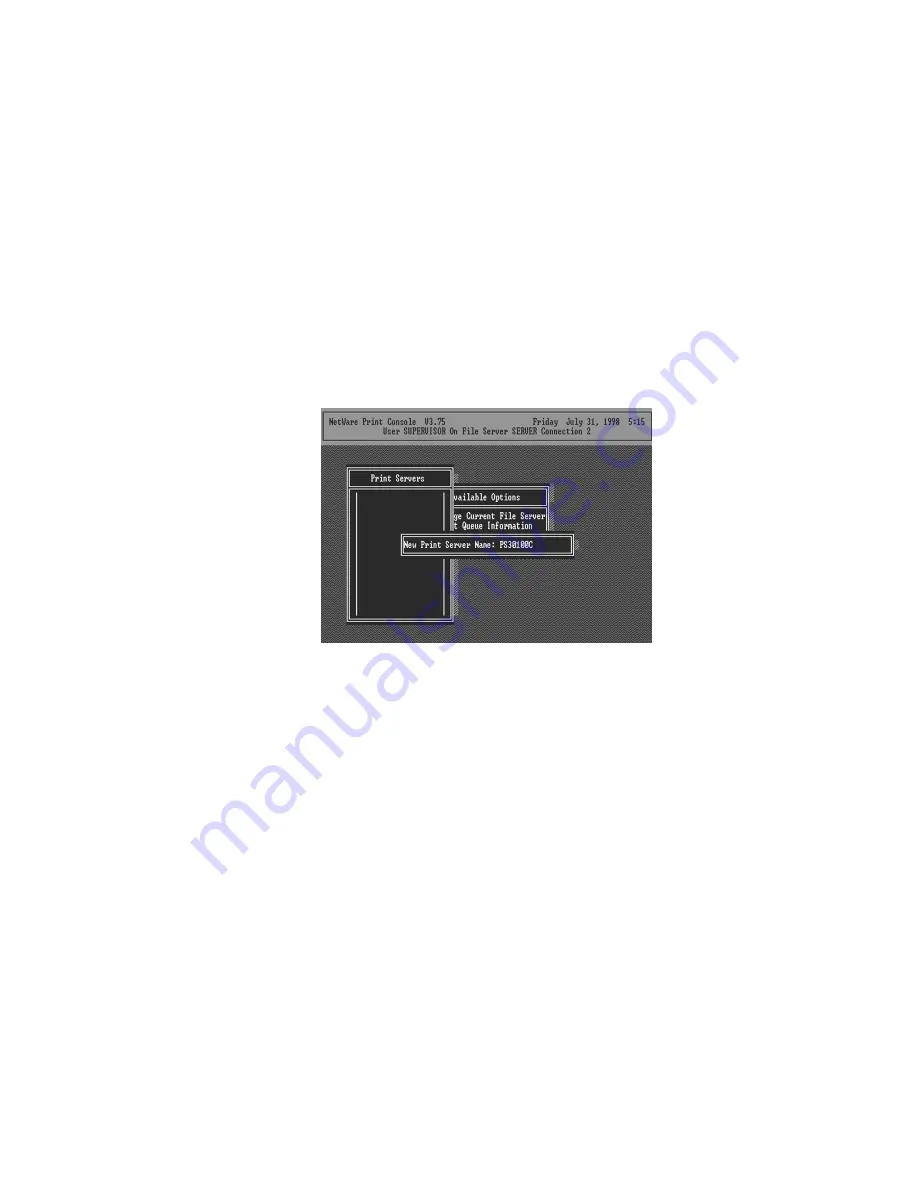
8. Press the Insert key to add a new NetWare print
server object. The print server name can be
identical to the PSxxxxxx name printed on the
label of the print server.
9. Press Enter to select the newly created print server.
10. Select Print Server Configuration.
11. Select Printer Configuration.
12. Select Printer 0 (or Printer 1, Printer 2), and press
Enter, then select LPT1 (or LPT2, LPT3) in the
Type field. If your print server is with only one
port, you do not need to configure this Type field.
Summary of Contents for PM1115U
Page 1: ...Print Server User s Manual Version 2 0 January 2006...
Page 6: ...1 1 Introduction...
Page 15: ...10 NetWare Network see below...
Page 17: ...12 Available Ports in Network Ports Quick Setup in Windows XP SP2...
Page 20: ...15 3 Windows Peer to Peer Network...
Page 40: ...35 select your printer port as the newly added remote printer port...
Page 45: ...40 4 Windows NT 2000 2003 Network...
Page 50: ...45 5 NetWare Network...
Page 57: ...52 6 UNIX System Network...
Page 66: ...61 The print server should now be available for printing from your Unix host...
Page 67: ...62 7 Configuration Utility...
Page 72: ...67 You can restart the print server by pressing the Reboot button...
Page 74: ...69...
Page 88: ...83 8 Web Management...
Page 92: ...87 8 3 2 Printer This page lists information of printer connected to the printer port...
Page 108: ...103 9 IPP Printing...
Page 116: ...111 Step3 Select Advanced tab and click Settings...
Page 117: ...112 Step4 Select Exceptions tab and click Add Program...
Page 119: ...114 Step7 A new program Network Ports Quick Setup is displayed in the list click Ok...


