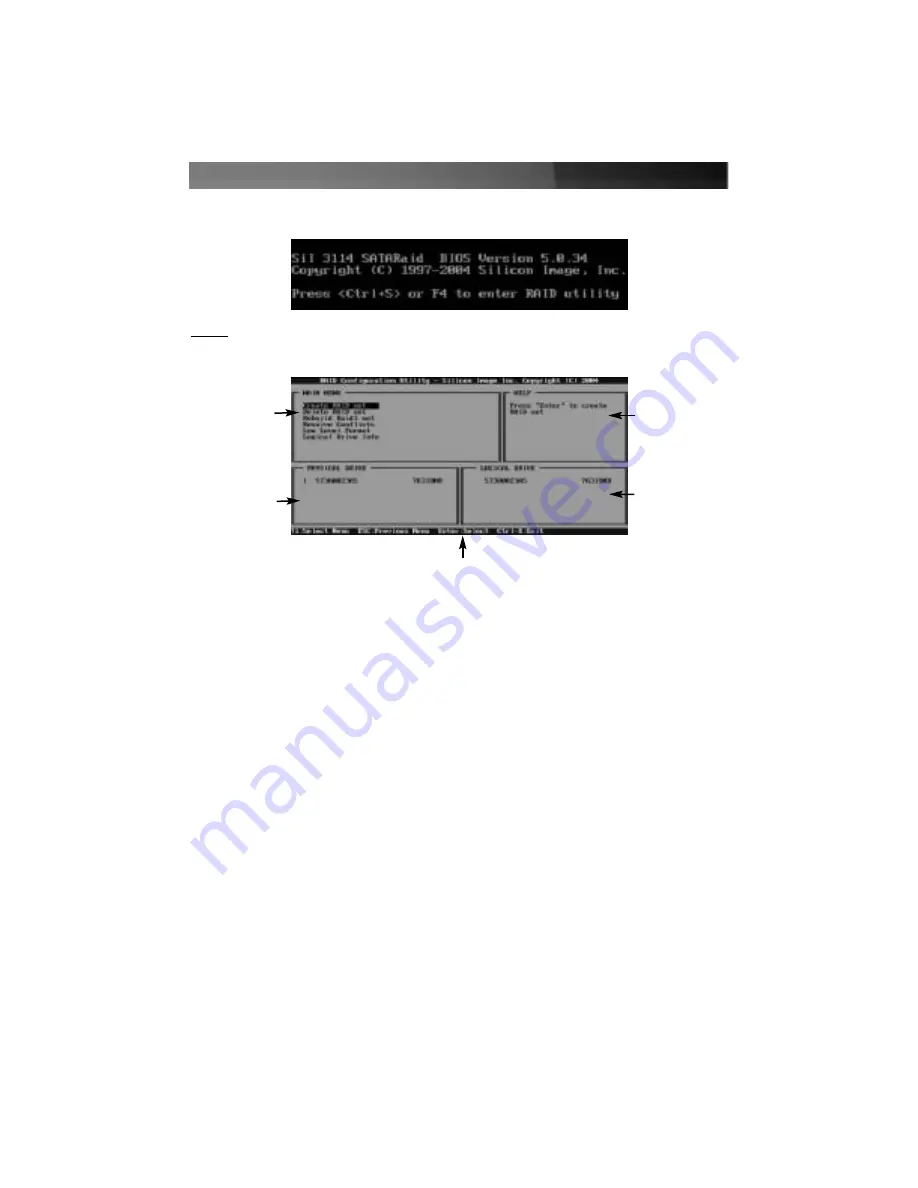
To enter the configuration utility, press and hold [CTRL] and [S] at the same time (or
press [F4]) when you see the following prompt:
NOTE: At least one SATA drive must be installed for you to access the RAID utility.
Once you access the utility, you will be presented with the following menu:
The Main Menu option allows you to carry out various tasking related to configuring and
maintaining your RAID. You can navigate the menu using the arrow keys on the
keyboard and select an item by pressing [Enter]. The Main Menu options are described
below:
Create RAID set: Create a RAID for the first time, or change the configuration of an
array after deleting a previous setup. See below for more details and an explanation of
the RAID levels available with the card.
Delete RAID set: Delete an existing RAID. Depending on your configuration, this may
cause data loss or cause the computer to become unbootable. It is highly recommended
that you have a complete, good backup prior to using this option.
Rebuild Raid1 set: If a drive has failed in a RAID1 configuration (mirroring), this option
allows you to synchronize the data between the new replacement drive and the
remaining good hard drive that contains a copy of the data.
Resolve Conflicts: If you have installed a drive that was previously used in another
array, this option will resolve any metadata conflicts that could cause your array not to
function or produce erratic behavior.
Low Level Format: This feature completely overwrites the data on the selected drive(s)
with zeros; this is essentially a comprehensive deletion tool. This will destroy all data on
the drive, including partition information. Ensure you have a complete, good backup
before using this option.
Instruction Manual
3
Physical Drives
connected to the
card
Configuration
Options
How the RAID will
appear to the
computer
A description of
the selected option
Navigation
Commands
Summary of Contents for PCISATA2P4
Page 13: ...Revised 5 May 2005 Rev A ...


