background image

Manual Revision: 12/18/2014

For the most up-to-date information, please visit: www.startech.com

DE:

 Bedienungsanleitung - de.startech.com

FR:

 Guide de l'utilisateur - fr.startech.com

ES:

 Guía del usuario - es.startech.com

IT:

 Guida per l'uso - it.startech.com

NL:

 Gebruiksaanwijzing - nl.startech.com

PT:

 Guia do usuário - pt.startech.com

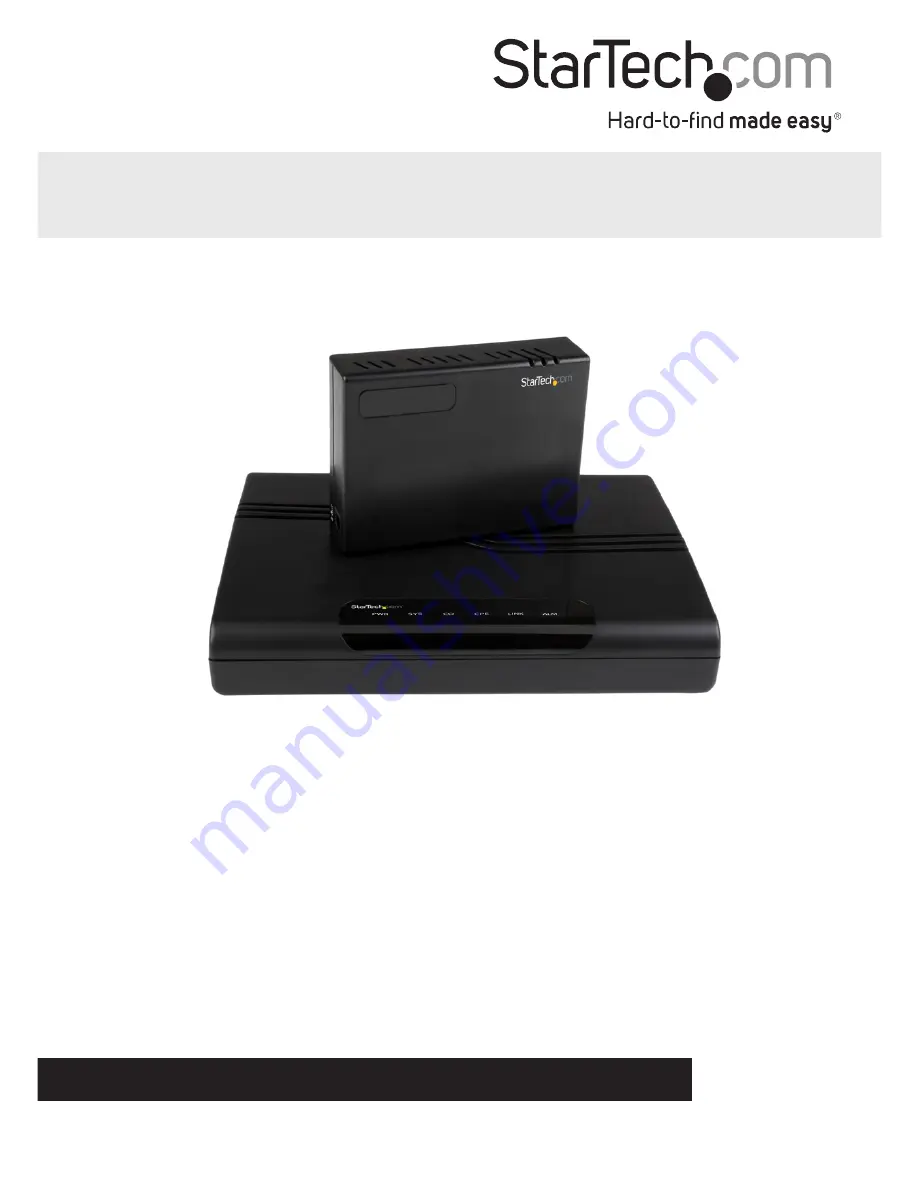
410VDSLEXT2

1 Port to 4 Port 10/100Mbps VDSL2 Ethernet Extender 

Kit over Single Pair Wire – 1 km

*actual product may vary from photos

Summary of Contents for 410VDSLEXT2

Page 1: ...tech com FR Guide de l utilisateur fr startech com ES Guía del usuario es startech com IT Guida per l uso it startech com NL Gebruiksaanwijzing nl startech com PT Guia do usuário pt startech com 410VDSLEXT2 1 Port to 4 Port 10 100Mbps VDSL2 Ethernet Extender Kit over Single Pair Wire 1 km actual product may vary from photos ...

Page 2: ...FCC Rules Operation is subject to the following two conditions 1 This device may not cause harmful interference and 2 this device must accept any interference received including interference that may cause undesired operation Changes or modifications not expressly approved by StarTech com could void the user s authority to operate the equipment Industry Canada Statement This Class B digital appara...

Page 3: ... Installation 4 Hardware Installation 4 DIP Switch Settings Transmitter 5 Configuration 7 Web Interface 7 Welcome Screen 7 System 8 Port Management 11 VLAN 14 QoS Setting 16 Security Filter 19 VDSL Setting 20 Connector Architecture 22 Resetting Your Device 23 Appendix 23 Technical Support 25 Warranty Information 25 ...

Page 4: ...Instruction Manual ii ...

Page 5: ...tter 1x 4 Port VDSL2 Ethernet Receiver 2x Universal Power Adapters NA UK EU 1x RJ45 to VDSL2 Cable 1x RJ11 Cables 1x Instruction CD 1x Instruction Manual System Requirements 10 100 Mbps Ethernet Network Available AC electrical outlets RJ11 Cable or RJ11 lines in building infrastructure ...

Page 6: ...ut LED Indicators LED Indicators RJ11 RJ45 VDSL Line Port RJ11 VDSL Line Port RJ45 Ports DC Input Reset Receiver Unit Transmitter Unit DIP Switch RJ45 Port Transmitter Unit Receiver Unit Product Overview Front Side View Rear View ...

Page 7: ...L LED Display LED Blinking ON OFF 1 Activity Device Power On Device Power Off 2 CPE Mode CO Mode 3 Slowly Idle Quickly Training Linked Offline LED Blinking ON OFF PWR Device Power On Device Power Off SYS System Activated System Running CO CO Mode On CPE CPE Mode On LINK Activity Slowly Start Connection Quickly Data Transmit Linked ALM ConnectionError Receiver Unit ...

Page 8: ...tup Optional Configure DIP switches 2 through 4 as necessary see DIP Switch Settings section below Receiver Unit 1 Place the Receiver Unit at the end point location 2 Connect the provided power adapter from an AC electrical outlet to the DC Input on the Receiver Unit The PWR and SYS LED should light up solid 3 If not previously completed connect the RJ11 cable that was inserted into the RJ11 VDSL ...

Page 9: ...andwidth data sent from CO to CPE is generally higher than Upload bandwidth from CPE to CO If you need higher bandwidth from the Transmitter Unit to the Receiver Unit set DIP switch 1 to the upward OFF position If you need higher bandwidth from the Receiver Unit to the Transmitter Unit set DIP switch 1 to the downward ON position See the Configuration Mode Select section below to set the Receiver ...

Page 10: ... up to 250ms of impulse noise with latency less than 6 ms ON If Pin 2 is in the ON position the Transmitter Unit will operate in Fast mode with direct data transmissions having less than 1ms of latency Pin 3 Band Plan OFF If Pin 3 is in the OFF position the Transmitter Unit will operate in Symmetric mode with both downstream and upstream transmissions operating on the G 997 band plan ON If Pin 3 i...

Page 11: ...reviously changed the IP address login to the modified IP address You will then see a login page Login to the system with your user name and password The default login information is ID admin Password admin Welcome Screen After you complete the login process a main page will be shown There are five square icons at the top right of the web interface that show the current port status Management opti...

Page 12: ...assword in this area Press the Update button to save your changes System IP Configuration Set your IP configuration settings including IP address subnet mask and gateway System Status Review hardware and software information and update device description in the Comment field if desired ...

Page 13: ...1 Reserved IP Allows you to reload the default factory settings without changing your IP address 2 All All settings will be restored to the original default settings including IP address Once you choose a method press the Load button to activate Reset Device Restarts the 410VDSLEXT2 Click on Confirm to restart ...

Page 14: ...settings click the Download button and a pop up will display letting you choose a location to save a backup file To recovery a backup click the Choose File button and choose which file to restore from Enter your password and click on the Update button to start the restore process ...

Page 15: ...tings to Select all four ports to apply each port with the same settings Press the Submit button to apply the new settings All information will be updated in the displayed status table Flow Control Setting Choose to Enable or Disable Backpressure and or IEEE 802 3x Flow Control Click the Submit button to save your settings ...

Page 16: ...ce port to the selected mirror port Tx Rx Copy both incoming and outgoing packets from the selected source port to the selected mirror port Mirror source destination pair Tx port and Rx port must be different ports 3 Source Port The source port traffic which will be copied to the mirror port 4 Destination Port Only available in Mode 2 Mode 1 Has four Mirror Mode options Disable Rx Tx and Tx Rx In ...

Page 17: ... restore settings to the default value for the selected port Once settings are saved the table will show the current values set up for each port Broadcast Storm Control This section lets you block excessive broadcast packets Choose which port you wish to enable protection Select Enable for the Broadcast Storm option to enable this function and enter a value for Threshold Broadcast packets will be ...

Page 18: ...rt Base or by Tag Base If you choose to set up VLAN based on Port the settings in Tag Base will not be activated Port Base VLAN Ensure your VLAN Mode is correct If incorrect click the Change Mode button to switch VLAN mode Choose Port NO first and then select which port should be in the VLAN member Click on the Update button to save your changes and click on the LoadDefault button to restore the d...

Page 19: ...heck all the VLAN members you wish to have in this VLAN number Click on the Submit button to save your changes A message box saying Control port will not be able to connect devices may be displayed due to some receivers not recognizing VLAN tagging so you may be not able to connect to a tagged port In Setup Area 2 you can set the PVID of each port If your PVID is invalid a warning message Invalid ...

Page 20: ...nd then traffic is transmitted on Q1 and so on If a higher priority queue is never empty then traffic on the lower priority will not be sent The SP class is typically for video applications that require a fixed amount of bandwidth to be considered for good quality 2 Weight Round Robin Services on a rotating basis and is activated only when a port has more traffic than it can handle A queue is give...

Page 21: ... in order to set this priority up 1 Port number Choose the port number you wish to apply this policy 2 Queue number Choose which queue you wish the selected port to belong to VLAN Tag Priority You can assign VLAN priority and its corresponding queue number in this section ...

Page 22: ...l Port Type and press the Submit button to start this function Then if you want to run this priority based on pre defined logical port assign the Pre defined Logical Port Number entry and click on the Submit button to save the changes If you want to activate this priority by user defined logical port you need to assign the User defined Logical Port Range section and press the Submit button to save...

Page 23: ... is then updated to display the MAC address you just saved If you wish to remove all the MAC addresses in the table click on the Clear All button to remove every address Firewall In this section you can modify data traffic to provide greater bandwidth control to specified IP addresses You can assign settings to either a specific IP address or to a range of IP addresses letting you control forward ...

Page 24: ...tion IP Address Range Click on the Change to Range Mode button to switch edit sections Then set a range of IP addresses by entering the start IP address and the end IP address VDSL Setting Port Setting In this section you can change VDSL port settings After you change the settings click the Submit button to update the 410VDSLEXT2 Click the Refresh button to get the latest status information ...

Page 25: ...each unit to CO or CPE mode is usually based on which direction you want the most bandwidth delivered Download bandwidth data sent from CO to CPE is generally higher than Upload bandwidth from CPE to CO If you need higher bandwidth from the Transmitter Unit to the Receiver Unit set the mode to CPE If you need higher bandwidth from the Receiver Unit to the Transmitter Unit set the mode to CO Note T...

Page 26: ... Assignment MDI X 1 RX Receive data 2 RX Receive data 3 TX Transmit data 4 Not used 5 Not used 6 TX Transmit Data 7 Not used 8 Not used VDSL Ports The VDSL Port is standard 8 pin modular jack The table below displays the pinout assignments Pin Number Assignment MDI X 1 Not used 2 Not used 3 Not used 4 ANALOG Input Output 5 ANALOG Input Output 6 Not used 7 Not used 8 Not used ...

Page 27: ...oSistheabilitytoprovidedifferentprioritytodifferentapplications users ordataflows ortoguaranteeacertainlevelofperformancetoadataflow SNR Signal to noiseRatio Ismeasureusedinscienceandengineeringtoquantifyhowmuchasignalhas beencorruptedbynoise Itisdefinedastheratioofsignalpowertothenoise powercorruptingthesignal Aratiohigherthan1 1indicatesmoresignalthan noise TOS DSCP TypeofService DiffservCodepoi...

Page 28: ...Instruction Manual 24 ...

Page 29: ...e returned for repair or replacement with equivalent products at our discretion The warranty covers parts and labor costs only StarTech com does not warrant its products from defects or damages arising from misuse abuse alteration or normal wear and tear Limitation of Liability In no event shall the liability of StarTech com Ltd and StarTech com USA LLP or their officers directors employees or age...

Page 30: ...Instruction Manual 26 ...

Page 31: ...rts and we quickly deliver them wherever they need to go Just talk to one of our tech advisors or visit our website You ll be connected to the products you need in no time Visit www startech com for complete information on all StarTech com products and to access exclusive resources and time saving tools StarTech com is an ISO 9001 Registered manufacturer of connectivity and technology parts StarTe...

Page 32: ......

Reviews: