Preparation | 11
10 | Preparation
Charger On-Board
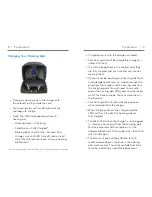
Battery LEDs
• When charger is
plugged in and fully
charged = 4 solid LEDs
will appear
• When charging without
the cord the LEDs will turn off after 10 seconds
• To refresh LEDs, remove a hearing aid from
the charging port for three seconds and then
replace it in the charger (refresh lasts 10
seconds only – then LEDs will turn off again)
– 4 Solid > 75%
– 3 Solid < 75%
– 2 Solid < 50%
– 1 Solid < 25%
– 1 Blinking = Charge Low
• While charging the on-board battery with
the provided cord, the 4 LEDs will be:
– Glowing while charging
– Solid when charged
Insertion and Removal
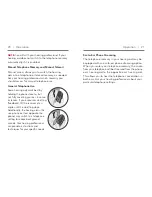
To insert the earbud or
earmold:
1� Hold the cable at the bend in
front of the receiver with your
thumb and forefinger� Gently
insert the receiver into your
ear canal�
2� Wrap the hearing aid over
the top of your ear, carefully
placing it behind your ear�
3� Place the retention lock inside
the bowl of your ear�
To remove the earbud or
earmold:
• Remove the retention lock
from the bowl of your ear�
• Remove the hearing aid from
behind your ear�
• Grasp the receiver with your
thumb and forefinger� Gently
pull out of your ear canal�
Do not pull with the hearing aid
case, as this may damage the
connection�
1
2
3


