A
ssembly &
S
etup
Use the following procedures to unpack and assemble your
SPINNER
®
Blade ION manufactured by Star Trac
.
UNPACKING
AND
PARTS LIST
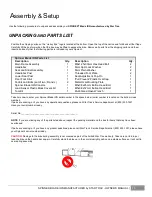
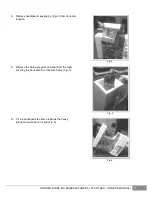
Position the shipping carton so the “Heavy End” logo is located at the bottom. Open the top of the carton and fold back all four flaps.
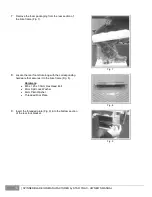
Carefully tilt the box forward so that the box may be lifted to expose the bike. Remove all parts from the shipping carton and foam
inserts, and verify that the following parts are included in your shipment:
Spinner Blade ION Parts List
Description
Qty.
Description
Qty.
Main Frame Assembly
1
M8x1.25x30mm Hex Head Bolt
2
Handlebar
1
8mm Split Lock Washer
2
Seat and Slider Assembly
1
8mm Plain Washer
2
Handlebar Post
1
Threaded Foot Plate
2
Lower Seat Post
1
Seat Adjustment Pop-Pin
1
Front Foot Strut
1
“Pull Prevent” Plastic Oval Cap
1
Pedals and Bolts (set of two; R and L)
2
Metal Oval Mounting Plate
1
Spinner Blade ION Console
1
M5x0.8x25mm Button Head Bolt
1
Load Sensor Plastic Block Covers Kit
1
M5x0.8x12mm Button Head Bolt
1
Tool Kit
1
Multi-Sized Open Wrench
1
Take time now to enter your Spinner
Blade ION
serial number in the space below (serial number is located on the bottom cross
member).
If parts are missing, or if you have any operational questions, please call Star Trac’s Service department at (800) 503-1221.
Have your serial number ready.
Serial No._____________________________________________
NOTE:
If you are missing any of the parts listed above, inspect the packing material and the box for items that may have been
overlooked.
If parts are missing, or if you have any product questions, please call Star Trac’s Service Department at (800) 503-1221, please have
your Spinner’s serial number ready.
CAUTION:
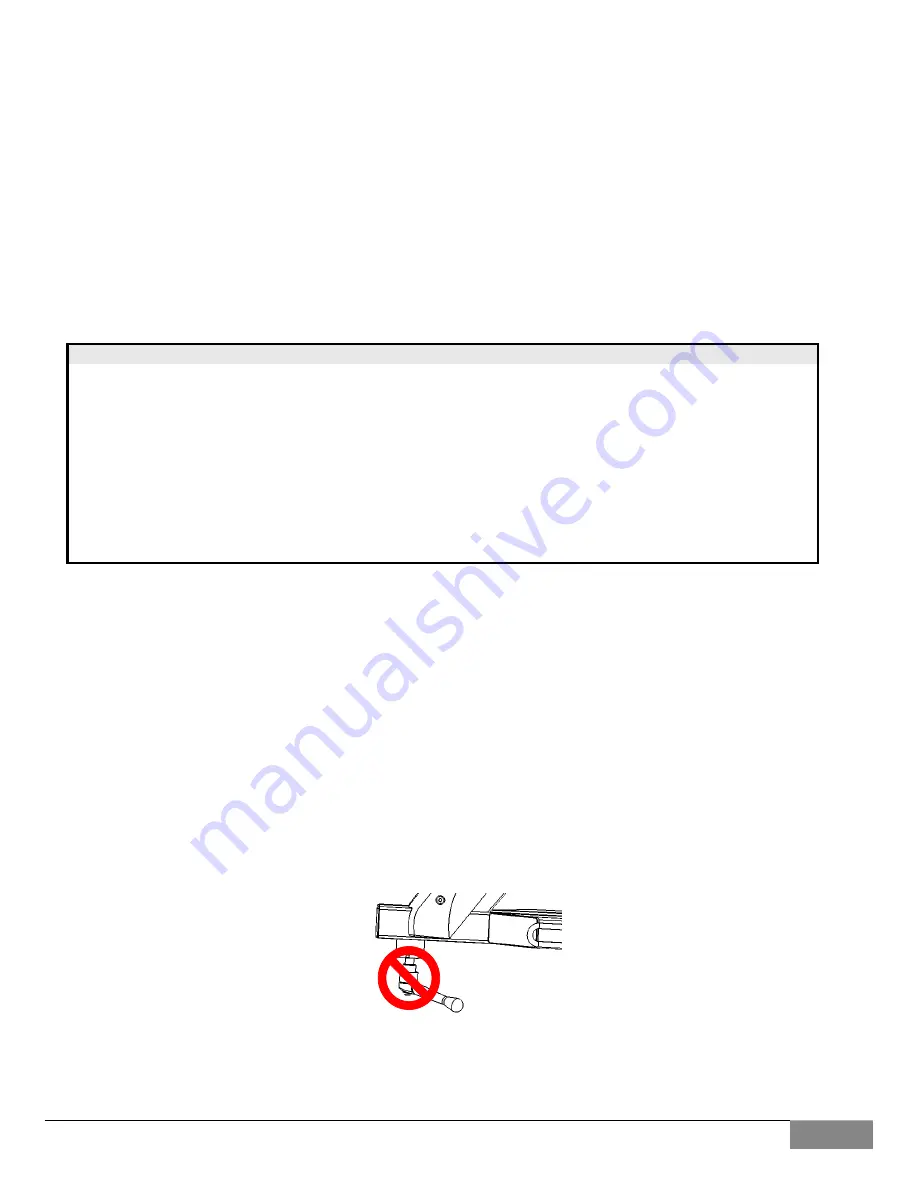
Damage to the bike during assembly is not covered as part of the limited Star Trac warranty. Take care not to drop or
lean the bike on the handle bar pop-pin. Carefully stand the bike up in the normal upright position on a stable surface so it will not tip
over during assembly.
SPINNER BLADE ION MANUFACTURED by STAR TRAC - OWNER’S MANUAL |
13


