


POWAVATOR 150
1:4 INTRODUCTION TO THE MANUAL
Standen products comply with the Machinery Directive
89/392/EEC, as amended by Directive 91/368/EEC, 99/44,
99/68.
This manual has been written and provided to enable users
Of the Standen products to :-
1.
Understand how the machine operates.
2.
Be able to operate the machine safely and without hazard to
either the operator or persons in the vicinity.
3.
Be able to use the machine to its full potential.
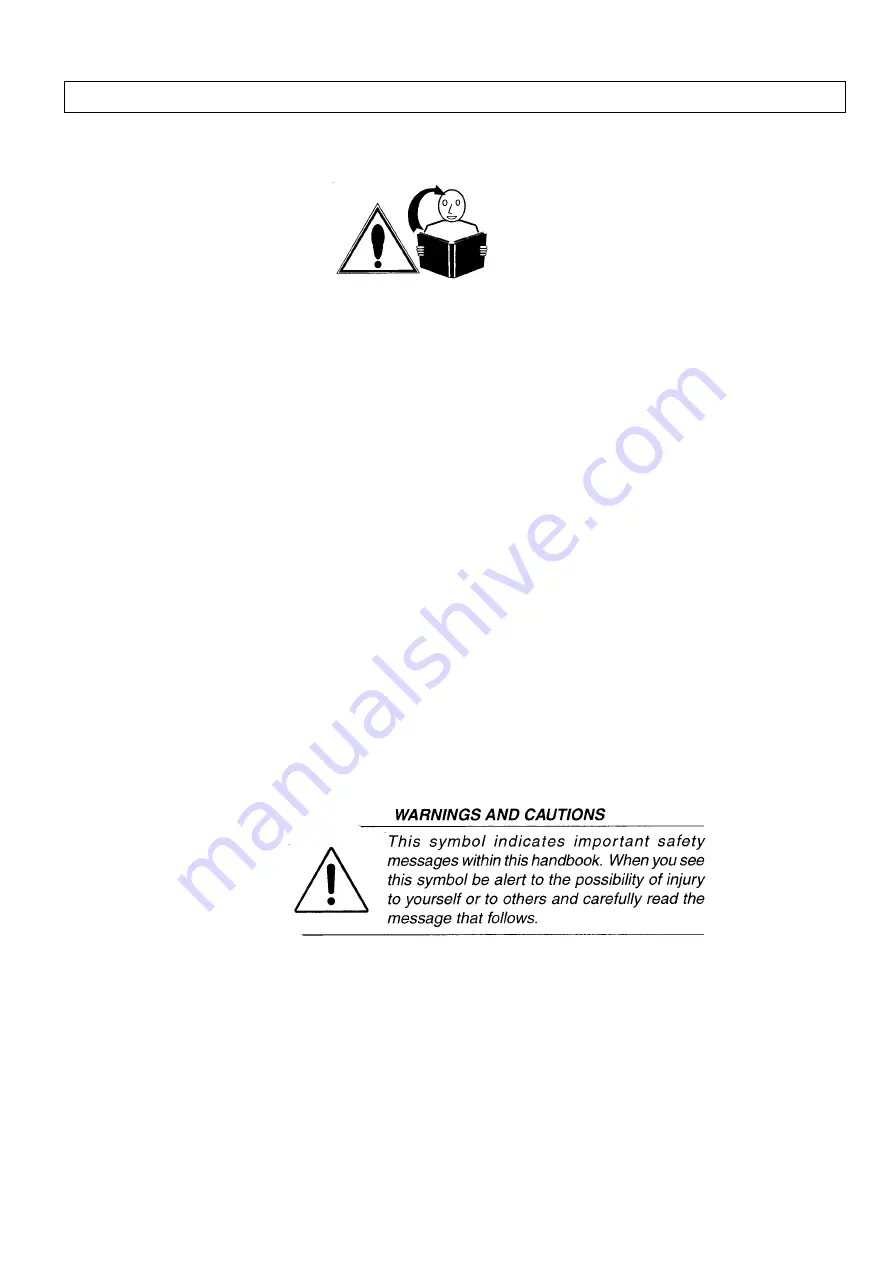
The operator must read all of the manual and fully understand its
contents before attempting to operate, adjust or service the machine.
The contents of this manual are intended as a guide to the
operation and servicing of the machine. It is not a training
manual.
Whilst all care and attention has been taken in the design and
production of all Standen products, as with all machinery there
remains a certain amount of risk to personnel whilst the machine is in
use.
It is strongly recommended that operators take all possible
precautions to ensure both their own safety and the safety of others
that may be in the vicinity.
Summary of Contents for POWAVATOR 150
Page 2: ......
Page 4: ......
Page 12: ...POWAVATOR 150...
Page 13: ...POWAVATOR 150...
Page 19: ...POWAVATOR 150...
Page 21: ...POWAVATOR 150 4 6 WEED CUTTER BLADES...
Page 30: ...POWAVATOR 150 Fig 6 5a 2 Blade Rotor Fig 6 5b 3 Blade Rotor...
Page 32: ...POWAVATOR 150...


