71
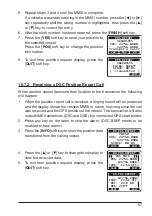
5. If you want to set the ATIS feature to another channel group, repeat step
2 through .
6. Press the [
CLR
] key to return to radio operation.
NOTE
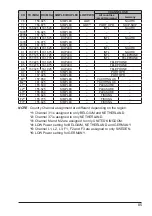
• The “Scan” and “Dual Watch” features are not available on the chan-
nel group while the ATIS feature is turned on.
• The TX output power is set to “1W” automatically on the following
channels of the channel group while the ATIS feature is turned on.
CH 06, 08, 10, 11, 12, 13, 14, 15, 17, 71, 72, 74, 75, 76, and 77
11.4 GPS SETUP
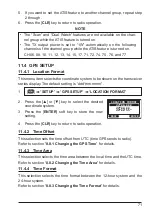
11.4.1 Location Format
This menu item selects the coordinate system to be shown on the transceiver
series display. The default setting is “ddd°mm.mmm”.
1. [
]
“
SETUP
”
“
GPS SETUP
”
“
LOCATION FORMAT
”
2.
Press the [▲] or [▼] key to select the desired
coordinate system.
BACK
ENTER
LOCATION FORMAT
dd°mm.mmm
dd°mm.mm
dd°mm’SS”
3. Press the [
ENTER
] soft key to store the new
setting.
4. Press the [
CLR
] key to return to radio operation.
11.4.2 Time Offset
This selection sets the time offset from UTC (time GPS sends to radio).
Refer to section “
11.4.3 Time Area
This selection selects the time area between the local time and the UTC time.
Refer to section “
11.4.4 Time Format
This selection selects the time format between the 12-hour system and the
24-hour system.
Refer to section “
8.8.3 Changing the Time Format
” for details.
Summary of Contents for ECLIPSE
Page 96: ......

