


11
Selecting software
You have many choices in recording software. Audacity, available for free online at
http://audacity.sourceforge.net/, is a widely used software program that provides basic recording software.
Setting your software levels
Correct adjustment of microphone level is important for optimum performance. Ideally, the microphone
level should be as high as possible without overloading the input of your computer. If you hear
distortion, or if your recording program shows levels that are consistently overloaded (at peak levels),
turn the microphone volume (or level) down, either through your control panel (or system preferences)
settings, or through your recording software. If your recording program shows insufficient level, you
can increase the microphone gain either from the control panel (or system preferences) settings or
through your recording program.
No further microphone level adjustments should be needed, as long as the acoustic input does not
change significantly.
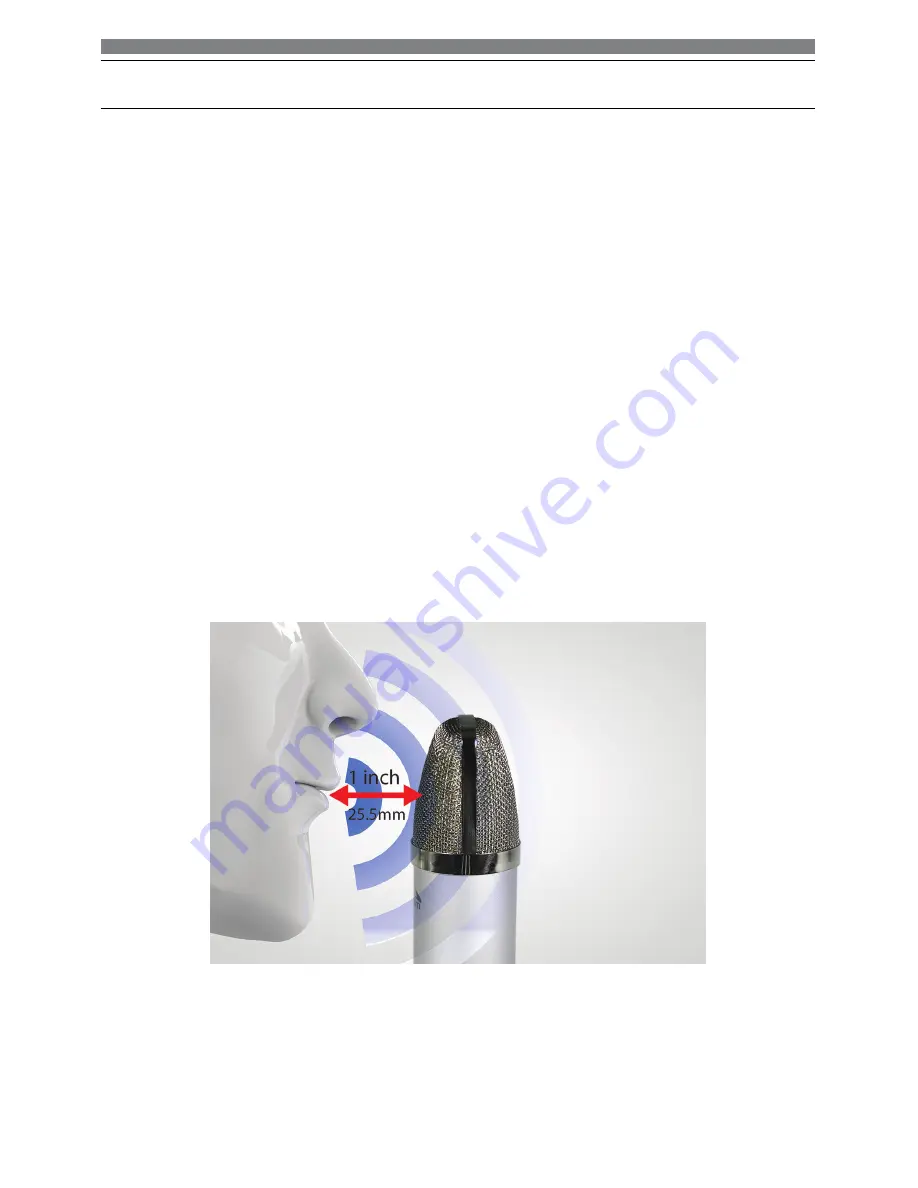
Positioning your microphone
It is important to position the microphone directly in line (on axis) with the person speaking/singing
or instrument (or other sound source) to achieve the best frequency response of the microphone.
This requires the user to speak into the microphone with the Stadium logo positioned
towards the
mouth
. As this microphone is
directional
. The distance from the mouth should be about 1 inch, or
10 - 40mm for optimal recording. For use in speaking/singing applications, the ideal placement for the
microphone is directly in front of the person speaking/singing The same placement is optimal when
miking an instrument such as an acoustic guitar, drums or piano. Experiment with different mic
placements to find the best sound for your particular setup.
Protecting your microphone
Avoid leaving your microphone in the open sun or in areas where temperatures exceed 110° F (43° C)
for extended periods. Extremely high humidity should also be avoided.
Additional Information


