11
en
8.2 Horizontal check
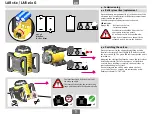
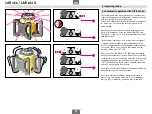
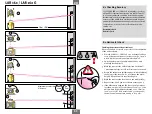
Checking the horizontal laser line level
Be sure to adhere as closely as possible to the orientation
of the unit as shown.
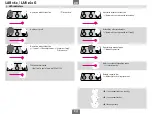
1. Place the LAR 160 / LAR 160 G on a horizontal surface
or on a tripod at a distance of at least 10 m (50’) from a
wall, with the operator panel towards the wall.
2. Switch the laser unit on and wait until it has auto
matically levelled itself.
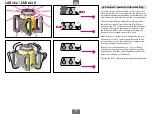
3. Mark the centre of the visible laser line on the wall
– measurement 1 (point 1). A receiver can also be used.
4. Rotate the entire laser unit through 90° without altering
the height of the laser (i.e. do not change the tripod
height). Allow the unit to level itself again.
5. Mark the centre of the laser line on the wall (point 2).
6. Repeat steps 4 and 5 twice to obtain points 3 and 4.
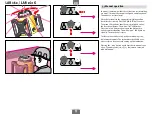
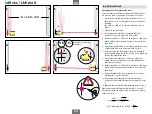
7. If the differences between the four control points are
less than 2 mm (1/8”) for a distance of 10 m (50 ‘), the
unit is within its permitted tolerance of ± 0.1 mm/m
(± 18” over 100ft). Here points 1 and 3 correspond to
the unit’s x-axis and points 2 and 4 to its y-axis.
1
1
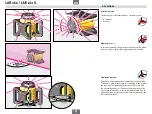
8.1 Checking Accuracy
The STABILA LAR 160/ LAR 160 G rotation laser has been
designed for construction sites and has left our factory
in a correctly adjusted condition. As with all precision
instruments, you should regularly check the calibration
accuracy of the unit. Before starting work each day, and
particularly if the unit has been exposed to heavy shocks
or vibrations, a check of the calibration should be
carried out.
Horizontal check
Vertical check
10 m
≤ 2 mm
50'
≤ 1/8”
10 m / 50’
Maximum permissible
difference:


