Spectur Guide for HD5 Installation
1300 802 960 | www.spectur.com.au
18
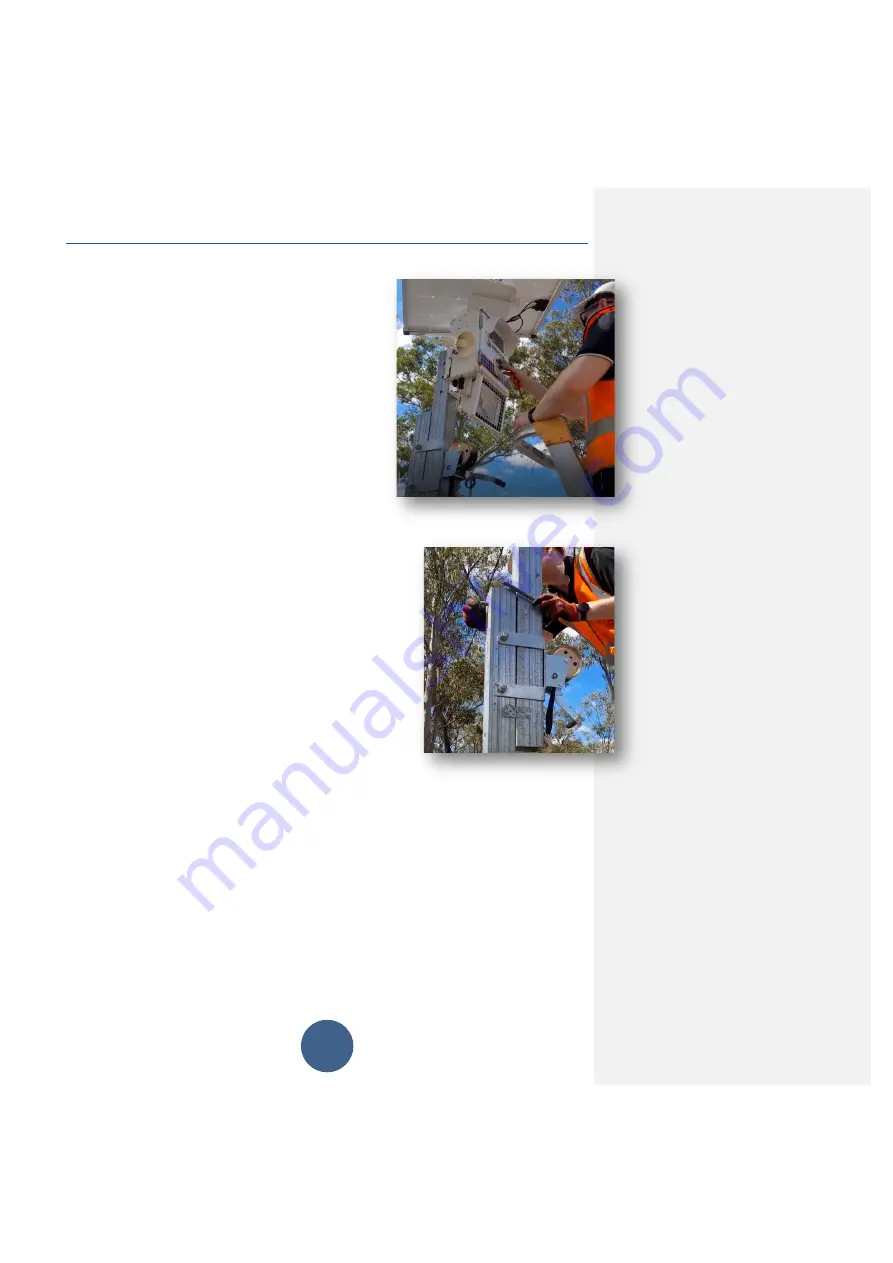
Step 10:
Confirm the PIR has been configured properly and is
able to detect motion in front of it. To check this,
activate the system and walk past the system. The
flood light should turn on. To configure the PIR, remove
the cover by unscrewing the Philips screw at the
bottom and lifting the cover off. Once open, gently
shift it so that it points in the desired direction.
Step 11:
When the configuration of the cameras is finalized, wind the
winch up. Wind until the two holes in each pole line up with
each other. Check the camera view again to make sure the
camera is viewing the desired area, if not bring it down and
refer to the Setup and checking system section. If the setup
is correct, insert an M15x235 bolt through each hole in the
pole as shown. Each of the bolts should have an M15
washer in contact with both sides of the pole. Secure the
bolt with an M15 nut.


