


Operation and settings
21
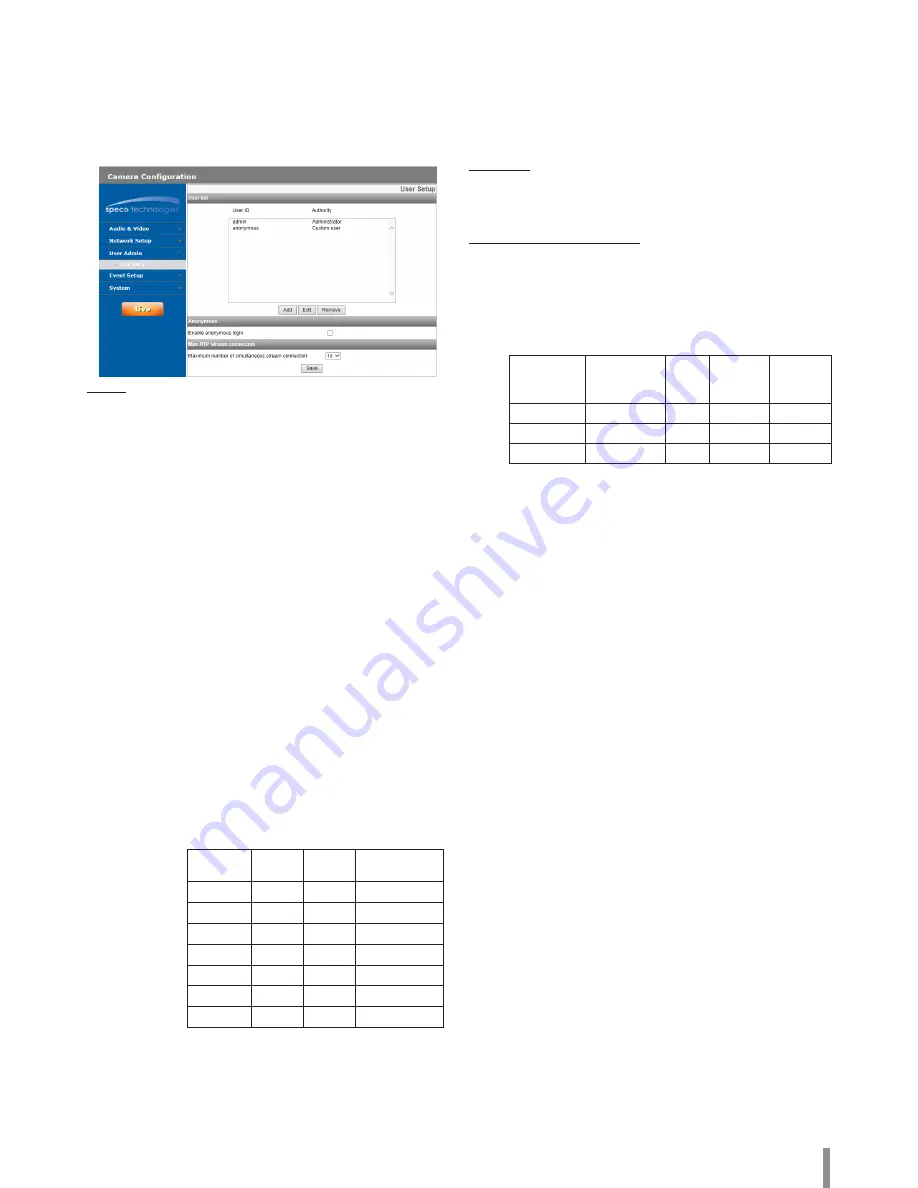
User settings
Basic
The IP device is shipped with the login rights of administrator only.
If others need to access the IP device excluding the configuration a
login with viewer rights need to be created. A maximum of 50 users
can be created.
User list
> Add the User
You can register a new user with various access rights.
1. Click the [Add] button. User setting dialog is displayed.
2. Enter the new User ID and Password. (Should have a
minimum of 4 characters and preferably a combination
of alphanumeric.)
3. To confirm the password, retype the password that you
typed in the Password box.
4. Select the authority from the drop down list to provide
the access rights to each user and then click the [Save]
to confirm your selection.
- Administrator: Allows you to operate setup menus
and to view live images.
- Power user: Use of the limited functions of the
system. (The Setup menu is not allowed.)
A power user can use the Live View, OSD control and
audio functions.
- Normal user: Provides the lowest level of access,
Allows to view live images only.
- Custom user: The user can login and view the live
stream image only when the “Enable anonymous
login” option is checked to enable it.
Note:
•
Remember the password.
•
Displayed Items according access authority are
as below:
Admin
Power
User
Normal User /
Custom User
PTZ
O
O
X
DPTZ
O
O
X
REC
O
O
X
BI-AUD
O
O
X
MIC
O
O
X
SPEAKER
O
O
X
SETTINGS
O
X
X
> Edit the registered user
You can change the password or authority.
1. Choose the user ID and then click the [Edit] button.
2. Change the Password or Authority, then click the [Save]
button to confirm your selection.
> Delete the registered user
1. Choose the user ID you want to delete.
2. Click the [Remove] button.
Note:
The default administrator user ID ‘admin’ and ‘anonymous’
are permanent and cannot be deleted.
Anonymous
> Enable anonymous login
Check the box to enable anonymous user login - allows the
user access for only viewing the live stream image.
Maximum RTP stream connection
> Maximum number of simultaneous stream connection:
Set this number to limit the number of simultaneous stream
connections.
The connections depend on the stream configuration as
shown in the following Maximum RTP stream connection by
stream configuration.
Video Codec Resolution
Frame
Rate
Quality
Maximum
RTP
stream
H.264_HIGH 1920 x 1080
30
HIGHEST Up to 20
H.264
1920 x 1080
30
HIGHEST Up to 20
MJPEG
1920 x 1080
10
HIGHEST Up to 14
Note:
Preview window of the IP device setting and preset setting
are affected by this setting.
•
Save: Click this button to confirm the settings.
Summary of Contents for O2B16
Page 30: ......


