1/22/2018
LilyPad ProtoSnap Plus Hookup Guide - learn.sparkfun.com
https://learn.sparkfun.com/tutorials/lilypad-protosnap-plus-hookup-guide?_ga=2.234157401.659504291.1516640116-204410570.1509632255
15/23
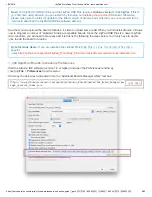
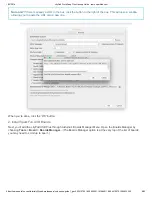
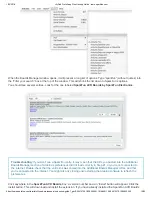
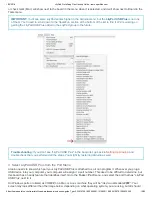
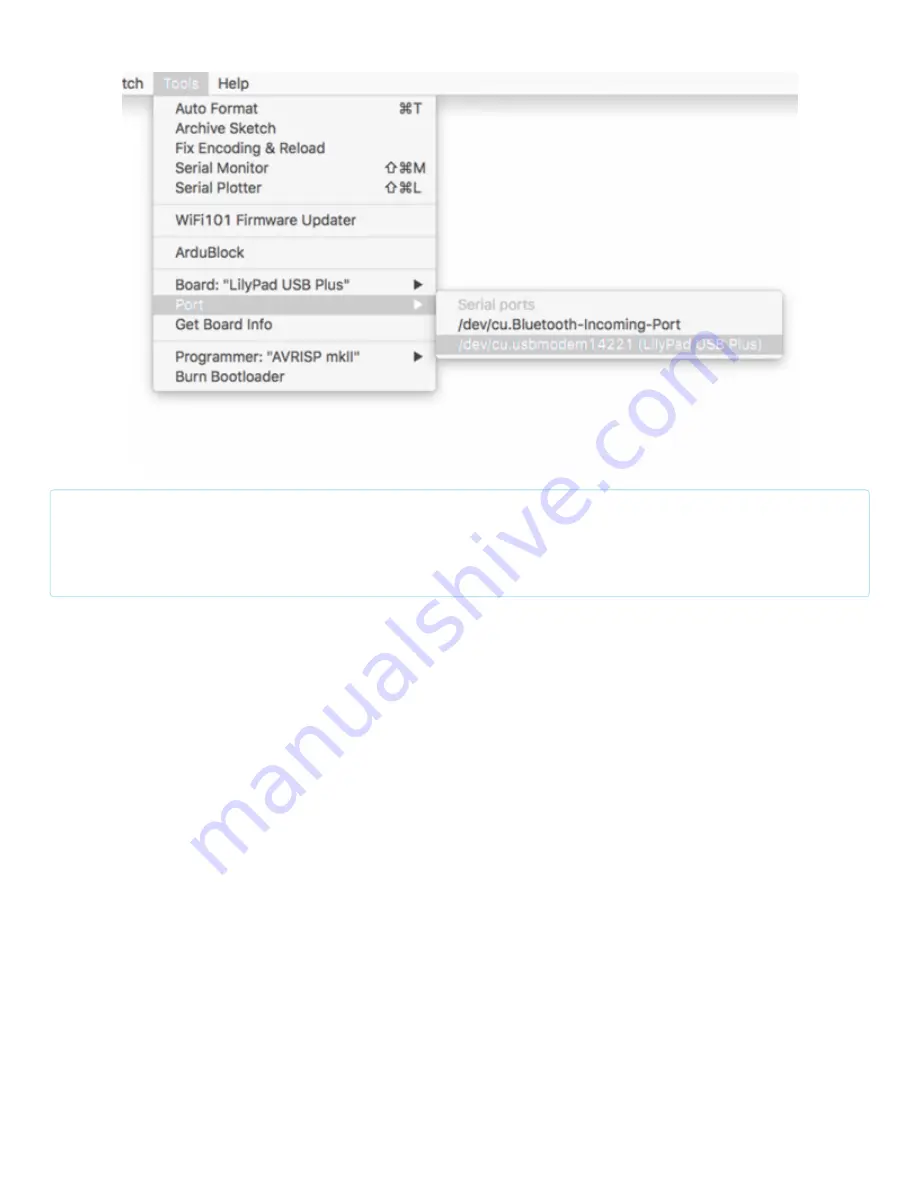
show LilyPad USB Plus next to the port address.
Troubleshooting: If you don't see a port with "LilyPad USB Plus" next to it, ensure that the board is powered up
(switch in the ON position), and that the USB cable is securely connected to both the board and your computer.
Some micro-USB cables are only meant for charging and don't pass data - they'll power the board, but it won't
show up in the port menu. If needed, try a different cable.
Uploading Code
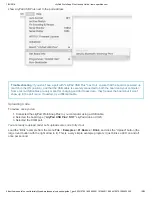
To review, once you’ve:
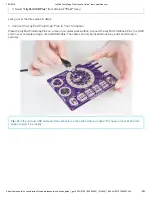
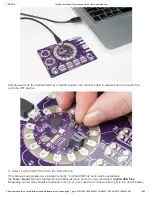
1. Connected the LilyPad ProtoSnap Plus to your computer using a USB cable.
2. Selected the board type (“LilyPad USB Plus” NOT “LilyPad Arduino USB”).
3. Selected the COM port.
You are ready to upload code! Let’s upload some code to try it out:
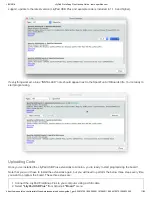
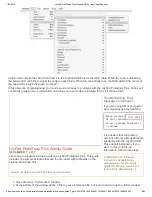
Load the “Blink” example from the menu File > Examples > 01.Basics > Blink, and click the “Upload” button (the
large round button with the right arrow in it). This is a very simple example program; it just blinks a LED on and off
once per second.


