1/22/2018
LilyPad ProtoSnap Plus Hookup Guide - learn.sparkfun.com
https://learn.sparkfun.com/tutorials/lilypad-protosnap-plus-hookup-guide?_ga=2.234157401.659504291.1516640116-204410570.1509632255
14/23
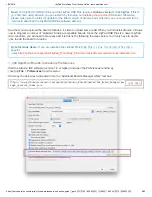
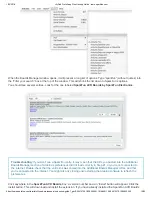
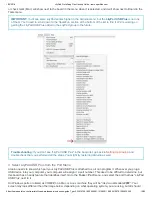
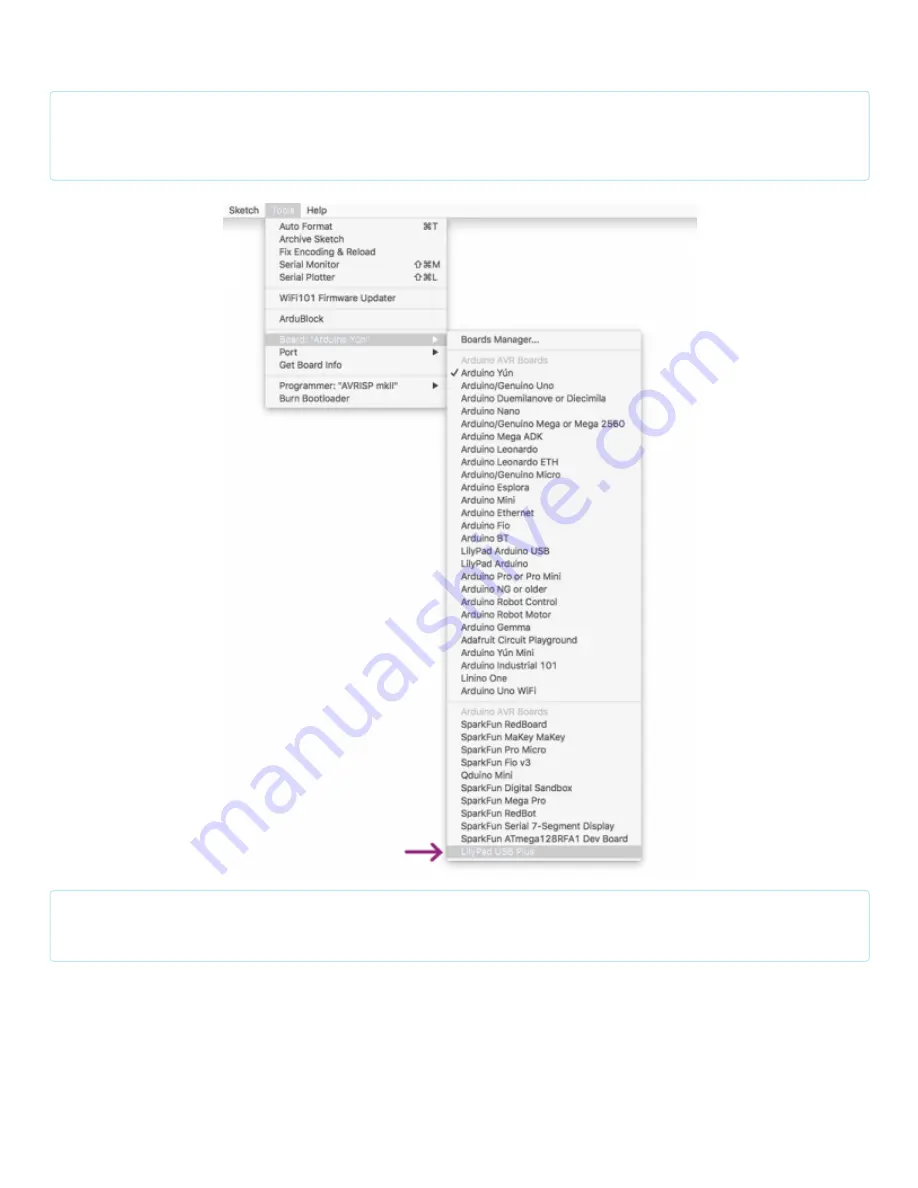
or check mark (Mac) will show next to the board in the menu when it is selected, and it will show next to Board in the
Tools menu.
IMPORTANT: You'll see some LilyPad entries higher in the Arduino menu, but the LilyPad USB Plus is not one
of them. You'll need to scroll down to the SparkFun section at the bottom of the list to find it. We're working on
getting the LilyPad USB Plus added to the LilyPad group in the future.
Troubleshooting: If you don't see "LilyPad USB Plus" in the board list, go back to
and
double check that you performed all the steps. You might try restarting Arduino as well.
3. Select LilyPad USB Plus from the Port Menu
Arduino needs to know which port your LilyPad USB Plus is attached to so it can program it. Whenever you plug a
USB device into your computer, your computer will assign it a port number. This used to be difficult to determine, but
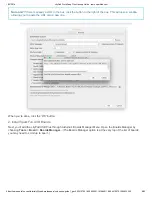
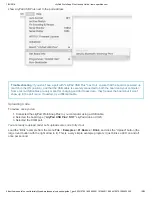
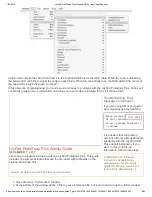
this board has a handy feature that identifies itself. Go to the Tools > Port menu, and select the port that has “LilyPad
USB Plus” next to it.
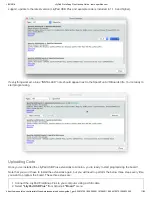
On Windows ports are listed as COM##; on a Mac or Linux machine they will be “/dev/cu.usbmodem####”. Your
screen may look different than the image below, depending on what operating system you are using, but all should


