Build
file:///C|/Users/Frank/Documents/Spad%20Plans%20in%20PDF%20format/zipped/derelict/build.html[6/15/2011 2:15:56 PM]
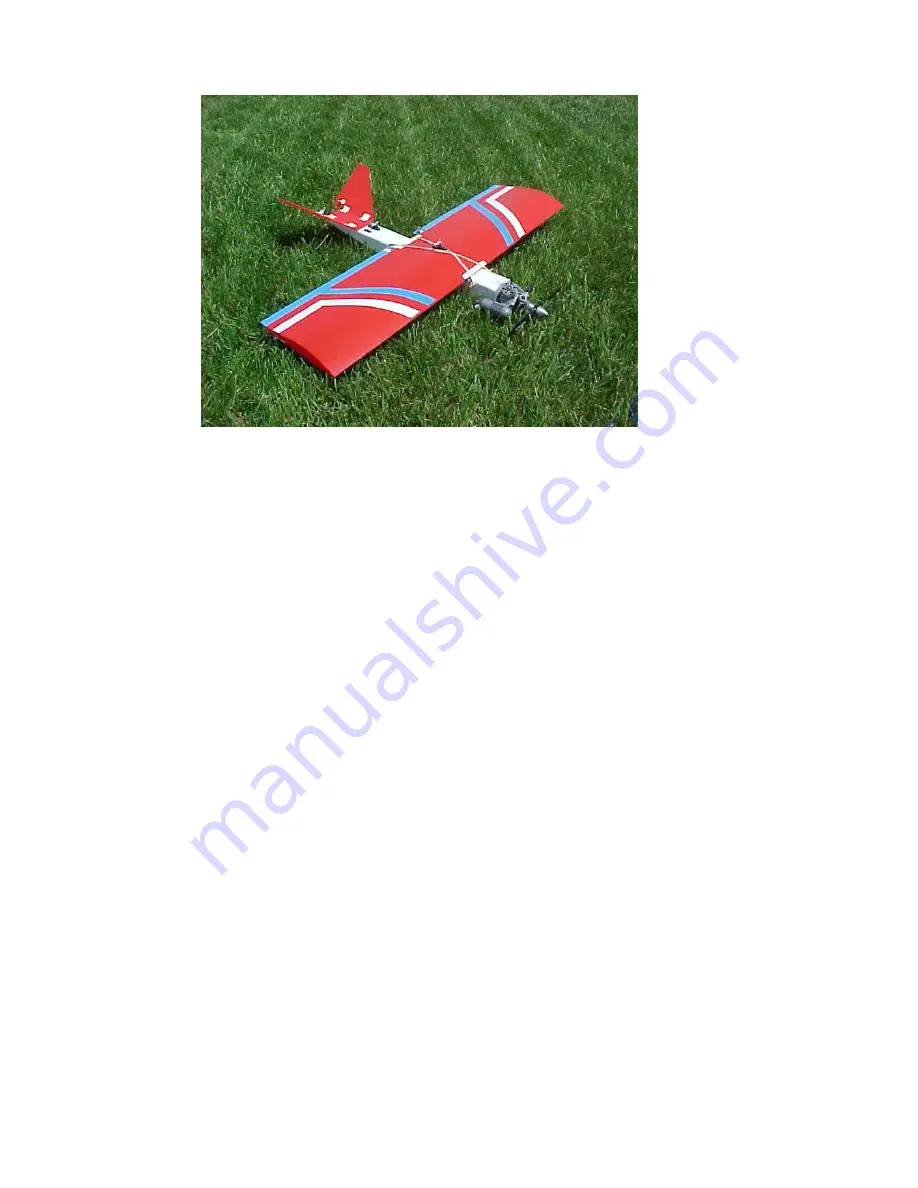
SPAD Derelict Building Instructions
The Derelict does not contain any new secrets or design breakthroughs, in
fact it's construction is extremely simple and true to all it's other SPAD family
members. The difference here is material selection! We have discovered that
our local Pay-Less Cashways carries a Canadian brand of PVC gutter pipe
that has a thinner wall & also has a smaller O.D. measurement (2 3/8"), and it
is much lighter than American made gutter pipe (about half the weight!). We
have also discovered that our local Coroplast® supplier can special order 2
MIL Coroplast®, which is half the thickness, and almost half the weight of the
4 MIL we have been using. The Derelict uses the 2 MIL Coroplast® for the
wing, and 4 MIL Coroplast® for the tail, and ailerons. The 2 MIL Coroplast®
is flexible enough to bend perfectly over the wing spar, without the need for
any upper airfoil folds! In only it's second outing, the prototype Derelict
(piloted by Kraut) won an RCCA event in Smithville, Missouri! It was up
against a Raptor, a Fun Bat, and three SPAD Defenders. The prototype was
equipped with a Magnum® .25, a 270 mah battery pack, three Hitec® HS-81
servos, and weighed in at less than 2 1/2 pounds! This plane is most
certainly geared towards experienced builders and flyers, so these
instructions will be right to the point. If you have any further questions, please
don't hesitate to post them on our SPAD message board .
Fuselage:
1) Starting with a 24" piece of Gutter pipe, measure, mark, and cut out the
radio access hole, and rear cut out as shown on the fuselage drawing. A
Dremel® with a cutting wheel works best for this. There in NO down or right
thrust on the Derelict. If you are using full size radio gear - see the note
below, if not, procede to step 2.
NOTE: If you are planning on using full size radio gear, we highly
recommend installing all of the radio gear, engine and fuel tank in the
fuselage first (before drilling the wing hold down dowel holes). Then take the
wing and tape it to the fuselage - sliding it fore and aft as necessary - until the


