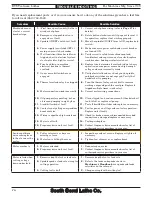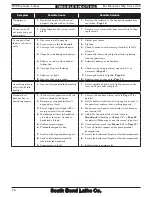
For Machines Mfg. Since 7/09
EVS Toolroom Lathes
-71-
S E R V I C E
Leadscrew Shear Pin
Replacement
9mm
7
mm
5.
8mm
0
.5
mm
0
.
2mm
0
.
2mm
3mm
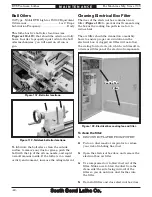
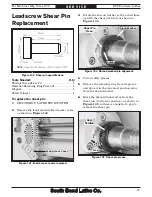
NOTE:
Shear P
i
n Mater
i
al = S4
5
C (S
A
E 104
5
)
Figure 142. Shear pin specifications.
Tools Needed:
Qty
Phillips Screwdriver #2 ........................................ 1
External Retaining Ring Pliers #1 ....................... 1
Magnet ................................................................... 1
Safety Glasses ....................................................... 1
To replace the shear pin:
1.
DISCONNECT LATHE FROM POWER!
2.
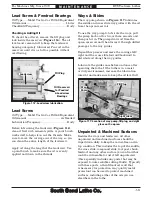
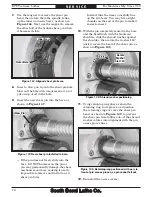
Remove the front and side feed access covers,
as shown in
Figure 143
.
3.
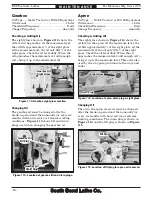
Rotate the shroud washer so the cutout lines
up with the shear pin head, as shown in
Figure 144
.
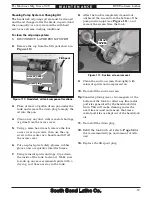
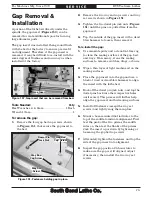
Figure 145. Shear pin access.
Rear
Position
Gap
4.
Put on safety glasses.
5.
Remove the retaining ring from its groove
and place it in the rear-most position away
from the shroud washer.
6.
Move the shroud washer away from the
shear pin (to the rear position), as shown in
Figure 145
, so there is enough of a gap to
remove the shear pin.
Figure 144. Shroud washer/pin alignment.
Shear Pin
Head
Shroud Washer
Cutout
Figure 143. Feed access covers removed.
Feed Access Cover
Summary of Contents for SB1013F
Page 120: ......

