10
U S I N G C R Y S T A L L I Z E R
Basics
Note: Since you would probably not be reading this unless you own a Pro Tools sys-
tem we kind of take it for granted that you have at LEAST a basic working knowledge
of your computer and of Pro Tools. If you don’t, we strongly suggest you make your-
self a strong cup of coffee (or two), get a comfortable chair and familiarize yourself
with the ins and outs of your Pro Tools system before delving too much further into
Crystallizer. Digidesign is really nice and provides lots of manuals for your reading
pleasure!
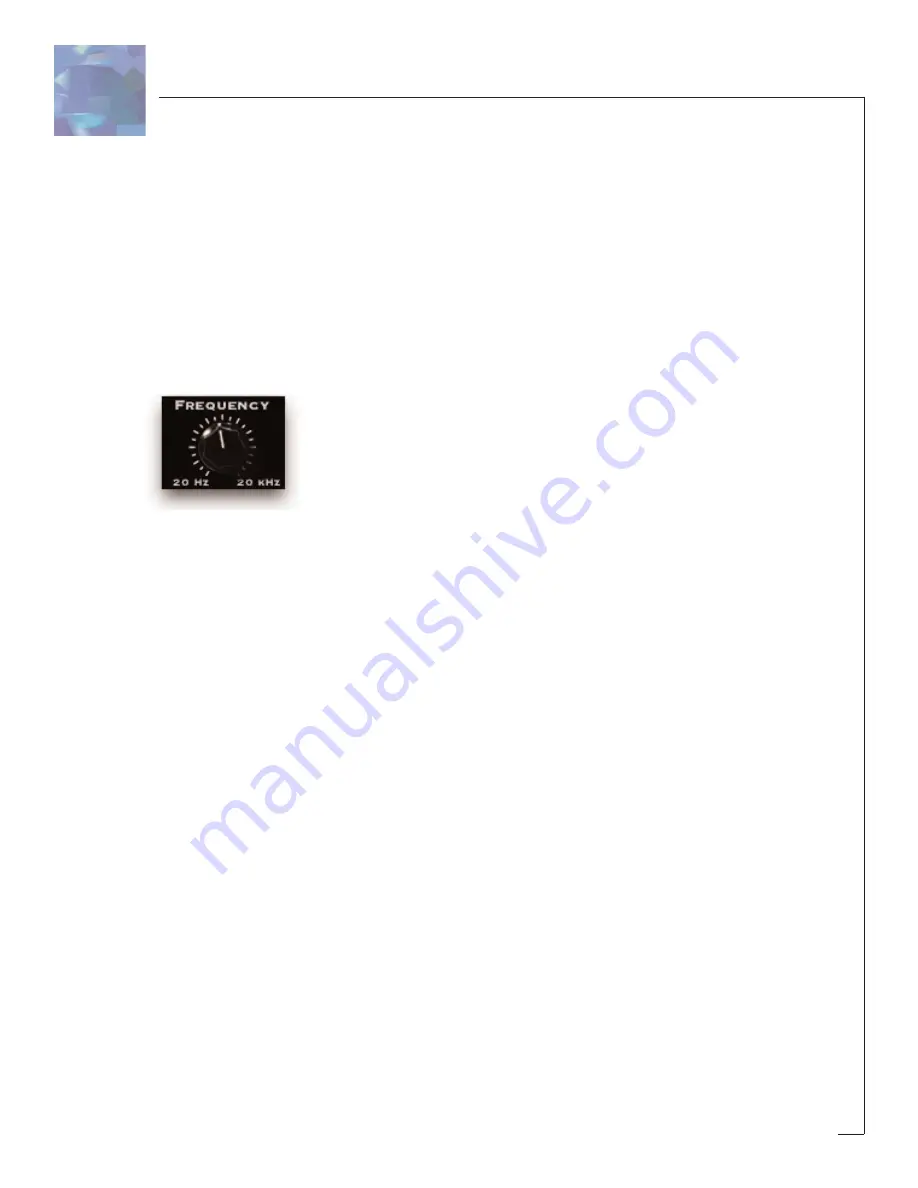
Knobs
You can use a mouse to control all of the knobs in Crystallizer and they all work in
the same way: To turn a knob up, (to the right, clockwise etc), click on the knob with
your mouse and drag the cursor to the right or slide the cursor up (towards the ceil-
ing). To turn a knob down, (to the left, counter-clockwise), click on the knob with the
mouse and drag the cursor to the left or down (towards the floor). "Mousing" around
in a circle doesn’t really work; you’ll just get frustrated and or dizzy, neither of which
is a lot of fun.
Jumping to a Value using Text Markings
Some knobs have text markings showing minimum, maximum, or other values.
Clicking on one of these text markings will automatically move the knob directly to
that value.
Returning a Knob to its Default Value
To return to the knobs "default value", simply hold down the
option key and click on
the knob. This will automatically move the knob back to its default value.
Viewing a Knob’s Exact Value
To view the exact numerical value of a knob simply hold down the
control key and
click on the knob. To see the knob’s title, hold down
control and click on the knob a
second time.
Adjusting a Knob with Fine Control
To get finer control over knob values, hold down the apple
ð
key while dragging the
mouse.
Summary of Contents for Crystallizer
Page 1: ......


