28
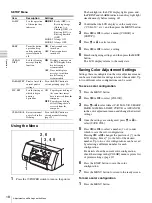
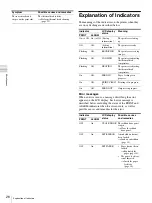
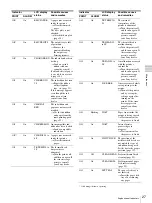
Explanation of Indicators
Mis
c
e
lla
neou
s
** Lights only if 51 displayed.
When contacting your Sony dealer for assistance, be sure
to provide the error message and numeric value (if
appicable) that appears on the LCD display.
Clearing a Paper Jam
Once printing starts, if the ALARM indicator lights and
any of the following messages appear on the computer
monitor, it is possible that a paper jam has occurred inside
the printer:
“A paper jam has occurred. Remove the jammed paper.”
“A paper jam has occurred. Printing has stopped. Remove
the jammed paper and then resume printing.”
“There is a problem with a printer operation. Printing has
stopped. Turn the printer off and then back on again, and
then resume printing.”
Follow the procedure described below to clear the jammed
paper.
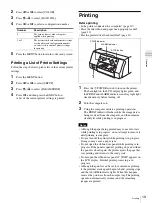
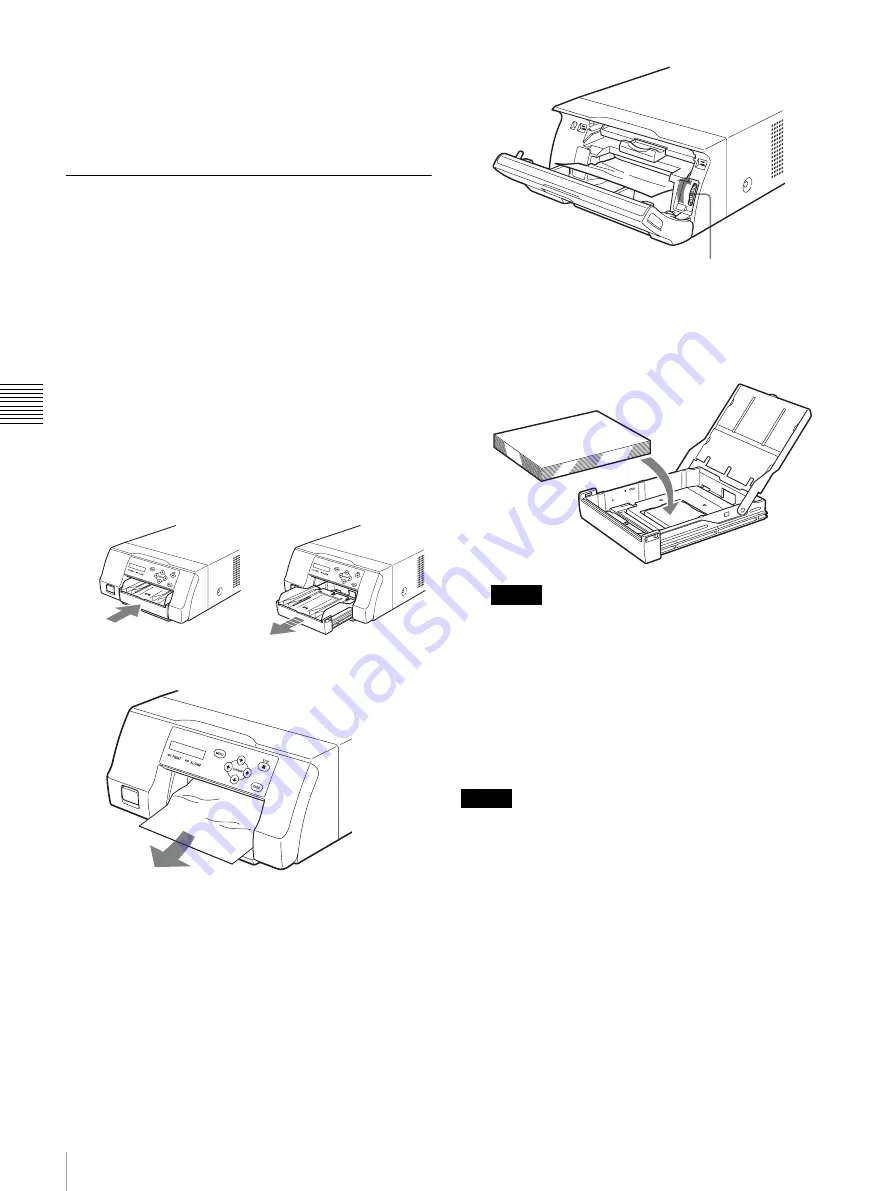
1
Press the
Z
mark on the paper feed tray to eject the
tray.
2
Clear any paper that jammed halfway.
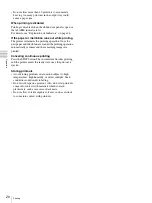
When the paper jam is deep inside the printer and
cannot be cleared, open the ribbon door panel and turn
the dial upward. This ejects the paper jammed deep
inside.
If the paper jam cannot be cleared even by turning the
dial, refer to “If a paper jam cannot be cleared” on
page 28.
3
Load the paper properly.
Notes
• Do not reuse the paper removed in step 2.
• Only use paper from the printing packs
recommended for this printer.
4
Insert the paper feed tray into the printer.
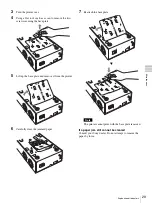
If a paper jam cannot be cleared
Follow the steps below to open the base plate on the printer
and clear the paper jam.
Notes
• Before clearing a paper jam with the following
procedure, press the
!
POWER switch to turn off the
printer, but also unplug the power cord from the wall
outlet.
• Before turning over the printer, disconnect any
connecting cables. Bending or twisting cables can
damage them and may cause a fire hazard or an electric
shock hazard.
• When it is necessary to touch internal printer parts to
remove a paper jam inside the printer, be careful not to
damage the internal parts.
1
Press the
!
POWER switch to turn off the printer, and
then unplug the power cord and USB cable.
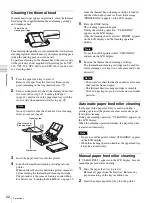
2
Eject the paper feed tray from the printer.
Dial
Summary of Contents for UPD25MD
Page 30: ...Sony Corporation ...


