— 19 —
KV-20S90 / 21SE43C
V. FREQUENCY CHECK
1. Select video 1 with no signal input.
2. Set the conditions for a standard setting.
3. Connect the frequency counter to TP-508 or CN501 pin 6 (V DY+)
connector and ground.
4. Check that V. Frequency shows 60 ± 4 Hz.
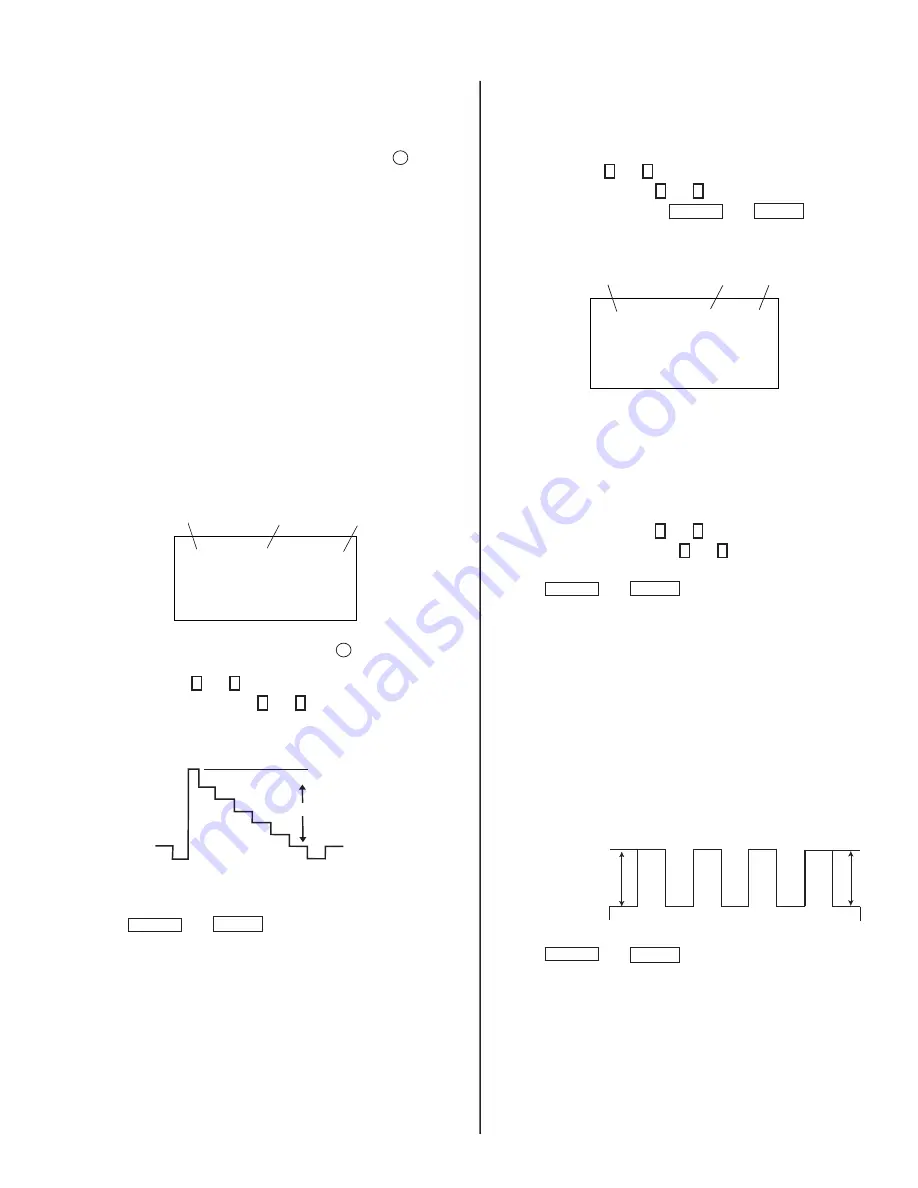
SUB CONTRAST ADJUSTMENT (RDRV)
1. Input a color-bar signal.
2. Set the red color on (1).
3. Set in Service Adjustment Mode.
4. Select the item DCOL level to 0.
5. Set the conditions as follows:
PICTURE:
MAX
COLOR:
MIN
BRIGHT:
CENTER
R ON:
ON
(1)
G ON:
OFF
(0)
B ON:
OFF
(0)
Display
Item
Mode
26
SERVICE
RON
1: ON
0: OFF
6. Connect an oscilloscope probe to CN301 pin 2 (Red Out) and
ground .
7. Select RDRV with 1 and 4 .
8. Adjust the value of RDRV with 3 and 6 for
1.50 ± 0.05 Vpp.
1.50 ± 0.05 Vpp
White
Black
9. Reset the item DCOL to 1.
10. Press MUTING then ENTER to save into the memory.
11. Return the following back to normal after adjustment.
PICTURE:
MAX
COLOR:
CENTER
BRIGHT:
CENTER
R ON:
ON
(1)
G ON:
OFF
(1)
B ON:
OFF
(1)
DISPLAY POSITION ADJUSTMENT (DISP)
1. Input a color-bar signal.
2. Set to Service Adjustment Mode.
3. Select DISP with 1 and 4 .
4. Adjust values of DISP with 3 and 6 to adjust characters to the center.
5. Write to memory by pressing MUTING then ENTER .
6. Check to see if the text is displayed on the screen.
Display
Item
Mode
Item
Data
SERVICE
DISP
15
SUB BRIGHT ADJUSTMENT (SBRT)
1. Input a crosshatch signal.
2. Set to Service Adjustment Mode.
3. Set the PICTURE and BRIGHTNESS to minimum.
4. Select the SBRT item with 1 and 4 .
5. Adjust the values of SBRT with 3 and 6 to obtain a faintly visible
crosshatch.
6. Press MUTING then ENTER to save into the memory.
SUB HUE, SUB COLOR ADJUSTMENT (SHUE,
SCOL)
1. Input a color-bar signal.
2. Set to Service Adjustment Mode.
3. Connect a probe to TP47B B-OUT (C Board).
4. Measure white V1 and blue V4.
4.1)
Increase SCOL Re1 setp.
STANDARD
|V4 - V1| = ± 0.2Vpp
|V3 - V2| = ± 0.2Vpp
V1
V2
V3
V4
5. Press MUTING then ENTER to save into the memory.
Summary of Contents for TRINITRON KV-20S90
Page 45: ......
Page 53: ...Connecting Additional Equipment ...
Page 55: ...User Guide ...
Page 63: ......
Page 79: ......
Page 83: ......
Page 86: ......
Page 87: ......
Page 88: ......
Page 89: ......
Page 90: ......


