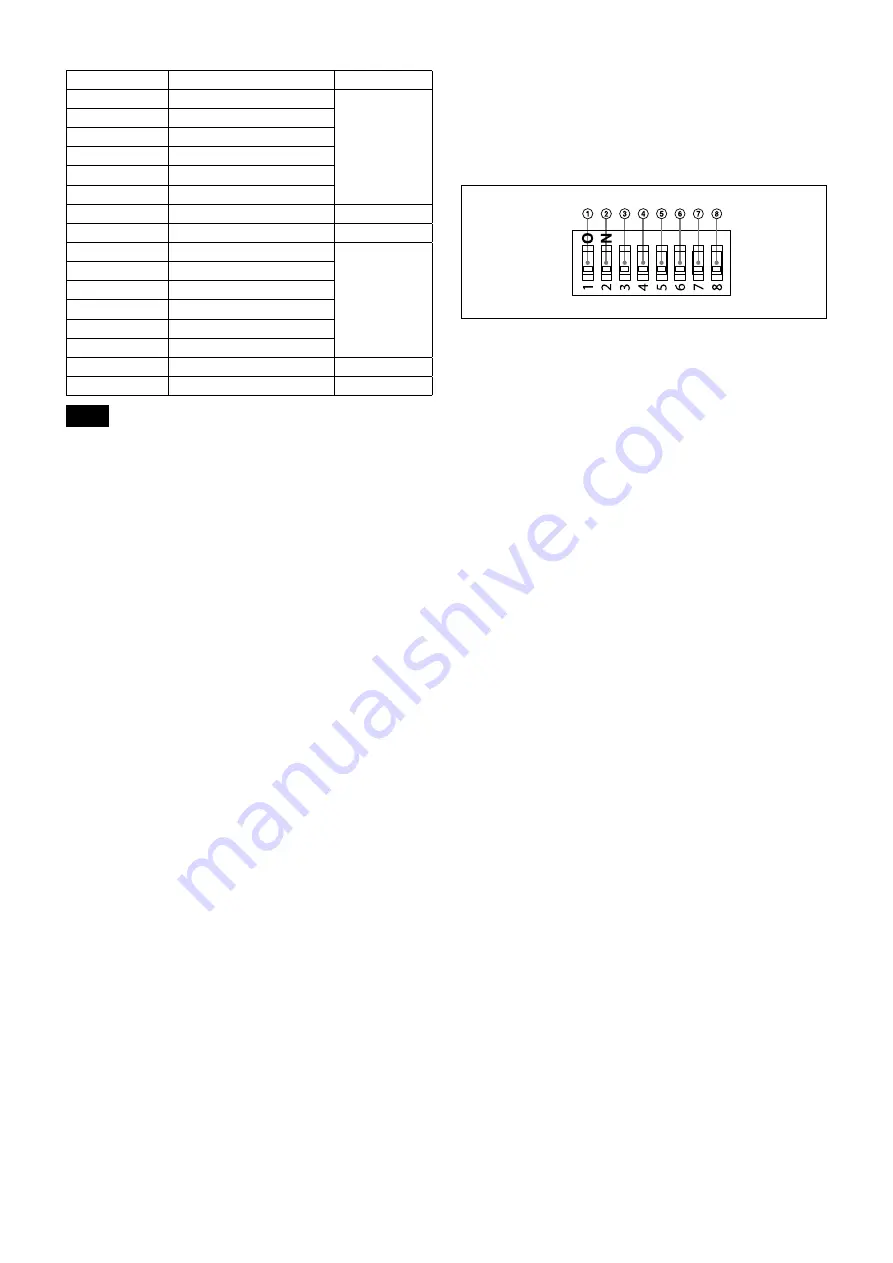
Locations of Controls
Switch position Video format
0
1920×1080p/59.94
59.94 Hz system
1
No output
2
1920×1080p/29.97
3
1920×1080i/59.94
4
1280×720p/59.94
5
1280×720p/29.97
6
EDID
—
7
VISCA CONTROL
—
8
1920×1080p/50
50 Hz system
9
No output
A
1920×1080p/25
B
1920×1080i/50
C
1280×720p/50
D
1280×720p/25
E
No output
—
F
No output
—
Notes
Be sure to set this switch before you turn on the power of the
camera. You can also set this switch in the standby mode of the
camera. After completing the setting, turn on the power of the
camera by connecting it to an AC outlet using the supplied AC
power adaptor and AC power cord, by using the VISCA
command or infrared remote commander.
Be sure to use a Phillips-head screwdriver when changing the
switch position. If you use a tool other than the designated
screwdriver, the crossed groove may be damaged.
If the switch position is set to 1, 9, E and F (no output), the
POWER lamp and STANDBY lamp will both remain lit. In such
cases, control via the infrared remote commander and VISCA
communication is disabled.
If the switch position is set to 6 (EDID), the most suitable format
will be output automatically based on the resolution of the Video
monitor to be connected.
If the switch position is set to 7 (VISCA CONTROL), you can
configure the video format via external communication.
Setting of the BOTTOM switches
To change the BOTTOM switch setting, select the
BOTTOM switch with the power of this unit turned off
(not including standby state), and then turn on the DC
power. The setting cannot be changed after the power
is turned on.
ON
OFF
(Initial position)
VISCA/LAN switch
Select the communication method setting.
Set to ON to use the LAN connection and set to OFF to use
the VISCA CONTROL (serial control).
RS-232/RS-422 select switch (when using the serial
connection)
Set to OFF to operate the color video camera using the
VISCA command via the RS-232 interface. Set to ON to
operate it via the RS-422 interface.
Baud rate select switch (when using the serial
connection)
Set the communication speed in the VISCA CONTROL.
ON: 38,400 bps
OFF: 9,600 bps
IR OUT switch
Set to ON to enable output of the receiver signals, which are
transmitted from the infrared remote commander via the
VISCA IN connector (page 56), or set it to OFF to disable
the output.
Switch 5 (Not used)
Be sure to set this switch to OFF.
Switch 6 (Not used)
Be sure to set this switch to OFF.
Switch 7 (Not used)
Be sure to set this switch to OFF.
Switch 8 (Not used)
Be sure to set this switch to OFF.


