Getting Started
25
Getting Started
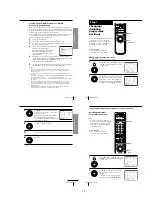
TV system
Country
Channel
number in
the
CHANNEL
SET column
63
64
65
66
67
68
69
70
C1
C2
C3
C4
C5
C6
C7
C8
C9
C10
C11
C12
C13
C14
C15
C16
C17
C18
C19
C20
C21
C22
C23
Corresponding channels
D/K
Japan
East
Europe
UK/Hong
Kong
Ireland
U.S.A.
China
South
Africa
I
M
50
51
52
53
54
55
56
57
6
B63
B64
B65
B66
B67
B68
B69
63
64
65
66
67
68
69
11
(12)
13
70
71, 72
73
74
75, 76
77
78
79
A-2, A-3
A-1
A
B
C
D
E, F
G
H
I
L, M
N
O
P
Q
R
S, T
U
V
W
W+1, W+2
W+3
W+4
J-3, M1
M2
M3
M4
M5
M6
M7, M8
M9
M10
J-4
S2
S3
S4, S5
S6
S7
S8
S9, S10
S11
S12
S13
S14, S15
S16
S17
continued
Getting Started
26
Step 5: Presetting channels (continued)
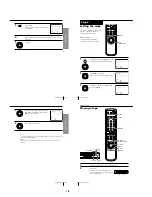
TV system
Country
Channel
number in
the
CHANNEL
SET column
C24
C25
C26
C27
C28
C29
C30
C31
C32
C33
C34
C35
C36
C37
C38
C39
C40
C41
C42
C43
C44
C45
C46
Corresponding channels
D/K
Japan
East
Europe
UK/Hong
Kong
Ireland
U.S.A.
China
South
Africa
I
M
W+5, W+6
W+7
W+8
W+9, W+10
W+11
W+12
W+13, W+14
W+15
W+16
W+17, W+18
W+19
W+20
W+21, W+22
W+23
W+24
W+25, W+26
W+27
W+28
4, 4A
6
A-5
A-4
S18, S19
S20
S21
S22, S23
S24
S25
S26, S27
S28
S29
S30, S31
S32
S33
S34, S35
S36
S37
S38, S39
S40
S41
J-1
J-2
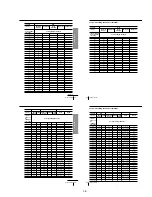
Notes
• There may be a case that the same area channel may appear repeatedly as the other
channel number in the CHANNEL SET column.
• The shadow in the table shows the adjustable RF output channel range.
Getting Started
27
Getting Started
Setting up the
G-CODE system
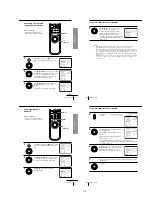
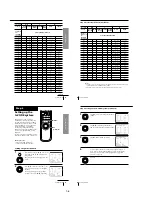
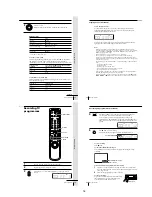
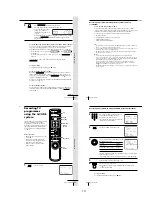
The G-CODE system is a feature
included in Sony VCRs that simplifies
programming the VCR to make timer
recordings. To use the G-CODE system,
each programme position needs to be
matched with its G-CODE guide
channel. To get the guide channel
numbers, look in the programme guide
for your area that features G-CODE
numbers.
If you want to record satellite broadcast
using the G-CODE system, see page 29.
Before you start…
• Turn on the VCR and the TV.
• Set the TV to the video channel.
Setting the guide channels
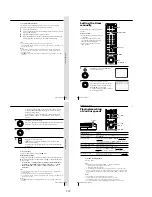
1
Press MENU, then press
M
/
m
to move the
cursor (
B
) to SET UP CH AND G-CODE
and press OK.
The preset channels are displayed on the
screen.
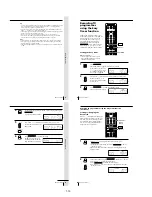
2
Press
M
/
m
to move the cursor (
B
) to the
row on which you want to set the guide
channel.
To display other pages for programme
positions 6 to 50, press
M
/
m
repeatedly.
Step 6
continued
SET UP CH AND G-CODE
SELECT
GUIDE CH
MOVE PROG
ERASE PROG
–
–
–
–
– – – –
– – –
– – –
– – –
– – –
: [
]
: [ CLEAR ]
: [
]
1
2
3
4
5
12
3
9
56
27
PROG CH
SET UP CH AND G-CODE
SELECT
GUIDE CH
MOVE PROG
ERASE PROG
–
–
–
–
– – – –
– – –
– – –
– – –
– – –
: [
]
: [ CLEAR ]
: [
]
1
2
3
4
5
12
3
9
56
27
PROG CH
OK
M
/
m
/
<
/
,
MENU
OK
PLAY
MENU
OK
PLAY
Getting Started
28
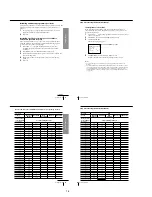
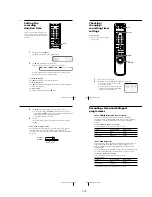
3
Press
/
twice to select the guide channel
column.
4
Press
M
/
m
to select the guide channel
number assigned in the programme guide.
5
Press
<
/
,
to confirm the setting.
6
To set the guide channel of another station, repeat steps 2 to 5.
If you want to change the programme positions of the stations,
proceed to step 2 of “Step 7: Changing/disabling programme
positions” on page 30.
7
Press OK.
Step 6: Setting up the G-CODE system (continued)
SET UP CH AND G-CODE
SELECT GUIDE CH
GUIDE CH
CONFIRM
[
]
–
–
–
–
– – – –
– – –
– – –
– – –
– – –
[
]
:
: [
]
1
2
3
4
5
12
3
9
56
27
PROG CH
SET UP CH AND G-CODE
SELECT GUIDE CH
GUIDE CH
CONFIRM
[
]
:
: [
]
1
2
3
4
5
12
3
9
56
27
–
–
–
–
– – – –
– – –
6
– – –
– – –
[
]
PROG CH
SET UP CH AND G-CODE
GUIDE CH
1
2
3
4
5
12
3
9
56
27
–
–
–
–
– – – –
– – –
6
– – –
– – –
SELECT
MOVE PROG
ERASE PROG
: [
]
: [ CLEAR ]
: [
]
PROG CH
OK
PLAY
OK
PLAY
OK
PLAY
OK
PLAY
1-6
Summary of Contents for SLV-LF1
Page 26: ...SLV LF1 3 1 3 2 SECTION 3 BLOCK DIAGRAMS 3 1 OVERALL BLOCK DIAGRAM ...
Page 29: ...SLV LF1 3 4 AUDIO BLOCK DIAGRAM 3 7 3 8 ...
Page 30: ...SLV LF1 3 5 TUNER BLOCK DIAGRAM 3 9 3 10 ...
Page 31: ...SLV LF1 3 6 MODE CONTROL BLOCK DIAGRAM 3 11 3 12 ...


