


Additional Information
50
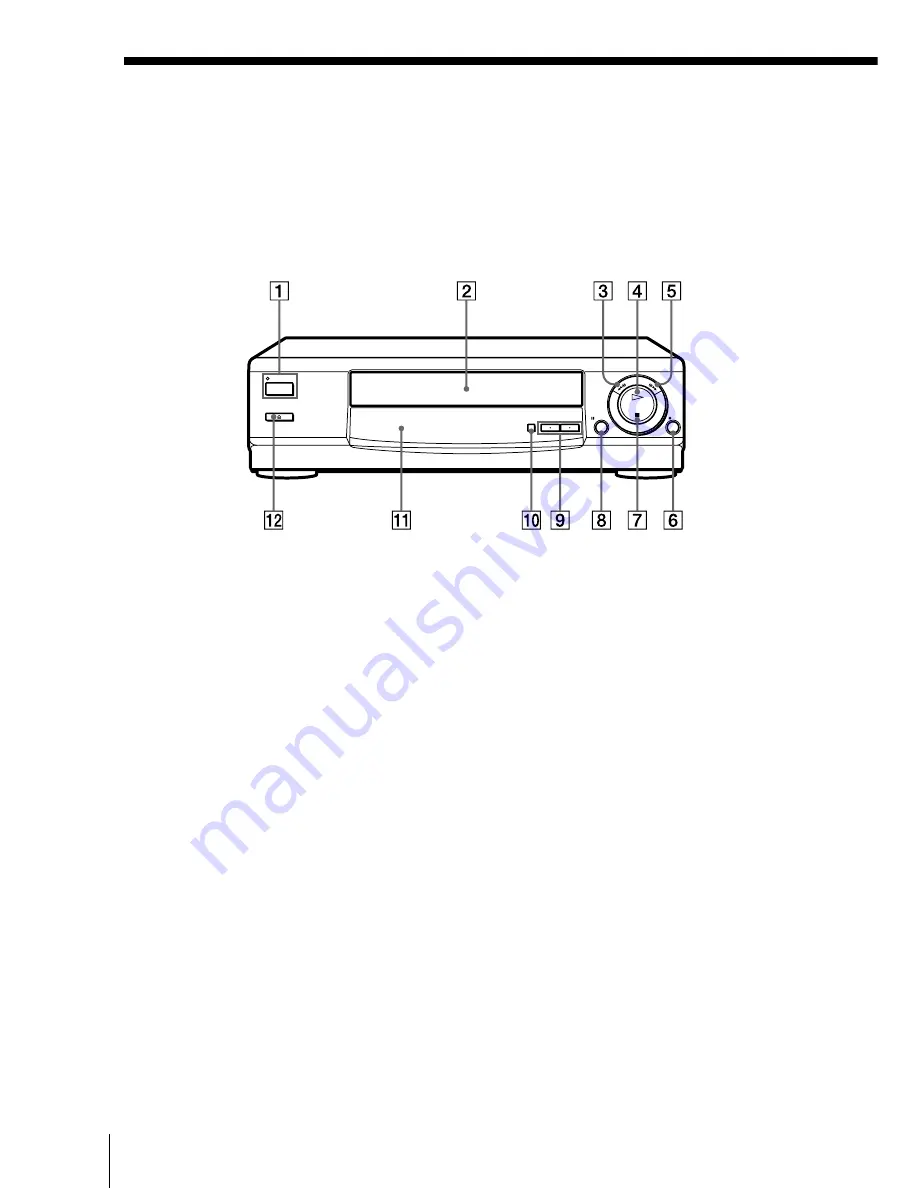
Index to parts and controls
Refer to the pages indicated in parentheses ( ) for details.
Front panel
1
POWER switch/indicator (32)
2
Tape compartment
3
0
3
REW (rewind) button (26, 34)
4
·
PLAY button (26)
5
)
#
FF (fast-forward) button (26,
34)
6
r
REC (record) button (29)
7
p
STOP button (26)
8
P
PAUSE button (26)
9
CHANNEL/TR/–
buttons (34, 41)
!º
REPLAY button (26)
!¡
Remote sensor (5)
!™
6
EJECT button (26)


