76
“Set Thumbnail”: Changes the title’s
thumbnail picture that appears in the
Title List (page 35).
“Make a Playlist”: Adds the entire title to
the Playlist title as one scene (page 80).
z
Hints
• You can erase multiple titles at one time
• You can automatically erase titles that have
already played (page 102).
• You can label or re-label DVDs (page 39).
b
Note
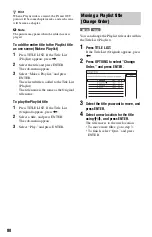
DVD-RW/DVD-R (VR mode) playlist titles cannot
be protected.
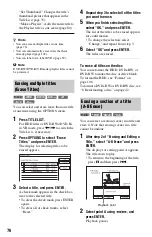
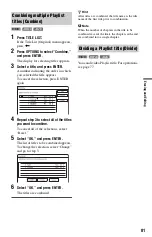
You can select and erase more than one title
at one time using the OPTIONS menu.
1
Press TITLE LIST.
For HDD titles or DVD-RWs/DVD-Rs
in VR mode, press
<
/
,
to switch the
Title Lists, if necessary.
2
Press OPTIONS to select “Erase
Titles,” and press ENTER.
The display for selecting titles to be
erased appears.
3
Select a title, and press ENTER.
A check mark appears in the check box
next to the selected title.
• To clear the check mark, press ENTER
again.
• To clear all of check marks, select
“Reset.”
4
Repeat step 3 to select all of the titles
you want to erase.
5
When you finish selecting titles,
select “OK,” and press ENTER.
The list of the titles to be erased appears
for confirmation.
• To change the selection, select
“Change,” and repeat from step 3.
6
Select “OK” and press ENTER.
The titles are erased.
To erase all titles on the disc
You can reformat the HDD, DVD+RW, or
DVD-RW to make the disc or drive blank.
To format the HDD, see “Format” on
page 106.
To format a DVD+RW or DVD-RW disc, see
“8. Reformatting a disc” on page 42.
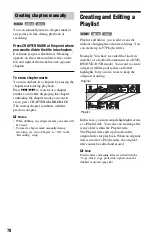
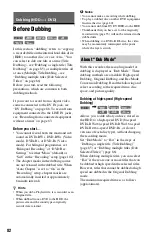
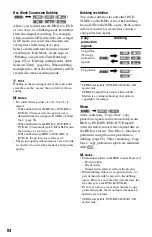
You can select a section (scene) in a title and
erase it. Note that erasing scenes in a title
cannot be undone.
1
After step 2 of “Erasing and Editing a
Title,” select “A-B Erase” and press
ENTER.
The display for setting point A appears.
The title starts to play.
• To return to the beginning of the title,
press
X
and then press
.
.
2
Select point A using
m
/
M
, and
press ENTER.
Playback pauses.
Erasing multiple titles
(Erase Titles)
+
RW
-RW
VR
-RW
Video
-R
VR
+
R
HDD
-R
Video
Erasing a section of a title
(A-B Erase)
+
RW
-RW
VR
HDD
-R
VR
Playback point

