17
(EN)
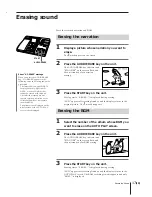
Recording Sound
Erasing sound
Erase the recorded narration and BGM.
Erasing the narration
1
Display a picture whose narration you want to
erase.
The
mark appears on the screen.
2
Press the AUDIO ERASE key on the unit.
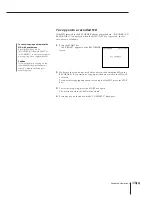
The AUDIO ERASE key indicator and
“STANDBY” on the screen flash, and
the unit stands by for narration
erasing.
3
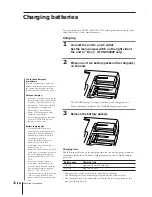
Press the START key on the unit.
Erasing starts. “ERASE...” is displayed during erasing.
“END” appears after erasing finishes, and the display returns to the
original picture. The
mark disappears.
Erasing the BGM
1
Select the number of the album whose BGM you
want to erase on the AUTO PLAY screen.
2
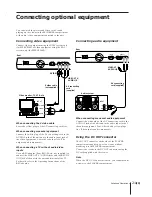
Press the AUDIO ERASE key on the unit.
The AUDIO ERASE key indicator and
“STANDBY” on the screen flash, and
the unit stands by for BGM erasing.
3
Press the START key on the unit.
Erasing starts. “ERASE...” is displayed during erasing.
“END” appears after erasing finishes, and the display returns to the
AUTO PLAY screen. The BGM recording time disappears and only
“BGM: ” is displayed.
START
AUDIO ERASE
About “NO ERASE” message
When you press the AUDIO ERASE
key, “NO ERASE” appears in the
following cases and erasing cannot be
performed.
– The inserted disc is an MD DATA
for playback only, Hybrid MD
DATA, or audio MiniDisc that
cannot be erased with this unit.
– The selected picture does not
contain recorded narration or the
selected album does not contain
recorded BGM.
– The picture is not displayed on the
whole screen or the AUTO PLAY
screen is not displayed.

