45
Adjustments and Settings
Chapt
er
3
Sho
o
ting
When the camera is used in standalone status or
used with the CCU-D50/D50P
The input level from audio sources connected to the AUDIO 1
IN and AUDIO 2 IN connectors can be adjusted using the
INTERCOM LEVEL control on the front panel.
When the audio input select switch is set to MIC, the level can
be adjusted between 20 dB and 60 dB in steps of 10 dB, using
the INTERCOM LEVEL control.
When the audio input select switch is set to LINE, the level
cannot be adjusted.
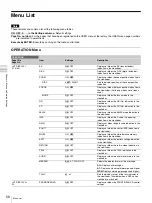
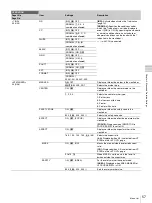
You can change the VR functions using OPERATION > VR
ASSIGN in the setup menu
. Set the gain to
avoid clipping the audio signal by monitoring the audio level
meters and waveforms.
Using the flash band compensation
function
Flash band artifacts are detected and compensated by using
the flash band compensation function.
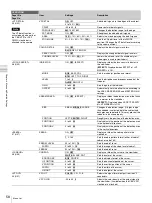
Set MAINTENANCE > CIS COMP > FLASH BAND COMP
(
) in the setup menu to on.
• The flash band compensation function is available when the
shutter function is deactivated.
• The flash band compensation function will be forcibly
switched from on to off while the shutter function is
activated. The function turns on automatically after the
shutter function becomes deactivated.
Notes
• While the flash band compensation function is set to on,
video output from the camera is delayed by 1 field.
• Depending on the shooting conditions, flash band artifacts
may not be detected and compensated properly.
The function may not be performed depending on the
following conditions:
– Subject of shooting
– Ambient lighting
– Camera-subject distance/angle
– Flash-subject distance/angle
– Flash intensity
– Light-emitting time
– Multiple-flash for a shooting
– Timing to flash for a shooting
• The flash band compensation function is activated when the
brightness of the lower half of the image differs considerably
from the upper half.
Since the function may be inadvertently activated under
certain shooting conditions, in which the brightness between
the upper and lower half of the image differs markedly, be
sure to use the function only for shooting footage exposed
to flash light.
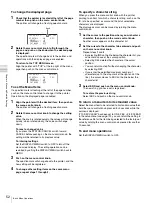
To reduce flash band artifacts
If flash band artifacts are detected using this function, the unit
compensates them as follows.
No compensation is performed when a flash extends to the
entire screen (the brightness is not divided between the top
and bottom of the image).
When the flash band effects appears in two frames
Stitches together the split-field flash frames, regenerating a
single frame in which a flash extends entirely.
Notes
• The compensation is performed by reducing the brightness
of flashes.
• Horizontal lines (low brightness line of pixels) may appear
on the screen as a result of regeneration of the frame.
• When a moving subject is shot, images in the upper and
lower parts of the screen may appear discontinuously or the
subject may appear to be stationary for a moment.
• The flash band effect remains uncorrected when a flash
extends from the lower lines of pixels.
Using the digital extender function
With this function, the central area of the screen is magnified
twice.
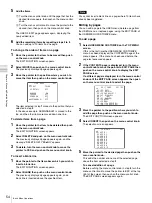
1
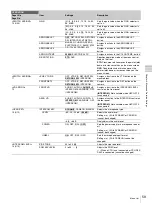
Sets MAINTENANCE > POWER SAVE > D.EXTENDER
(
) in the setup menu to ENABLE.
2
Select DIGITAL EXTENDER in OPERATION > SWITCH
ASSIGN1 > ASSIGNABLE1/2/3 (in either of three) in
the setup menu (
3
Press the ASSIGNABLE button you assigned the
function to in step
2
.
The central area of the screen is magnified twice.
Pressing the button again returns to the standard display
mode.
Notes
• While MAINTENANCE > POWER SAVE > D.EXTENDER
(
) in the setup menu is set to ENABLE, video output
from the camera is delayed by 1 field.
• If both the flash band compensation function and digital
extender function are used at the same time, video output
from the camera is delayed by 2 fields.
Summary of Contents for HXC-D70 Series
Page 83: ......


