


18
COLOR:
Sets the color of the marker. This also sets the
color of the adjustment frame.
NAME:
Sets the name of the marker.
POS:
Adjusts the marker position manually.
4
Turn the MENU SELECT knob to display the desired
setting and press the MENU SELECT switch.
5
To finish the adjustment, set the DISPLAY switch to
OFF to exit Menu mode.
Marker registration
You can register a marker for the focus position meter using the
Video signal select buttons. Marker 1 is registered using the R
switch, marker 2 by the G switch, and marker 3 by the B switch.
Setting a switch to ON registers a marker at the current index
position (same function as REG on the <FOCUS POSITION
METER2> page). Setting a switch to OFF turns the marker
display off (same as setting DISP on the <FOCUS POSITION
METER2> page to OFF).
To register a marker for the focus position meter
using the VF OUT switch
Set VF OUT SW to FOCUS POSITION METER on the
<SWITCH ASSIGN1> page in the OPERATION menu.
Setting the VF Dynamic Contract
Function
Emphasizing the contrast in the image on the viewfinder
screen makes it easier to check the focusing condition for high
brightness areas and for subjects with low contrast levels.
The function of ON/OFF can also be operated via the switches
on the back panel.
1
Turn on the camera.
2
Set the DISPLAY switch to MENU while holding the
MENU SELECT switch pressed.
The camera enters Menu mode, and “TOP” is displayed at
the upper right corner of the screen.
3
Rotate the MENU SELECT knob to align the arrow
marker (
,
) to “TOP” and push on the MENU SELECT
switch.
The TOP MENU screen is displayed.
4
Rotate the MENU SELECT knob to align the arrow
marker (
,
) to OPERATION and push on the MENU
SELECT switch.
The CONTENTS page of the OPERATION menu is
displayed.
5
Rotate the MENU SELECT knob to align the arrow
marker (
,
) to <VF DYNAMIC CONTRAST> and push
on the MENU SELECT switch.
The <VF DYNAMIC CONTRAST> page is displayed.
6
Rotate the MENU SELECT knob to align the arrow
marker (
,
) to the item to be set and push on the
MENU SELECT switch.
To use the VF dynamic contrast signal
Set DYNAMIC CONTRAST to ON to add the contrast
signal in the image. You can adjust the GAIN in the range
of 0 to 100%.
You can adjust the characteristics of the contrast signal
with the menu items below.
FILTER:
Adjust the selection range of the contrast
extraction target pixel.
MODE:
Selection of contrast signal addition mode.
HIGHLIGHT emphasizes the contrast of the high
brightness range. FOGGY emphasizes the contrast
of the image which is hazy and in low contrast.
7
Rotate the MENU SELECT knob to display the desired
setting and push on the MENU SELECT switch.
8
To finish the adjustment, set the DISPLAY switch to
OFF to exit Menu mode.
<TOP MENU>
USER
USER MENU CUSTOMIZE
ALL
OPERATION
PAINT
MAINTENANCE
FILE
DIAGNOSIS
CONTENTS 00 TOP
01.<VF DISPLAY>
02.<'!'IND>
03.<VF MARKER>
04.<VF DETAIL>
05.<FOCUS POSITION METER1
06.<FOCUS POSITION METER2
07.<FOCUS ASSIST>
08.<VF DYNAMIC CONTRAST>
09.<ZEBRA>
10.<CURSOR>
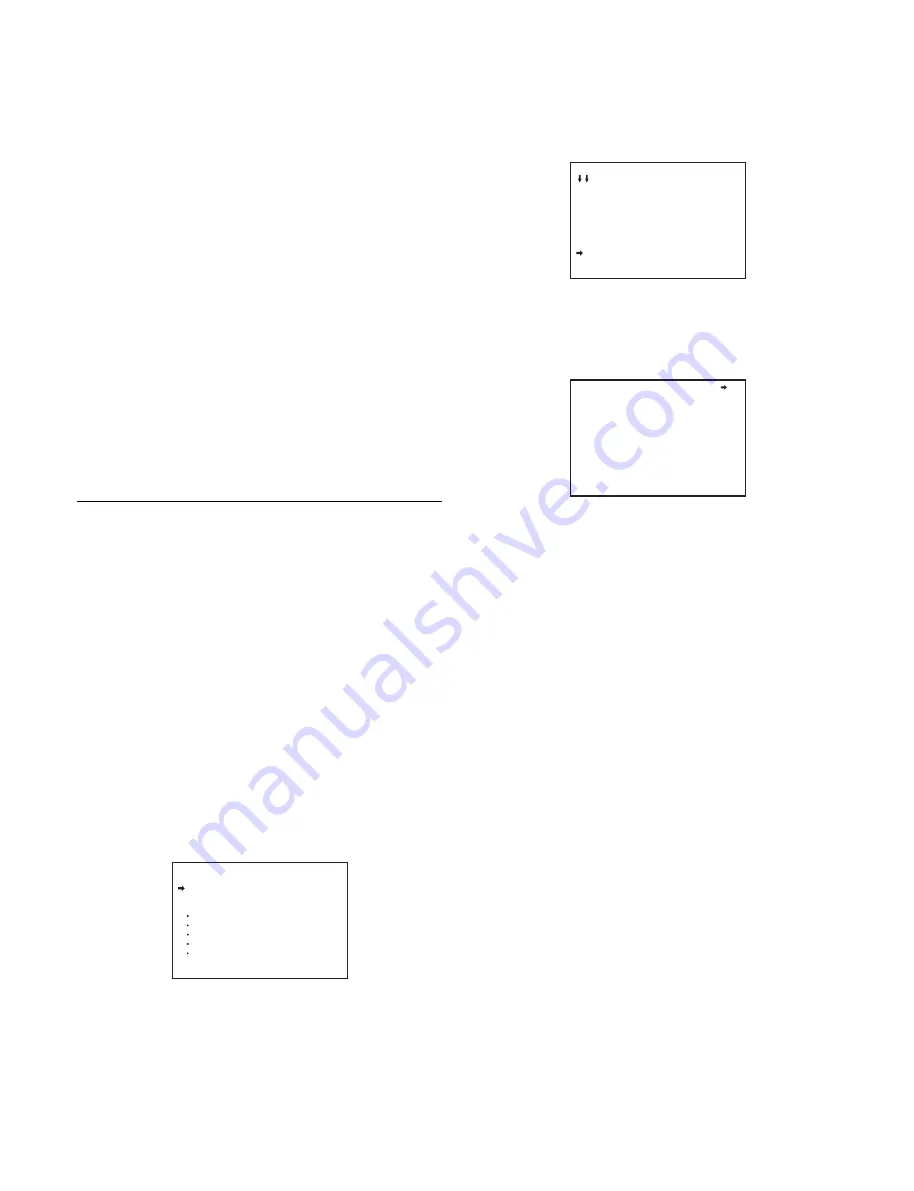
<VF DYNAMIC CONTRAST> 08 TOP
DYNAMIC CONTRAST: OFF
GAIN : 0%
FILTER : WIDE
MODE : HIGHLIGHT


