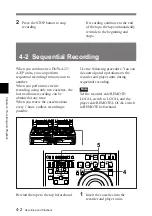
Editing
3-11
Chapter 3 Editing
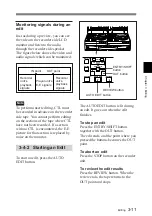
Monitoring signals during an
edit
Just as during a preview, you can see
the video in the recorder side LCD
monitor and listen to the audio
through the recorder side speaker.
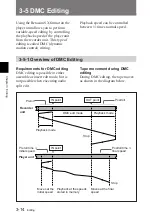
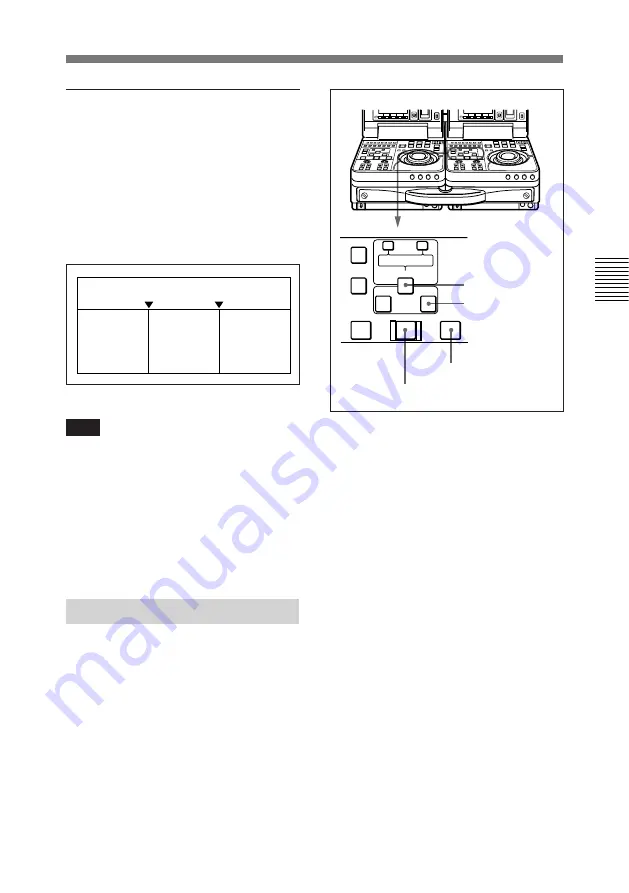
The figure below shows the video and
audio signals which can be monitored.
Note
To perform insert editing, CTL must
be recorded in advance on the recorder
side tape. You cannot perform editing
on the sections of the tape where CTL
have not been recorded. If a section
with no CTL is encountered, the E-E
picture for that section is replaced by
noise on the monitor.
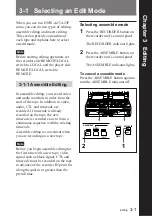
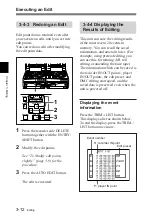
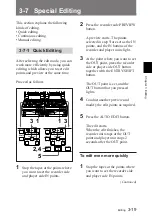
3-4-2 Starting an Edit
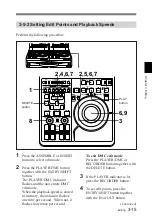
To start an edit, press the AUTO
EDIT button.
The AUTO EDIT button is lit during
an edit. It goes out when the edit
finishes.
To stop an edit
Press the ENTRY/SHIFT button
together with the OUT button.
The edit ends, and the point where you
pressed the buttons becomes the OUT
point.
To abort an edit
Press the STOP button on the recorder
unit.
To review the edit results
Press the REVIEW button. When the
review ends, the tape returns to the
OUT point and stops.
IN point
OUT point
Recorder
unit’s
playback
signals
Player unit’s
E-E signals
Recorder
unit’s
playback
signals
AUTO EDIT button
OUT button
REVIEW button
ENTRY/SHIFT
button
AUTO EDIT
AUDIO IN
TRIM
LIST
MARK
GOOD
SHOT
ENTRY SHIFT
IN
OUT
–
+
DELETE
PREVIEW
REVIEW
Summary of Contents for DNW-A25
Page 1: ...DIGITAL VIDEOCASSETTE RECORDER DNW A25 A25P OPERATION MANUAL 1st Edition Revised 4 English ...
Page 100: ......
Page 136: ......
Page 162: ......


