1-25
104
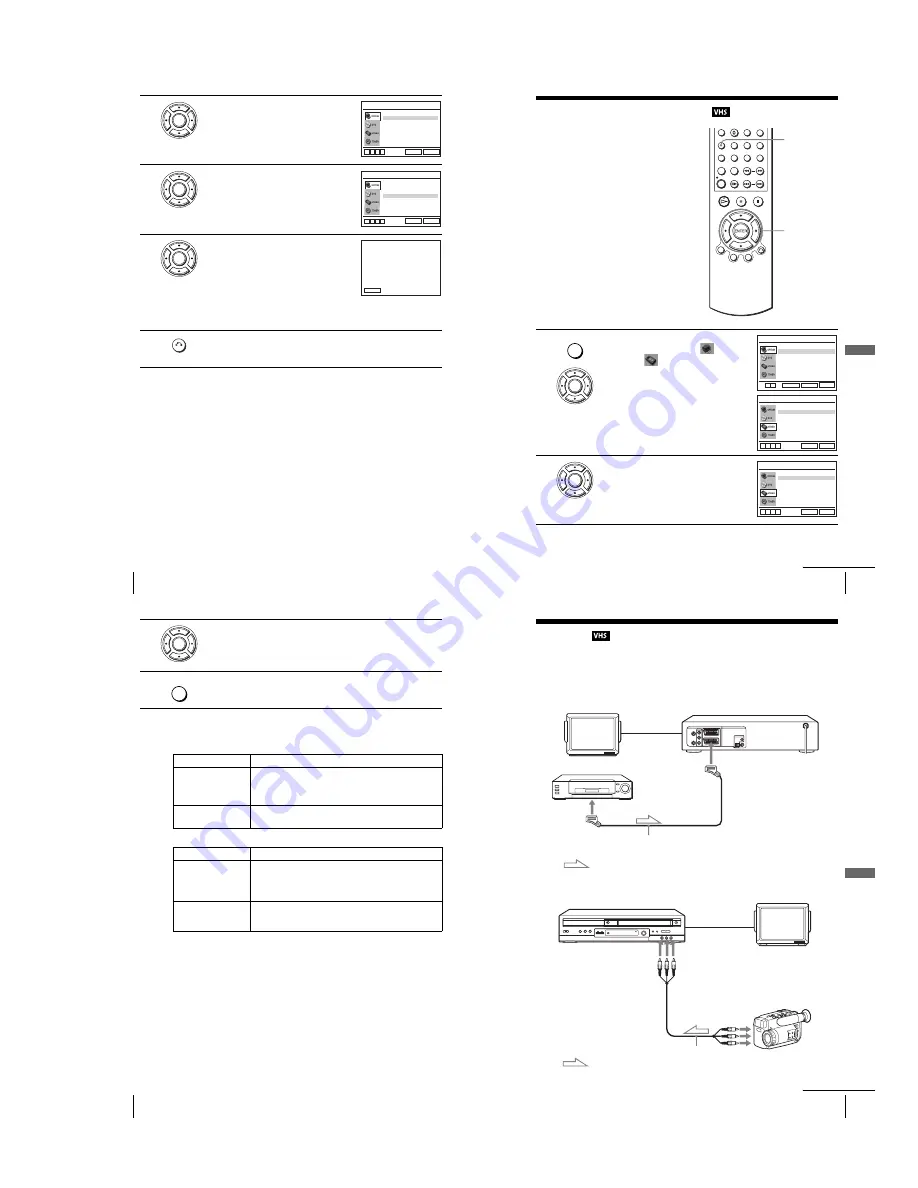
Adjusting the picture (tracking)
2
Press
V/v
to select “Réglages Utilisateur”,
then press ENTER.
3
Press
V/v
to select “Smart Trilogic”, then
press
b
.
4
Press
V/v
to set “SMART TRILOGIC” to
“OUI” or “NON”.
• OUI: Picture sharpness is automatically
adjusted.
• NON: Adjust the picture sharpness
manually.
To soften the picture, press
B
.
To sharpen the picture, press
b
.
5
Press
O
RETURN to return to the original screen.
ENTER
NICAM
Syst. Couleur
Etendre ShowView
Smart Trilogic
[ Non ]
RETURN
REGLAGES UTILISATEUR
SET UP
v
V
b
B
[ Oui ]
[ Oui ]
[ Auto ]
ENTER
NICAM
Syst. Couleur
Etendre ShowView
Smart Trilogic
[ Non ]
RETURN
REGLAGES UTILISATEUR
SET UP
v
V
b
B
[ Oui ]
[ Oui ]
[ Auto ]
ENTER
CONTRASTEE
DOUCE
– – – – – – – – – –
*
– – – – – – – – –
RETURN
IMAGE
SMART TRILOGIC : OUI
V
v
OUI / NON :
RETURN
105
Changing menu options
VCR Ad
ditio
nal Ope
ration
s
Changing menu options
1
Press SET UP when the DVD player is in stop
mode, then press
V
/
v
to select
(OPTION) or
(VIDEO) and press
ENTER.
2
Press
V
/
v
to select the option to change.
V/v/B/b
ENTER
SET UP
SET UP
ENTER
Langue
Installation
Veille Auto
Messages Ecran
Réglages Utilisateur
L’horloge
:Français
[ Non ]
[ Oui ]
RETURN
OPTION
SET UP
ENTER
v
V
Sélect. Cassette
Répétion Totale
RETURN
REGLAGE DE LA FONCTION VIDEO
SET UP
v
V
b
B
[ E180 ]
[ Non ]
ENTER
Sélect. Cassette
Répétion Totale
RETURN
REGLAGE DE LA FONCTION VIDEO
SET UP
v
V
b
B
[ E180 ]
[ Non ]
continued
106
Changing menu options
Menu choices
The default settings are indicated in bold print.
OPTION
VIDEO SETUP
3
Press
B
/
b
to change the setting.
4
Press SET UP to exit the menu.
Menu option
Set this option to
Veille Auto
• “
Non
” to deactivate the Auto Power Off function.
• “1Heures”/“2Heures”/“3Heures” to turn the DVD-VCR off
automatically if no signal is received and you do not press any
of the buttons during this time.
Messages Ecran
• “
Oui
” to display the menu on the TV screen.
• “Non” to disappear the menu from the TV screen.
Menu option
Set this option to
Sélect. Cassette
• “
E180
” to use an E-180 or shorter type tape.
• “E240” to use an E-240 type tape.
• “E260” to use an E-260 type tape.
• “E300” to use an E-300 type tape.
Répétion Totale
• “Oui” to play back a tape repeatedly. The VCR rewinds a tape
to the beginning and restarts playback automatically.
• “
Non
” to turn off Auto repeat.
ENTER
SET UP
107
Editing
VCR Ad
ditio
nal Ope
ration
s
Editing
How to connect to record on this VCR
Connect the line outputs of the other VCR to the input connector of this VCR. Refer to the
examples A through C and choose the connection that best suits your VCR.
Example A
Example B
TV
LINE-1 (EURO AV)
PERITEL cable (not supplied)
PERITEL
: Signal flow
Your VCR (Recorder)
Other VCR (Player)
TV
audio/video cord
(not supplied)
SORTIE
LIGNE
Your VCR (Recorder)
Other VCR (Player)
: Signal flow
LINE-2 IN
t
/
o
L/R
continued
Summary of Contents for D910B
Page 68: ...3 4E MEMO ...
Page 70: ...4 3 4 4 4 1 VCR MAIN COMPONENT SIDE ...
Page 71: ...4 6 4 5 CONDUCTOR SIDE ...
Page 72: ...4 7 4 8 4 2 DVD MAIN COMPONENT SIDE ...
Page 73: ...CONDUCTOR SIDE 4 9 4 10 ...
Page 74: ...4 12 4 11 4 3 S M P S COMPONENT SIDE CONDUCTOR SIDE ...
Page 76: ...4 16E MEMO ...
Page 79: ...5 1 S M P S 5 6 5 5 ...
Page 80: ...5 2 POWER DRIVE 5 7 5 8 ...
Page 81: ...5 3 OSD VPS PDS 5 10 5 9 ...
Page 82: ...5 4 A2 NICAM 5 11 5 12 ...
Page 83: ...5 5 AUDIO VIDEO 5 14 5 13 ...
Page 84: ...5 6 Hi Fi 5 15 5 16 ...
Page 85: ...5 7 INPUT OUTPUT 5 18 5 17 ...
Page 86: ...5 8 TM 5 19 5 20 ...
Page 87: ...5 9 SYSCON 5 21 5 22 ...
Page 88: ...5 10 LOGIC FUNCTION 5 23 5 24 ...
Page 89: ...5 11 SECAM SLV D950B D910B D910R Only 5 25 5 26 ...
Page 90: ...5 12 DVD MAIN MICOM AV DECODER 5 27 5 28 ...
Page 91: ...5 13 DVD SERVO 5 29 5 30 ...
Page 92: ...5 32E 5 31 5 14 DVD AUDIO VIDEO ...
Page 106: ...6 14E MEMO ...


