63
Us
in
g y
o
u
r c
o
m
pute
r
3
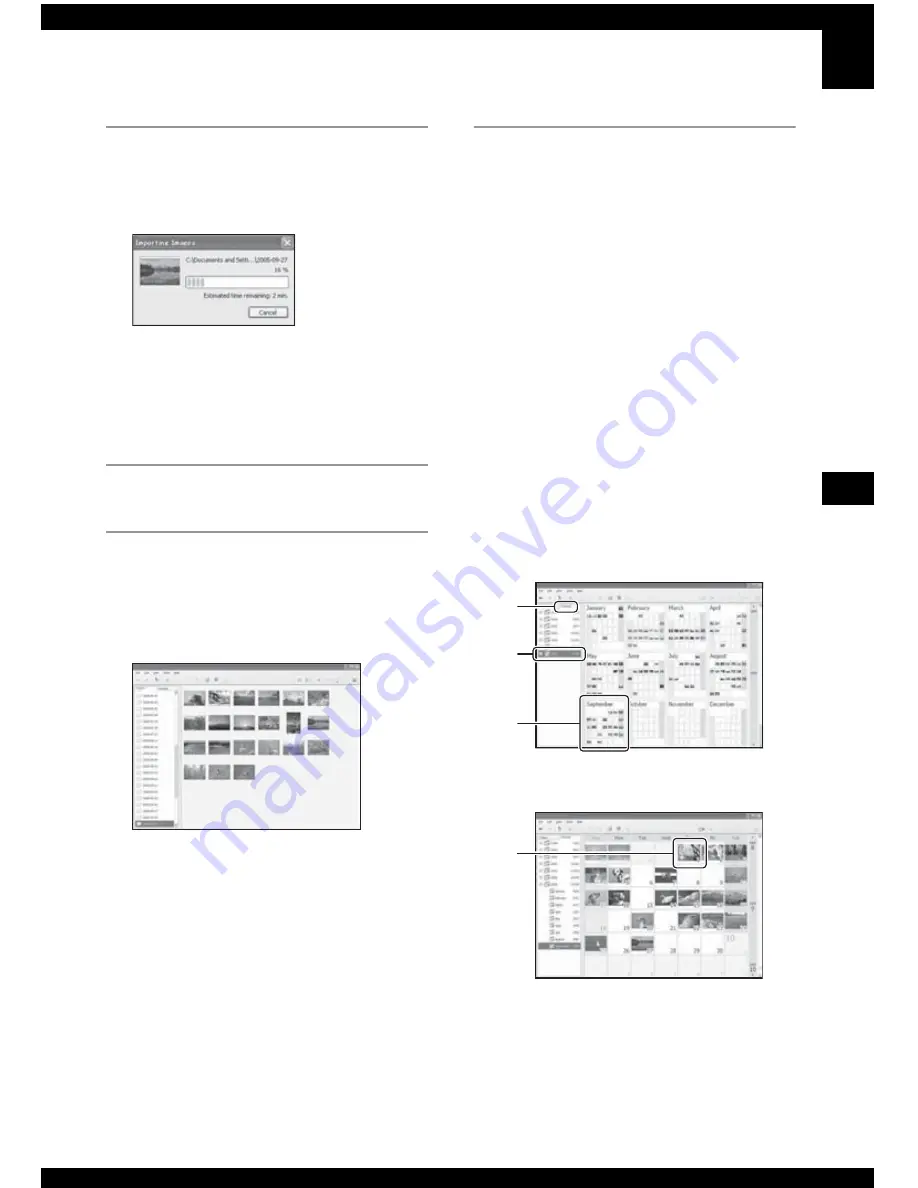
Import the images.
To start importing images, click the
[Import] button.
By default, images are imported into a
folder created in “My Pictures” that is
named with the date of importing.
• For instructions on changing the “Folder to
be imported”, refer to page 65.
Viewing images
1
Checking imported images
When importing is complete, the
software starts. Thumbnails of the
imported images are displayed.
• The “My Pictures” folder is set as the
default folder in “Viewed folders”.
• You can double-click a thumbnail to display
the image by itself.
2
Viewing images in “Viewed
folders” arranged by shooting
date on a calendar
1
Click the [Calendar] tab.
Years when images were shot are listed.
2
Click the year.
Images shot that year are displayed,
arranged on the calendar by shooting
date.
3
To display images by month, click the
desired month.
Thumbnails of images shot that month
are displayed.
4
To display images by time, click the
desired date.
Thumbnails of images shot that day are
displayed, arranged by hour.
Year display screen
Month display screen
1
2
3
4


