74-GB
Installing PictureGear
1
Insert the PictureGear CD-ROM into the CD-ROM drive.
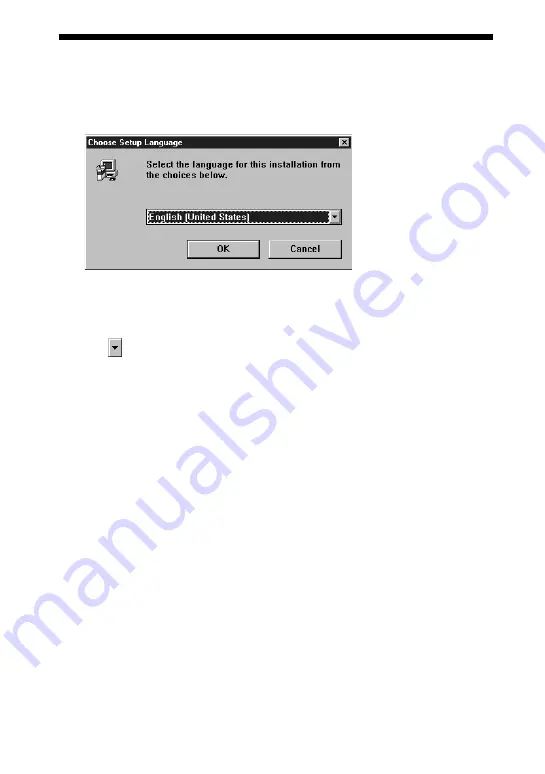
When the CD-ROM drive access lamp turns off, the Choose Setup Language
dialog box appears.
P
Note
If this dialog box does not appear when the CD-ROM is inserted, start the Windows
Explorer and double click on the installation file (SETUP.EXE) on the CD-ROM.
2
Click
to select the language to use from the displayed language list.
The Welcome dialog box appears.
3
Click [Next].
The End User License Agreement appears. Please read it before proceeding to the
next step.
4
Click [Yes] after reading the End User License Agreement and agreeing to the
terms.
The Choose Destination Location dialog box appears with
“C:\Program Files\Sony\PictureGear3.2Lite” as the installation destination.


