60
Locations and Functions of Parts
CAM PW
BARS
CLOSE
A
B
C
LEVEL
AUTO SETUP
SKIN DTL
SET UP
START
WHITE
BLACK
A
B
D
C
0
PANEL ACTIVE button
Press and light up the button to permit this panel to
control the camera system (Panel active status).
The IRIS/M.BLACK ACTIVE button of the iris/
master black control block also lights.
If you press this button so that it goes dark, the panel
will be locked, preventing accidental misoperation.
If Panel Active Lock with a security code has been
enabled, the PANEL ACTIVE and the IRIS/
M.BLACK ACTIVE buttons are locked by pressing
the PANEL ACTIVE button for more than 2 seconds
in Panel active status.
For details on Panel Active Lock, see “Specifying the
Security Codes” on page 95.
qa
ASSIGN button
Various functions can be assigned to this button using
“SW Setting” of the RCP Config menu (No function is
assigned at the factory).
To assign a function, see “Assigning a Function to the
ASSIGN Button” on page 94.
qs
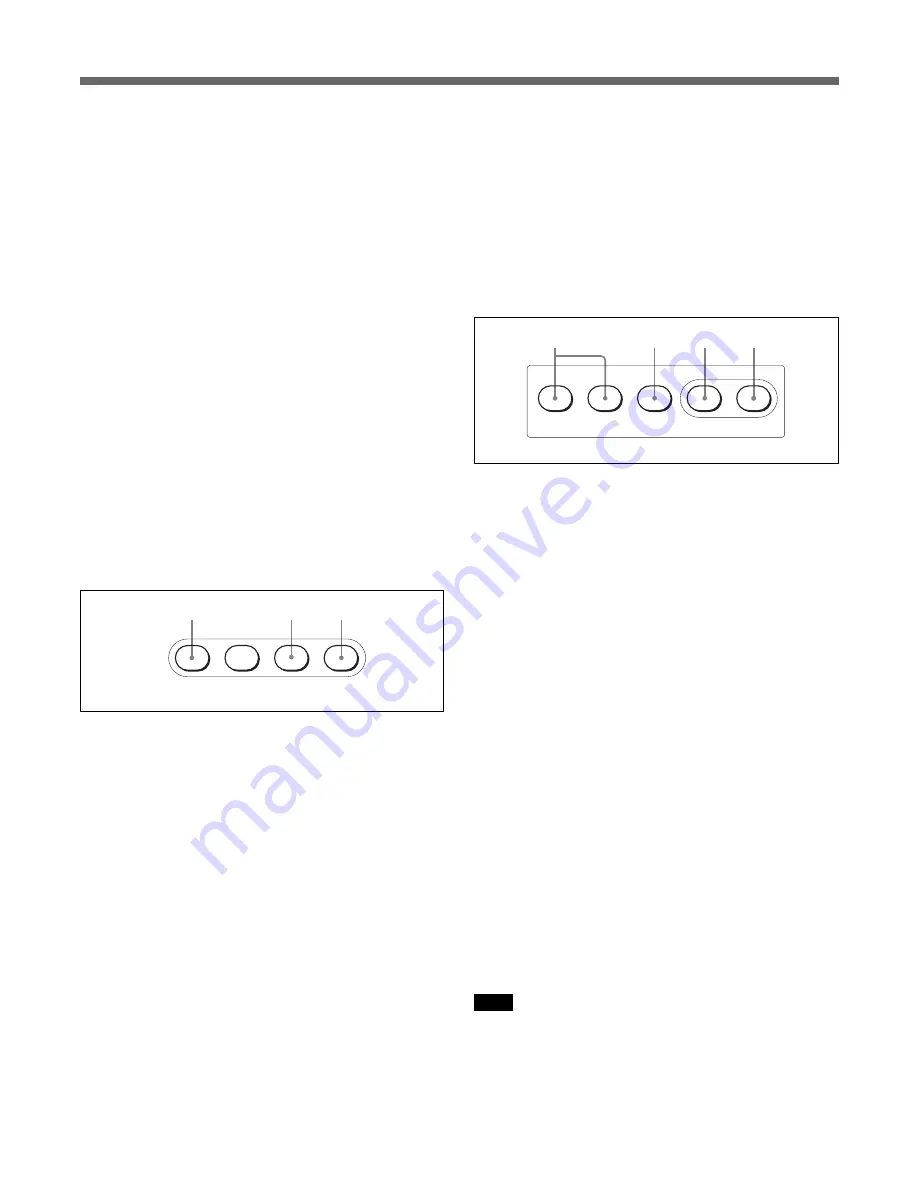
Power and output select buttons
A
CAM PW (camera power) button
When the unit is connected to the CCU-TX7, you can
turn the power supply to the video camera ON by
pressing and lighting up this button. (The button
promptly flashes until the camera becomes ready for
transmission.)
When you press this button again, it starts flashing and
the power supply is turned off.
B
BARS (color-bar signal) button
Press and light up this button to activate the color-bar
signal generator of the video camera and send the
respective the color-bar signal. When you press this
button again, the button goes dark and the camera
picture is displayed.
C
CLOSE button
Press and light the button to close the iris. To release
the close mode, press the button again so that it goes
dark.
The close mode is also released when you press the
STANDARD or IRIS/M.BLACK LINK button, or
operate a scene file.
qd
AUTO SETUP buttons
A
Auto adjustment item select buttons
Press and light up these buttons to select the items to
be automatically adjusted.
SKIN DTL SETUP: Skin detail
LEVEL: Gamma balance, knee point, master black
level, etc.
For details on the Skin detail setup, see “Skin Detail
Correction/Skin Matrix Adjustment (for DXC-D30/D35/D50
Series Only)” on page 102.
B
START button
Press to start automatic adjustment of the selected
items.
The button lights during adjustment and goes dark
when adjustment is completed.
C
WHITE (white balance) button
Press to automatically adjust the white balance.
The button lights during adjustment and goes dark
when adjustment is completed.
D
BLACK (black balance) button
Press to automatically adjust the black balance and
black set.
The button lights during adjustment and goes dark
when adjustment is completed.
Note
If an error occurs during adjustment, the pressed
button flashes.
Summary of Contents for CA-TX50
Page 23: ......
Page 24: ......
Page 25: ...Sony Corporation Printed in Belguim ...
Page 47: ......
Page 67: ......
Page 73: ......
Page 101: ......
Page 123: ... I 3 7 7 6 7 9 3 1 4 1 Sony Corporation Printed in Belgium ...
Page 127: ......
Page 139: ...Sony Corporation Printed in Belguim ...
Page 153: ...67 Mounting on a Console The RCP D50 D51 can be mounted on a console as shown below ...
Page 194: ...Printed in Belgium ...


