


i-Manual
Font Size
Basic Operations
Parts Description
Watching TV
Using Other Devices
Using “BRAVIA” Sync
Devices
Useful Functions
Using Internet
Using Home Network
Configuring Various
Settings
Troubleshooting
How to Use Bookmarks
Top Page
>
Using Other Devices
> Timer recording
Timer recording
Overview
You can perform timer recording using the programme guide.
Steps
1.
Press the HOME button, then select [TV] using the / buttons.
2.
Select [Guide] using the / buttons, then press the button.
3.
Select a programme to record using the / / / buttons, then press the button.
4.
Select [Timer REC] using the / buttons, then press the button.
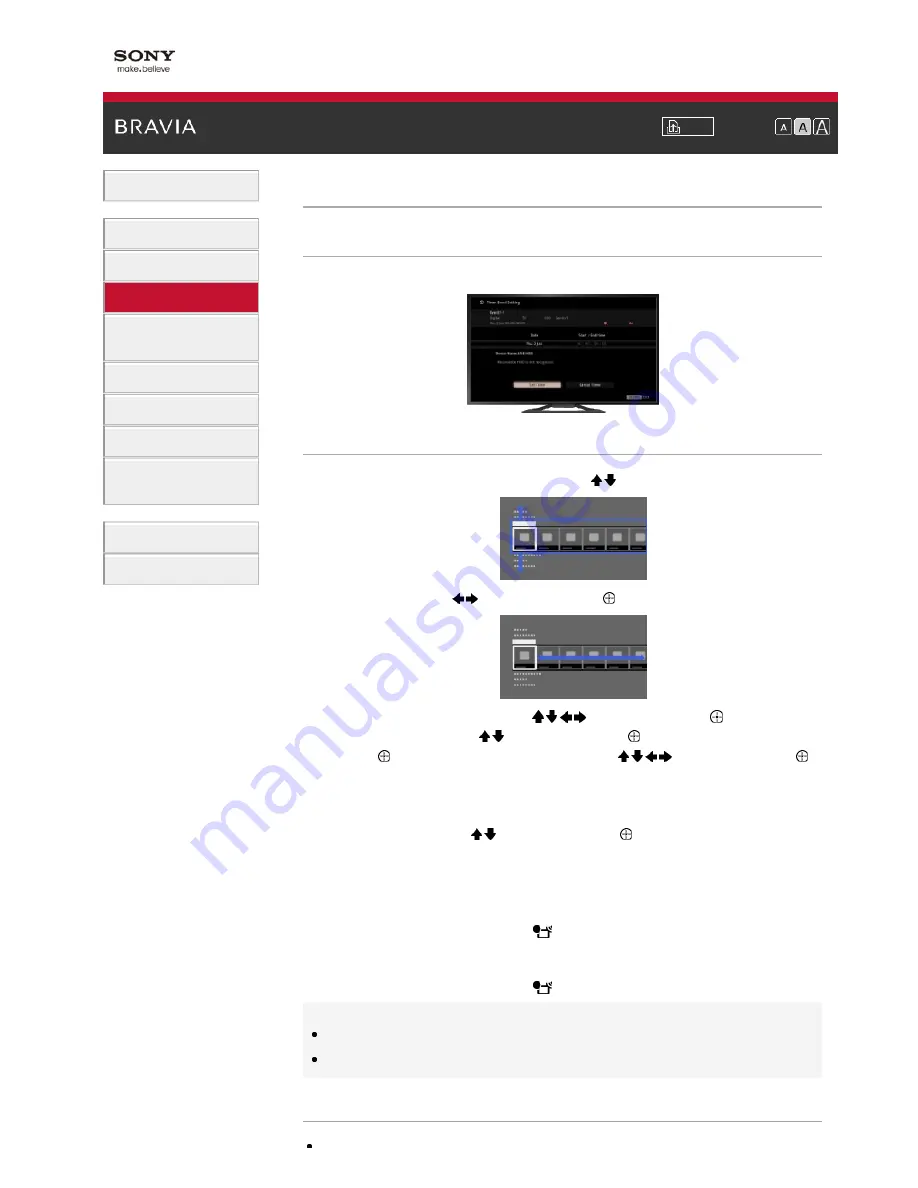
5.
Press the button, configure the timer setting using the / / / buttons, then press the
button.
The TV informs you if the selected programme is a split part. You can record all parts if the gap
between parts are less than 3 hours. (This function is available depending on your
region/country.)
6.
Select [Set Timer] using the / buttons, then press the button.
If the selected programme is part of a series, you can make series recording by selecting [Set
Timer As a Series]. (This function is available depending on your region/country.)
To return to the last viewed source, press the HOME button twice.
To manually set the timer by specifying date, time and channel
Press the HOME button, then select [TV] →
[Recordings] → [Manual timer REC].
Configure the timer setting, then select [Set Timer].
To check, modify or delete timer settings
Press the HOME button, then select [TV] →
[Recordings] → [Timer List].
Tips
Up to 32 timer settings can be made.
If recording fails, the result will be listed in [Recording Error list] of the [Recordings] menu.
Notes
Timer recording cannot be started if the AC power cord (mains lead) is disconnected.


