


1-4
17
Gett
ing Started
If you want to control your TV with the
supplied remote
You can control the volume, input source, and power switch of
your Sony TV with the supplied remote.
To control other TVs with the remote
You can control the volume, input source, and power switch of non-
Sony TVs as well.
If your TV is listed in the table below, set the appropriate
manufacturer’s code.
1
While holding down TV
[
/
1
, press the number
buttons to select your TV manufacturer’s code
(see the table below).
2
Release TV
[
/
1
.
◆
Code numbers of controllable TVs
If more than one code number is listed, try entering them one at
a time until you find the one that works with your TV.
◆
To return the remote to its default settings
1
Remove the batteries from the remote.
2
Re-insert the batteries while pressing down 1, 2,
and 3 of the number buttons.
3
Wait for a few seconds.
Note
Depending on the connected unit, you may not be able to control your
TV using all or some of the buttons on the supplied remote.
By pressing
You can
TV
[
/
1
Turn the TV on or off.
VOL +/–
Adjust the volume of the TV.
TV/VIDEO
Switch the TV’s input source between the
TV and other input sources.
CH +/–
Select the channel up and down.
MUTING
Mute the sound (for Sony TV only).
DISPLAY
OPEN/
CLOSE
DIMMER
CLEAR
1
2
3
4
5
6
7
8
0
9
TV/VIDEO
AUDIO
SUBTITLE
ANGLE
SCAN
MUTING
PLAY MODE
PLAY
SCAN
PREV
SLOW/STEP
NEXT
PAUSE
VOL
CH
STOP
VIDEO
FORMAT
RED
GREEN
BLUE YELLOW
TOP
MENU
SYSTEM
MENU
POP UP/
MENU
RETURN
TV
Number
buttons
MUTING
TV
\
/
1
TV/VIDEO
CH +/–
VOL +/–
Manufacturer
Code number
Sony 01
(default)
Daewoo
22, 04
Emerson 14
GE 06
Hitachi 02,
04
JVC 09
LG/Gold star
03, 17, 04
MGA/Mitsubishi
13, 04
NEC
04, 12
Panasonic 19
Philips 08, 21
Pioneer 16
RCA 10, 04
R.Shack 05
Samsung
04, 12, 20
Sanyo 11
Sharp
05, 18
Toshiba
07, 18
Zenith
15
18
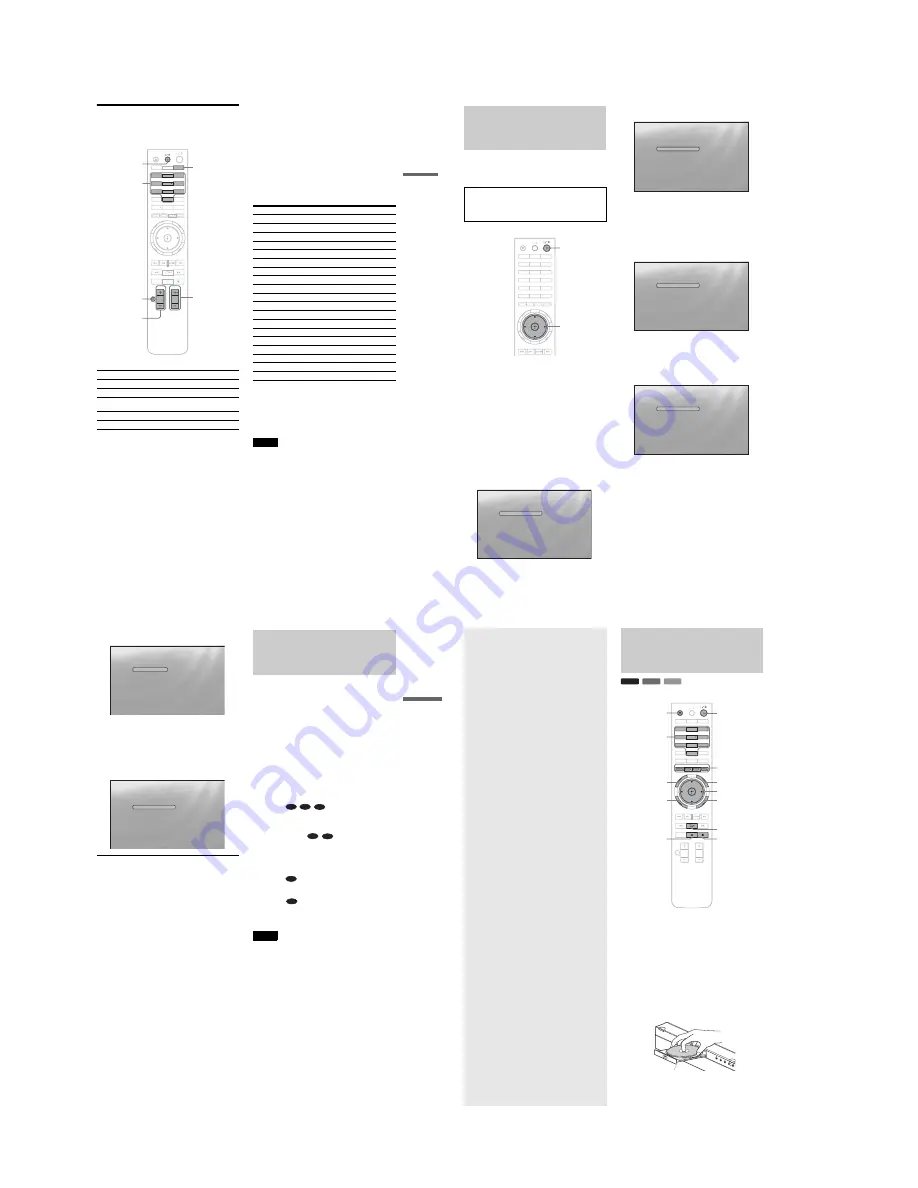
Step 6: Easy Setup
Follow the steps below to make the minimum number of basic
adjustments for using the player. If you do not complete Easy
Setup, it will appear each time you turn on your player.
Make the settings below in the following order.
a
Turn on the TV.
b
Press
[
/
1
to turn on the player.
The player turns on after a moment.
c
Switch the input selector on your TV so that
the signal from the player appears on your
TV screen.
If the display for OSD language selection does not
appear, select “Start” of “Easy Setup” in “Options”
Setup
(page 52)
.
d
Select the OSD language you want to display,
and press ENTER.
This will determine the Audio, Subtitle and BD/
DVD menu languages as well.
e
Select “Start,” and press ENTER to start
“Easy Setup.”
◆
If the above display does not appear
Go to step 6. This display appears only when the player is turned
on for the first time.
f
Select the video output format for the
connected TV, and press ENTER.
For details about the video output, see
page 46
.
◆
When using the HDMI OUT jack
Select from “Auto,” “480i,” “480p,” “720p,”
“1080i,” “1080p,” or “Source Direct,” then go to
step 8. “TV Type” in step 7 will be set to “16:9”
(wide screen).
◆
When using the jacks other than the HDMI OUT
jack
Select from “S-Video/Video only,” “480i,”
“480p,” “720p,” “1080i” or “Don’t Know.” If
you select “720p” or “1080i,” go to step 8. “TV
Type” in step 7 will be set to “16:9” (wide
screen).
When turned on for the first time
Wait about 90 seconds before the player turns on and starts
Easy Setup. The start-up time will be much shorter once Easy
Setup is completed.
OPEN/
CLOSE
DIMMER
CLEAR
1
2
3
4
5
6
7
8
0
9
DISPLAY
TV/VIDEO
AUDIO
SUBTITLE
ANGLE
PREV
SLOW/STEP
NEXT
VIDEO
FORMAT
RED
GREEN
BLUE YELLOW
TOP
MENU
SYSTEM
MENU
POP UP/
MENU
RETURN
TV
"
/
1
<
/
M
/
m
/
,
,
ENTER
Confirm
Exit
SYSTEM MENU
Select the on-screen display language. Audio, subtitle and BD/DVD menu
language options will be set to the same language as this.
Language
Easy Setup
English
Français
Confirm
Exit
SYSTEM MENU
Use to select then press ENTER.
Before using, make some simple
settings for the BD player.
Please use the Initial Setup if you
want to make more detailed settings.
Easy Setup
Start
Cancel
Confirm
Exit
SYSTEM MENU
Select [Auto] to automatically match the video output
format with the HDMI-connected TV.
Output Video Format
Easy Setup
Auto
480i
480p
720p
1080i
1080p
Source Direct
Confirm
Exit
SYSTEM MENU
Select [Auto] to automatically match the video output
format with the HDMI-connected TV.
Output Video Format
Easy Setup
S-Video/Video only
480i
480p
720p
1080i
Don't Know
19
Gett
ing Started
g
Select the aspect ratio that matches your TV,
and press ENTER.
◆
If you have a wide screen TV or a 4:3 standard TV
with a wide screen mode
Select “16:9”
(page 45)
.
◆
If you have a 4:3 standard TV
Select “4:3”
(page 45)
.
h
Select “Finish Setup,” and press ENTER.
z
Hints
• If you want to reset these settings to their factory defaults, see
“
Resetting the Player
”
(page 53)
.
• You can re-run “Easy Setup” from “Options” Setup
(page 52)
.
Step 7: Additional
Adjustments
The following settings and adjustments are necessary when your
connection applies.
For video connection
◆
When using the COMPONENT VIDEO OUT jacks
(Pattern
C
–
page 10
)
• Select the video output resolution for your TV by pressing
VIDEO FORMAT
(page 46)
.
◆
When using the HDMI OUT jack
(Pattern
D
–
page 11
)
• Select the video output resolution for your TV by pressing
VIDEO FORMAT
(page 46)
.
• Select the type of video output from the HDMI OUT jack in
“YCbCr/RGBPC (HDMI)” of “Video Setup”
(page 45)
.
For audio connection
◆
When using the DIGITAL OUT (OPTICAL or COAXIAL) jack
(Connection
, ,
–
page 13
to
15
)
• Set “Dolby Digital” and “DTS” in “Audio Setup”
(page 47)
according to your AV amplifier’s (receiver’s) decoder.
◆
When using the HDMI OUT jack
(HDMI connection of
,
–
page 15
)
• Set “Dolby Digital” and “DTS” in “Audio Setup”
(page 47)
according to your AV amplifier’s (receiver’s) decoder.
• Select the audio output method from the HDMI OUT jack in
“Audio (HDMI)” of “Audio Setup”
(page 47)
.
◆
When using the AUDIO OUT (L/R) jacks
(Connection
–
page 14
)
• Set “DTS Downmix” to “Lt/Rt” in “Audio Setup”
(page 47)
.
◆
When using the 5.1CH OUTPUT jacks
(Connection
–
page 14
)
• Set “Audio Output Mode” to “5.1 Channel” in “Speakers”
Setup
(page 51)
, and adjust the “Speaker Setup” setting for
your system.
Notes
• If you connect a component that does not conform to the selected audio
signal, a loud noise (or no sound) will come out from the speakers,
which could damage your ears or speakers.
• If you connect using the HDMI OUT jack or COMPONENT VIDEO
OUT jacks and the picture does not appear clearly, the connected
display device may not be compatible with the progressive signals. In
this case, connect the display device to the S VIDEO jack or the
VIDEO jack (pattern
A
or
B
– see
page 10
), re-run the “Easy Setup”
from the “Options” Setup
(page 52)
, and select “S-Video/Video only”
in step 6
(page 18)
. Also, check the above items again to see if any
additional adjustment is required.
Confirm
Exit
SYSTEM MENU
Select the screen aspect ratio to match
your TV.
TV Type
Easy Setup
16:9
4:3
Confirm
Exit
SYSTEM MENU
Use to select then press ENTER.
Setup is complete!
Enjoy using your BD player!
Easy Setup
Finish Setup
Go Back
B-2
C-2
D-2
D-2
D-3
C-1
D-1
20
Basic
Operations
Most of the BD playback operations are
common to DVD. This section covers BD/
DVD/CD playback in general, together with
the basic operation of the player.
For browsing recorded files on DATA
DVDs*, a separate library function is
available. See also
page 32
for movie,
36
for
music,
40
for photo files.
For operations using the remote, a complete
list is located on
page 24
.
* DVD+RWs/DVD+Rs/DVD-RWs/DVD-Rs containing
MPEG-2 PS movie, MP3 audio, or JPEG image files.
Playing a Disc
a
Press
\
/
1
.
The player turns on after a moment.
b
Switch the input selector on your TV so that
the signal from the player appears on your
TV screen.
c
Press
Z
to open the disc tray.
d
Place a disc on the disc tray with the playback
side facing down.
BD
DVD
CD
OPEN/
CLOSE
DIMMER
CLEAR
DISPLAY
TV/VIDEO
AUDIO
SUBTITLE
ANGLE
SCAN
MUTING
PLAY MODE
PLAY
SCAN
PREV
SLOW/STEP
NEXT
PAUSE
VOL
CH
STOP
VIDEO
FORMAT
RED
GREEN
BLUE YELLOW
TOP
MENU
SYSTEM
MENU
POP UP/
MENU
RETURN
TV
1
2
3
4
5
6
7
8
0
9
x
X
TOP MENU
POP UP/MENU
<
/
M
/
m
/
,
, ENTER
Number buttons
Color buttons
Z
\
/
1
SYSTEM MENU
RETURN
H
Playback side facing down
•
Playing a Disc
. . . . . . . . . . . . . . . . . . . . . . . . .
20
•
Guide to Displays
. . . . . . . . . . . . . . . . . . . . . .
22
•
Guide to the Remote
. . . . . . . . . . . . . . . . . . . .
24
•
Checking the Disc Information
. . . . . . . . . . . .
26
•
Clarifying Low Volume Sounds (Audio DRC)
.
27
•
Adjusting the Pictures
. . . . . . . . . . . . . . . . . .
28
•
Locking a Disc
. . . . . . . . . . . . . . . . . . . . . . . .
29
Summary of Contents for BDP-S300 - Blu-Ray Disc Player
Page 18: ... 18 MEMO ...
Page 36: ...1 18E MEMO ...
Page 44: ...2 8E MEMO ...
Page 60: ...4 20E BDP S300 S301 MEMO ...
Page 78: ...5 18E MEMO ...


