10
GB
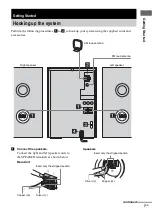
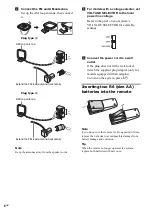
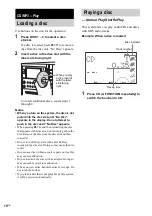
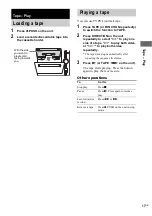
Use buttons on the unit for the operation.
1
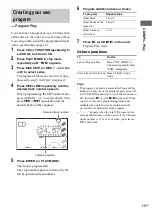
Press DISC 1 – 5 to select a disc
stocker.
If a disc is loaded, press
Z
CD to remove a
disc from the disc slot. “No Disc” appears.
2
Insert a disc in the disc slot with the
label side facing right.
To insert additional discs, repeat steps 1
through 2.
Notes
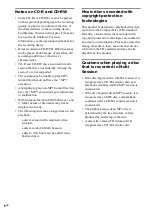
• When you turn on the system, the disc is not
pulled into the disc slot until “No Disc”
appears in the display. Do not attempt to
push in the disc until “No Disc” appears.
• When pressing
Z
CD and then reinserting the disc
that appears in the disc slot, do not simply push in the
disc. Remove the disc from the disc slot and then
reinsert it.
• Do not turn off the system with a disc halfway
inserted in the disc slot. Doing so may cause the disc
to fall.
• Do not use a disc with tape, seals or paste on it as this
may cause malfunction.
• Do not load an 8 cm disc with an adaptor. Doing so
may cause the system to malfunction.
• When you eject a disc, handle the disc by its edge. Do
not touch the surface.
• If you load a disc that is not playable by this system,
it will be ejected automatically.
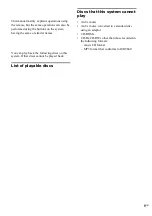
This system lets you play audio CDs and discs
with MP3 audio tracks.
Example: When a disc is loaded
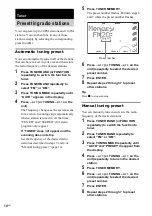
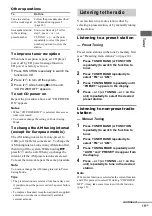
1
Press CD (or FUNCTION repeatedly) to
switch the function to CD.
CD/MP3 – Play
Loading a disc
When you play
a disc, insert it
with the label
side facing
right.
Playing a disc
— Normal Play/Shuffle Play
PLAY
TITLE
ID3
TRK
ALBM
AUTO
PRESET
MP3
MONO
STEREO
TUNED
TRACK
ALBUM
DISC S
ALBM REP1 PGM SHUF
TREBLE
LEVEL R
i - Bass
BASS
0
0
LEVEL L
SYNC
REC
ALL
SLEEP
REC
1
2
3
4
5
1
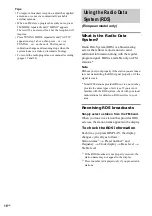
Track number
Playing time
Disc indicator

