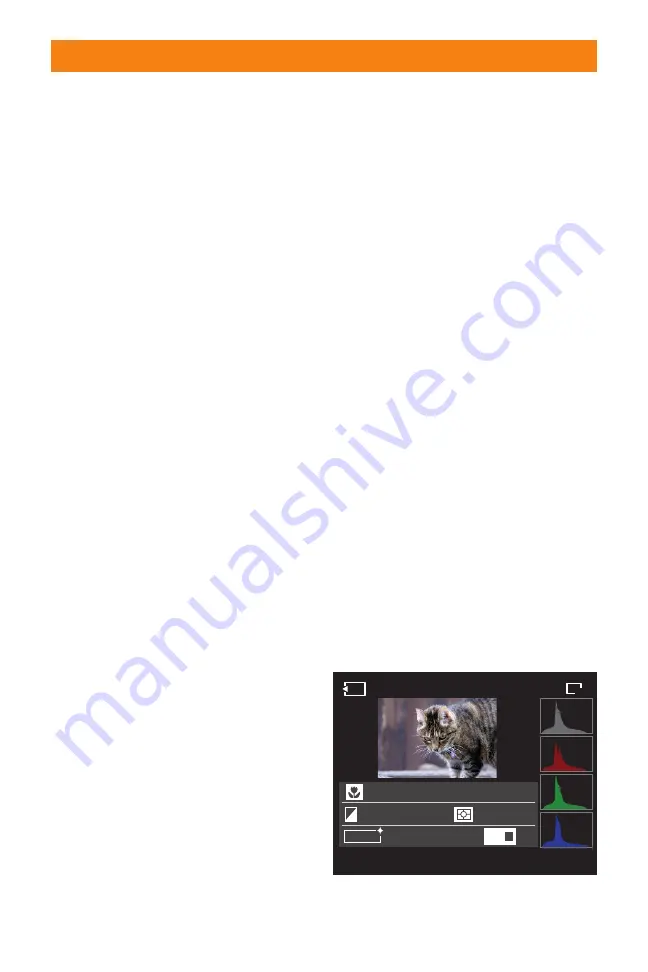
The top area has a thumbnail strip that
holds, at the most, five images. The image
that is currently selected has a red bar
beneath it. The multi-selector can be used
to navigate between images. The bottom
area has the following shooting data:
✦
Shutter speed. The shutter speed
of the current image appears here.
✦
Aperture. The f-stop of the current
image appears here.
✦
ISO sensitivity. The actual ISO of
the current image appears here,
even if the photo was taken using
AUTO ISO.
✦
Date of recording. The date and
time that the image was taken is
shown here.
✦
File number / total number of
images. This shows the sequence
number of the selected image and
the total images taken.
Histogram view
Pressing the Histogram button while in
Playback mode opens the Histogram view.
This view has the most amount of informa-
tion. Once the Histogram button has been
pressed, the view in Playback mode will be in
Histogram view until the Histogram button is
pressed again. The Histogram display has a
full set of shooting data on the left side of the
display with the histograms on the right.
This histogram itself is broken into four
graphs. They are, from top to bottom:
Luminance, Red, Green, and Blue. Each
shows the luminance distribution from
darkest to lightest across the bottom of the
graphs, with the amount of pixels being
affected in the heights of the graphs. The
overall luminance of the scene is shown in
the top graph, and each of the color graphs
shows the luminance for that color. The
more information that appears on the left of
the chart, the darker the image; and the
more information that appears on the right
on the chart, the brighter the scene.
Across the top, you see the following:
✦
Memory card indicator. This
shows which memory card is
being accessed, either the CF
CompactFlash or the MS memory
stick.
✦
Folder and file number. This
shows the folder number followed
by the file number.
✦
Protect display. If the image is
protected, the protect symbol
appears here.
✦
DPOF. Images can be marked for
future printing. If the image has
been selected to print, the DPOF3
symbol appears visible here.
✦
Image quality. The image quality
of the photo appears here.
✦
Image size. The image size of the
photo appears here.
✦
Image. The image appears here.
Overexposed areas can blink
between black and white.
Chapter 1
✦
Exploring the Sony Alpha A700
29
2008 1 5
±
0.0
D-R
AdobeRGB
+
–
+
70/120
12:44
PM
100-0090
L
CF
1/60
F6.3
AWB
200mm
ISO
800
RAW+J
1.14
Image preview with the Histogram
view shown
06_270318 ch01.qxp 4/18/08 11:50 AM Page 29


