Sonosax MINIR82 User Manual Download Page 28

SONOSAX MINIR82

   -  User interface  V4.2 

Page 28 de 32 

5.


MANAGING THE  MINIR82


5.1.1


Formatting the Hard Disk and CompactFlash card 

Formatting the internal Hard disk and the CF Card is recommended before stating a new production. Internal 
Hard Disk and CF Card must be FAT23 formatted with the same cluster size. If a media is formatted with a 
different cluster size that required, the MINIR82 will post an alarm such as "Disk error".  
Therefore use exclusively the formatting utility tool in the 

[SYSTEM SETTINGS]

 menu to reformat your media. 

5.1.2


Disk fragmentation 

During heavy use of the recorder, it may become necessary to recover some free disk space by deleting 
audio files 

[DELETE TAKE]

 and then emptying the trash bin 

[EMPTY TRASH]

 or by deleting files when 

connected to a computer.  
This may lead to severe fragmentation of the free space on the hard drive or on the CF card which may 
prevent the recording of new Takes. In this case an alarm HD or CF is posted to warn you of the problem.  
It is then necessary to back-up all your files and to reformat the disk using the MINIR82 format utility tool. 

WARNING: 

IN ANY CASE, DO NOT DEFRAGMENT THE INTERNAL HARD DISK OR THE CF CARD 
USING A DISC DEFRAGMENTATION UTILITY OR THE MINIR82 WILL NO LONGER BE 
ABLE TO PLAY THE RECORDED AUDIO FILES. 


Important notes for MAC OS X users: 


When deleting files stored on the Hard disk and/or on the CF, 

do not forget to empty the Trash Bin

 on 

your desktop 

before

 disconnecting the USB port. Otherwise, the disk space will not be recovered. 

Reconnecting the USB a second time doesn't solve the problem. It is very likely that your MINIR82 will then 
indicates a free available space lower than the value given by the computer. In this case it will be necessary 
to save all your files and to reformat your hard drive using the formatting utility tool of the MINIR82. 
 

5.1.3


USB 2.0 connection 

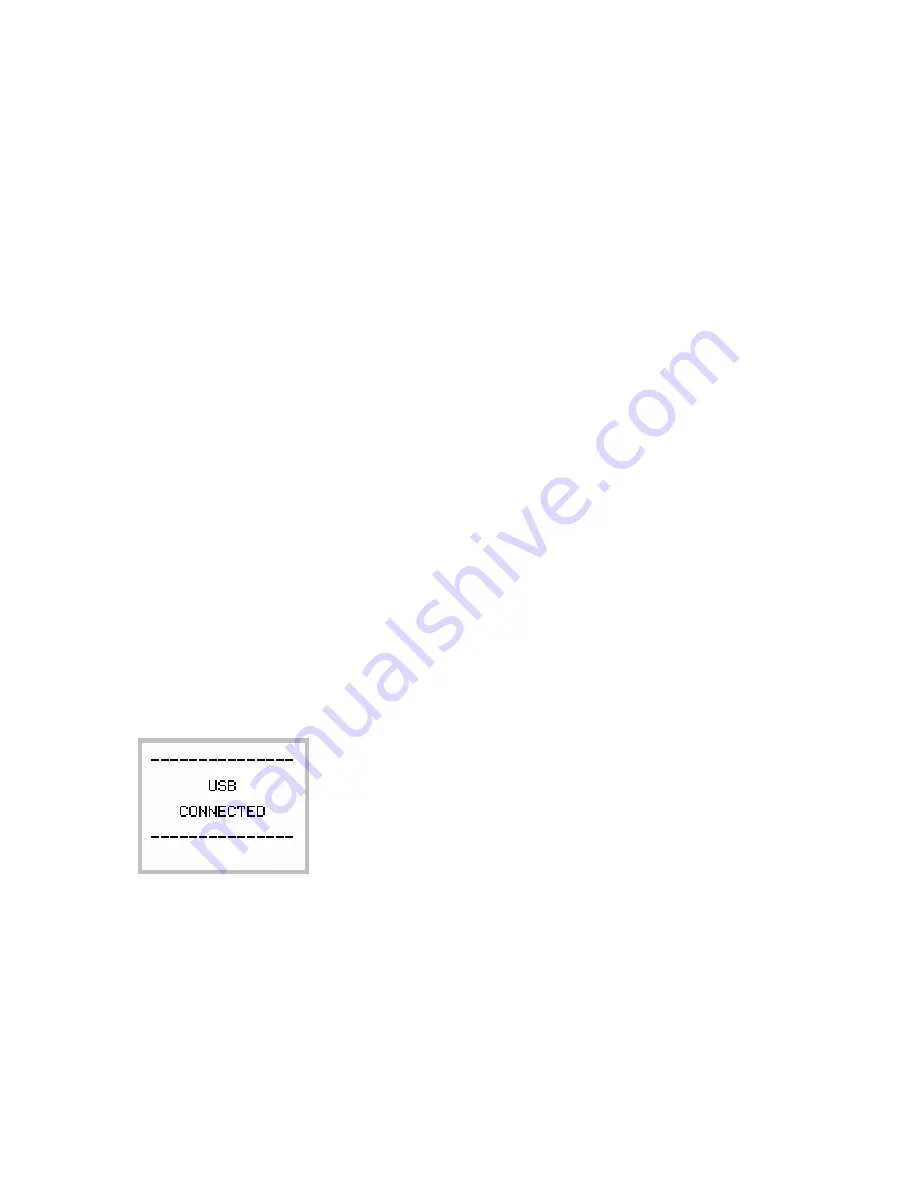
The MINIR82 is equipped with a USB 2.0 port (USB 1 is not supported). Connecting the MINIR82 to a 
computer for file transfer (PC or Mac) is only possible when the MINIR82 displays one of the following 
menus: 


TRACKS MONITORING 


SOLO MONITORING 


Unit Status 


WARNING:


use only certified "

USB 2 High Speed" 

cable. The data rate transmission is so high that 

using a non certified cable may lead to unpredictable malfunctions such as Disk not 
recognized, MINIR82 nor mounting on your desktop, Windows error code 10 etc. 


Notice concerning the CF Cards 


If a CompactFlash card is in the MINIR82 when connecting to a computer, it is possible that neither the hard 
drive nor CompactFlash card appear on the desktop computer, or that the procedure takes several minutes. 
This is directly related to the physical structure (hardware) of the CompactFlash card. 
In this case it is necessary to remove the card of the MINIR82 and to connect it directly to the computer via a 
card adapter. The hard disk drive of the MINIR82 will then mount on the computer's desktop within seconds. 

Summary of Contents for MINIR82

Page 1: ...IR82 USER INTERFACE Firmware version 4 2 Audio equipment manufacturer SONOSAX SAS S A Ch de la Naz 38 1052 Le Mont s Lausanne Switzerland T l 41 21 651 0101 Fax 41 21 651 0109 Web www sonosax ch www s...

Page 2: ...LAST TAKE 13 4 4 UNIT STATUS 14 4 5 SETUP CONFIGURATION S MENUS 15 4 5 1 MENU s Tree Structure 16 4 5 2 ROUTING SETTING 17 4 5 3 RECORD SETTINGS 18 4 5 4 INPUTS SETTINGS 20 4 5 5 TIME CODE SETTINGS 21...

Page 3: ...External DC supply The MINIR82 can also be supplied from an external suitable DC source from 5 to 9 V A 2 meter long cable with the DC plug is available part number V980010 For use with high capacity...

Page 4: ...Microphone Input signal reaches a level of 2 5dB before clipping thus activating the Limiter Clipping the Input signal is too high on the microphone A D Converter both Left and Right LED s light On t...

Page 5: ...of the 10 tracks The first 8 tracks are dedicated for the hard disc HD and the 2 additional tracks for the Compact Flash card CF The Monitoring can be configured by the user to listen any combination...

Page 6: ...me continuously UP Call the SOLO MONITORING page Call the main contextual menu DOWN Start Recording While Recording the red led lights steady Key Short pressure Long pressure LEFT Reduce the volume by...

Page 7: ...er STOPPED Key Short pressure Long pressure LEFT Call the TAKE Selection Menu RIGHT Call the TAKE Selection Menu UP Call the contextual menu DOWN Start Playing Searching through the stored Takes does...

Page 8: ...SOLO MONITORING page Call the contextual menu DOWN PAUSE at current location STOP playing the cursor jump back to the start of the take PLAYING or PAUSED While Paused the green Led is flashing The Le...

Page 9: ...g configuration for the PHONES output These changes affect only the current playback and do not change the configuration of the Record mode LAST TAKES accesses the directory of the last Takes UNIT STA...

Page 10: ...ode or while Playing a Take by briefly pressing the UP key it allows listening to individual track or pair of tracks The sequence of track s selection is 1 2 1 2 3 4 3 4 5 6 5 6 7 8 7 8 Keys Short pre...

Page 11: ...Select and enter the sub menu UP Scroll the selection upward DOWN Scroll the selection downward The available menus depend on the current Status of the MINIR82 as described below While Recording MONI...

Page 12: ...tions of the keys Keys Short pressure Long pressure LEFT Move the selector to the left Keep the current configuration and return to the main menu RIGHT Move the selector to the right Select the monito...

Page 13: ...tagged with the correct Take Nr The audio file is notified with the suffix F when browsing the TRASH directory NO GOOD Tag the metadata of the last recorded take as No Good mostly used to warn the pos...

Page 14: ...pling rate and nr of tracks SYNC Audio synchronisation such as AES internal word clock or video FS Sampling frequency 44 1k 48k 88 2k 96k 176 4k 192kHz BIT DEPTH Numbers of bits per sample quantizatio...

Page 15: ...t scrolls the available sub menus A sub menu with a displayed parameter is at the end of the menu tree it indicates the current value of the parameter that can be edited While in a menu with parameter...

Page 16: ...the TC value manually TIMECODE SETTINGS SET FROM TIME Grab the time of the real time clock USER SETTINGS List available user setting Specific menu to create recall delete or overwrite user settings H...

Page 17: ...ving this menu The un assigned Tracks no dot on the crossing are automatically desactivated SETUP ROUTING SETTINGS MIXING LEVEL The MIXING LEVEL menu defines the attenuation to be applied to each chan...

Page 18: ...rt in 24 bits mode the DSP can re quantize the recorded samples by the following values 24 bits original value as quantified by the A D converter 16 bits Dithering reduction to 16bits per sample with...

Page 19: ...2 on an external word clock applied to the SYNC IN connector This mode is overwritten when an input AES is routed Sampling frequency inactive Sampling up down inactive Bit per sample active VIDEO IN V...

Page 20: ...9 6 8 5 7 6 176400 20 0 20 0 13 9 10 4 8 3 6 9 5 9 5 2 4 6 4 2 192000 20 0 19 1 12 7 9 6 7 6 6 4 5 5 4 8 4 2 3 8 24 bits Tracks count fs 1 2 3 4 5 6 7 8 9 10 44100 20 0 20 0 20 0 20 0 20 0 18 5 15 9...

Page 21: ...selecting OUTPUT a frame rate other than AUTO states for auto detect must be selected in the menu TIME CODE FORMAT If AUTO is selected a warning is posted on the screen and a bip tone is heard NOTE i...

Page 22: ...manently delete the selected configuration file Caution this operation is irreversible SETUP USER SETTINGS SELECT OVERWRITE SELECTED Overwrite an existing saved user setting by the current configurati...

Page 23: ...ogram Time RV Time code displays the actual time of the TC program Time shows the elapsed time from the start of the take RV states for Reversed Video it improves reading in direct sun light SETUP SYS...

Page 24: ...the identifier of the audio files name it is automatically generated The first 2 characters can be modified by the user which might be useful to clearly identify the recorder when multiple recorders a...

Page 25: ...SELECT a new screen lists the related WORKING DAY folders sorted in chronological order the working day folders contain the takes EXIT returns to the contextual menu UP steps back to an upper level of...

Page 26: ...Selecting QUIT saves the changes and returns to the previous menu select MORE for the second page The second page is used to edit additional metadata the choice of editable metadata depends on the st...

Page 27: ...CIRCLED Tag the recorded file as Circled the audio file is notified with the suffix C in the BROWSE FILE menu NO GOOD Tag the recorded file as No Good the audio file remains in its original folder and...

Page 28: ...disk and or on the CF do not forget to empty the Trash Bin on your desktop before disconnecting the USB port Otherwise the disk space will not be recovered Reconnecting the USB a second time doesn t s...

Page 29: ...o fragmented The CompactFlash Card bit rate is too low recording on this media has been suspended The FAT32 partition cannot be initialized The Alarm POWER occurs when the power voltage is soon too lo...

Page 30: ...IT UNTILL FULL COMPLETION NEVER TURN OFF THE UNIT DURING AN UP DATE PROCEDURE 6 Once completed a message will be posted asking you to reboot the recorder 7 Reformat the hard disk of the MINIR82 using...

Page 31: ...IN VIDEO IN AUDIO SYNC INTERNAL MONO STEREO POLYPHONIC AUDIO FILE FORMAT MONO NONE 1 sec 2 sec 5 sec 10 sec 20 sec PRE RECORD TIME 2 sec Routing table 12345678 Input channels 1 assigned 0 not assigne...

Page 32: ...8 tracks TRASH Trash folder PROJECT1 Deleted files from project 20110525 Deleted files from day May 25th 2011 SX0002S5 WAV Audio file 2 false start 20110526 Deleted files from day May 26th 2011 SX000...

Reviews: