


41
Embedded Web Server 8
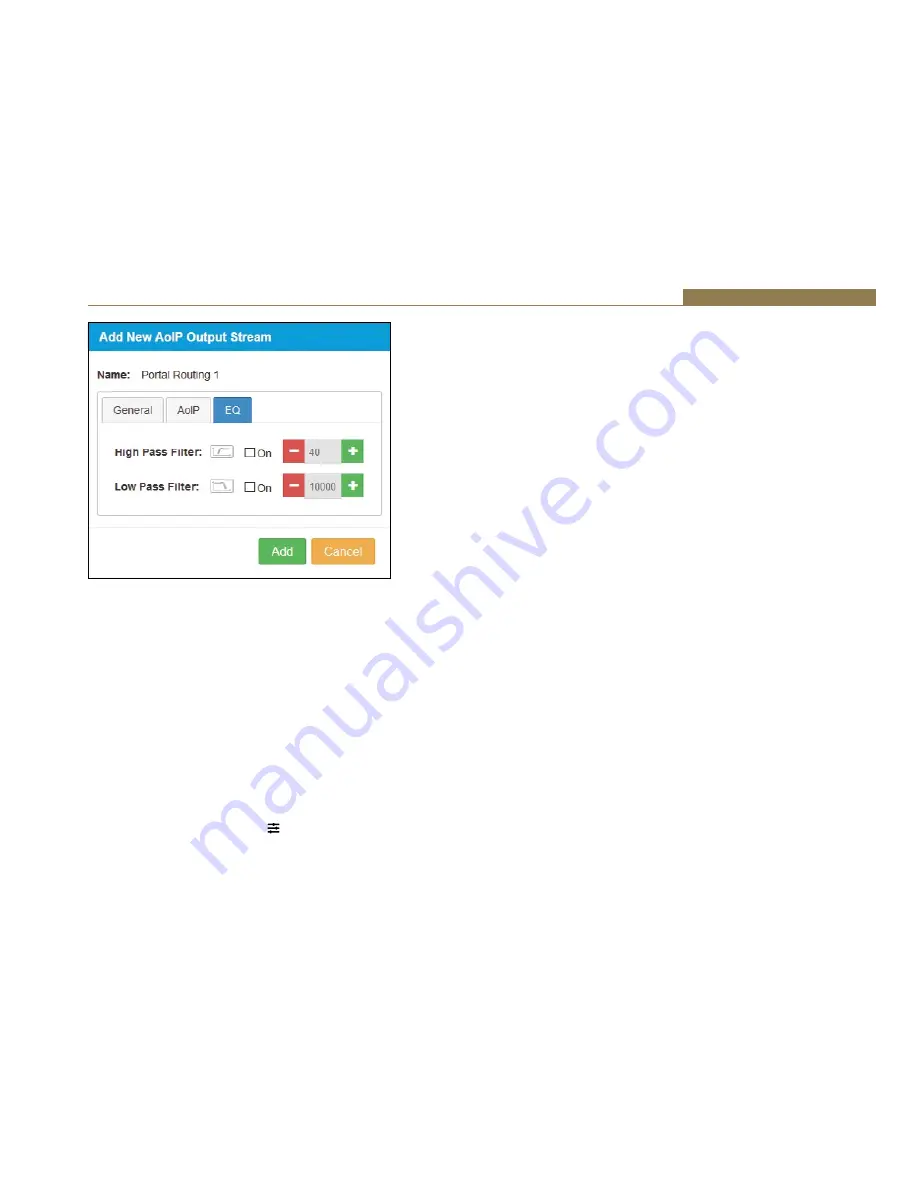
Fig 8-21: ‘EQ’ Tab of the ‘Add New AoIP Out Stream’ Window
The last tab available is the ‘EQ’ tab which allows a high pass filter and low
pass filter to be applied to a stream.
• The ‘High Pass Filter’ can be enabled by selecting the ‘On’ checkbox. This
removes low frequency components from a signal the frequency of the
lowest components to be allowed can be set using the ‘+’ and ‘-’ buttons
or by typing in a value in the input field.
• The ‘Low Pass Filter’ can be enabled by selecting the ‘On’ checkbox. This
removes high frequency components from a signal the frequency of the
highest components to be allowed can be set using the ‘+’ and ‘-’ buttons
or by typing in a value in the input field.
• The value in these two fields can be any whole number from 40 to
10000Hz.
• If a filter is set up for a stream, a icon will be shown next to the stream
name in the grid.
Collapse
When the ‘Collapse’ button is pressed the routing grid is minimised. Each
channel is hidden and instead, an overview of the routings is shown. If any
channels from an input stream are routed to any channels of an output
stream, the corresponding grid box will be coloured in light green.
There is also the option to minimise individual inputs and outputs by
pressing the downwards pointing arrow next to the inputs/outputs name,
and an option to minimise all inputs or all outputs by pressing the inwards
pointing arrows next to the inputs/outputs section headers.
Expand
When the ‘Expand’ button is pressed the routing grid is maximised and all
channels are displayed. This will show exactly which input channels are
routed to which output channels. The boxes for each routing are shown in a
darker green when maximised.
There is also the option to maximise individual inputs and outputs by
pressing the sideways pointing arrow next to the inputs/outputs name, and
an option to maximise all inputs or all outputs by pressing the outwards
pointing arrows next to the inputs/outputs section headers.
Physical Inputs
All Devices
Clicking the name of a physical input, located to the left of the routing
grid, opens a window with the title ‘Configure Physical Input’, this window
contains two tabs ‘General’ and ‘EQ’. The window opens with the ‘General’
tab selected, the tab that is currently selected has a blue background.
The window has two buttons at the bottom ‘Save’ and ‘Cancel’, pressing
‘Save’ submits the current configuration, whereas selecting ‘Cancel’
discards changes. Pressing either button causes the window to close.
The options available in the ‘General’ tab vary depending on which device
from the AVN portal series is used. The following options are present on all
prtal types:


