


SonicWALL SonicPoint Getting Started Guide
Page 26
Configuring a Wireless Zone
You can configure a wireless zone on the
Network
>
Zones
page. Typically, you will configure the WLAN zone for use with
SonicPoints.
To configure a standard WLAN zone:
1.
On the
Network
>
Zones
page in the
WLAN
row, click the
icon in the
Configure
column.
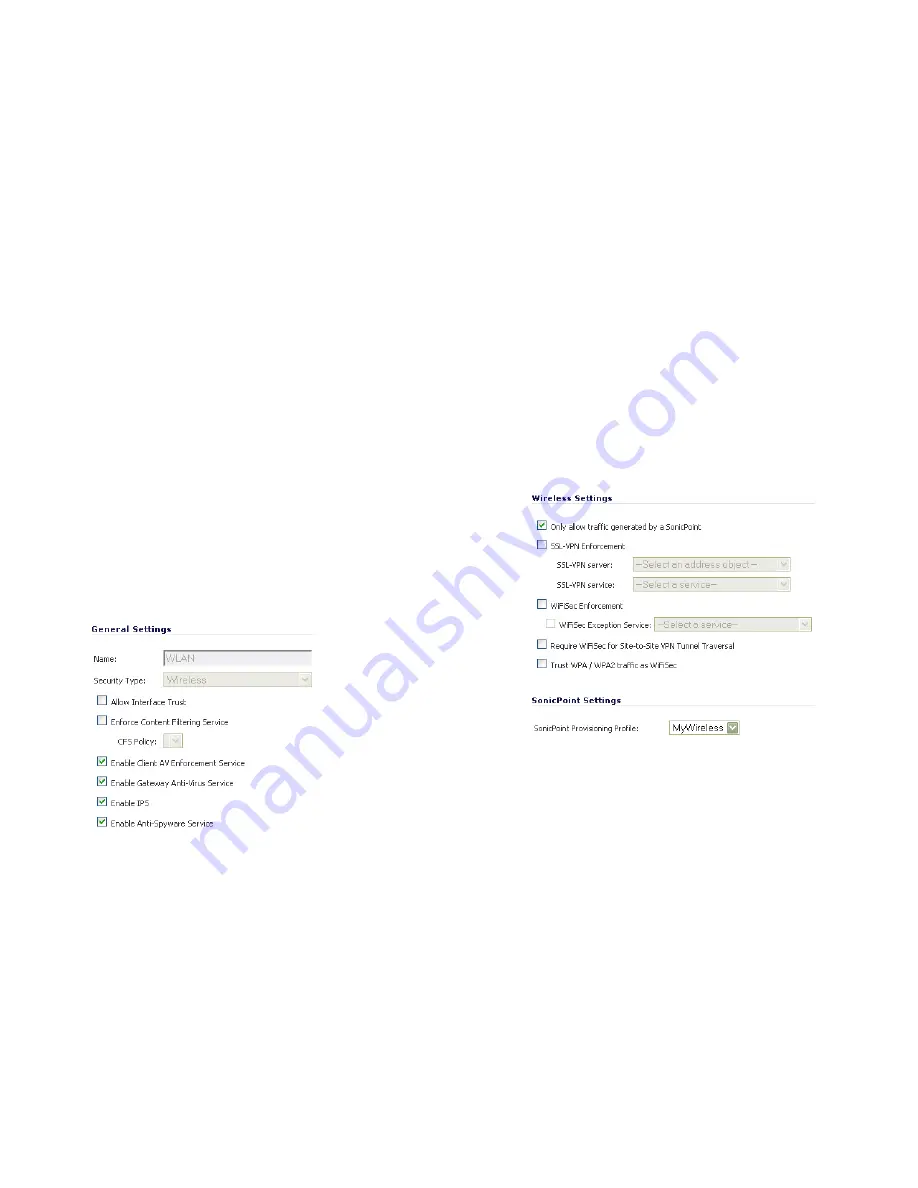
2.
Click on the
General
tab.
3.
Select the
Allow Interface Trust
setting to automate the
creation of Access Rules to allow traffic to flow between the
interfaces within the zone, regardless of which interfaces to
which the zone is applied. For example, if the WLAN Zone
has both the
X2
and
X3
interfaces assigned to it, selecting
the
Allow Interface Trust
checkbox on the WLAN Zone
creates the necessary Access Rules to allow hosts on
these interfaces to communicate with each other.
4.
Select the checkboxes for the security services to enable
on this zone. Typically, you would enable
Gateway Anti-
Virus
,
IPS
, and
Anti-Spyware
. If your wireless clients are
all running SonicWALL Client Anti-Virus, select
Enable
Client AV Enforcement Service
.
5.
Click on the
Wireless
Tab.
6.
Select
Only allow traffic generated by a SonicPoint
to
allow only traffic from SonicWALL SonicPoints to enter the
WLAN Zone interface. This provides maximum security on
your WLAN.
7.
Optionally, click the
Guest Services
tab to configure guest
Internet access solely, or in tandem with secured access.
For information about configuring Guest Services, see the
SonicOS Enhanced Administrator’s Guide
.
8.
When finished, click
OK
.


