background image

Page 14   

Registering Your SonicWALL PRO 1260

1. If you are not logged into the SonicWALL PRO 1260 management interface, log in 

with the username 

admin

 and the administrative password you set in the Setup 

Wizard. 

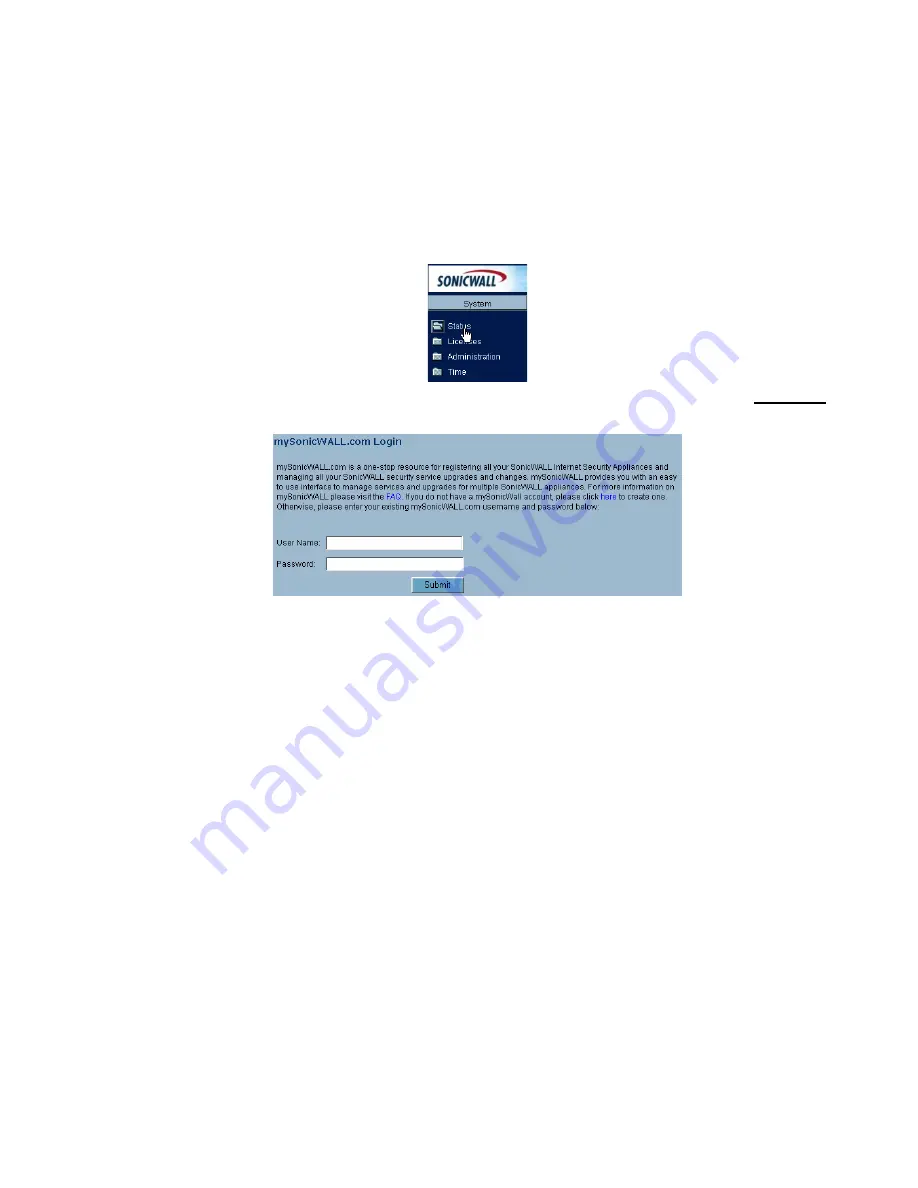
2. If the 

System > Status

 page is not displaying in the management interface, click 

System

 in the left-navigation menu, and then click 

Status

3. On the 

System > Status

 page, in the 

Security Services

 section, click the 

Register


link. The 

mySonicWALL.com Login

 page is displayed.

4. Enter your mySonicWALL.com account username and password in the 

User Name


and 

Password

 fields, then click 

Submit.

5. The next several pages inform you about the free trials available to you for 

SonicWALL’s Security Services: 

Intrusion Prevention Service

 - protects your network with signatures for more 

than 1800 Trojan, worm and application layer attacks 

Gateway Anti-Virus

 - protects your entire network from viruses

Anti-Spyware

 - protects computers on your network from spy-ware

Network Anti-Virus

 - protects computers on your network from viruses

Premium Content Filtering Service

 - protects your network and enhances 

productivity by limiting access to offensive web sites

Click 

Continue

 on each page.

6. At the top of the 

Product Survey

 page, Enter a “friendly name” for your SonicWALL 

content security appliance in the 

Friendly Name

 field. The friendly name allows you 

to easily identify your SonicWALL content security appliance in your 
mySonicWALL.com account. 

7. Please complete the Product Survey. SonicWALL uses this information to further 

tailor services to fit your needs.

8. Click 

Submit

9. When the mySonicWALL.com server has finished processing your registration, you 

will see a page informing you that your SonicWALL PRO 1260 appliance is 

Summary of Contents for Pro 1260

Page 1: ...COMPREHENSIVE INTERNET SECURITY SSSonicWALL PRO 1260 Security Appliance SonicOS Enhanced Getting Started Guide...

Page 2: ...e computers on your Local Area Network LAN will have secure Internet access Note For complete documentation refer to the SonicOS Enhanced Administrator s Guide on the SonicWALL Resource CD or at http...

Page 3: ...age 4 Accessing the Management Interface page 5 Using the SonicWALL Setup Wizard page 6 Testing Your Connection page 11 Registering Your SonicWALL PRO 1260 page 12 Collecting Required Information Inte...

Page 4: ...260 1 Plug the power cord into the SonicWALL PRO 1260 and into an appropriate power outlet 2 Turn on the power switch on the rear of the appliance next to the power cord The Power LED on the front pan...

Page 5: ...uter and your modem or router If so disconnect it from your computer and leave it connected to the Internet 2 Connect the other end of the cable to the WAN port your SonicWALL PRO 1260 The LED below t...

Page 6: ...izard Does Not Appear If you cannot connect to the SonicWALL PRO 1260 or the Setup Wizard does not display verify the following configurations Did you correctly enter the SonicWALL PRO 1260 management...

Page 7: ...dmin account Note Keep your new password in a safe place If you lose your password you will have to reset the SonicWALL security appliance to factory settings and lose your configuration For instructi...

Page 8: ...P address DHCP Select DHCP if your ISP assigns your computer a dynamic IP address DHCP is commonly used with cable modems PPPoE Select PPPoE if your ISP requires a username and password to establish a...

Page 9: ...ter the address PPPoE User Name Enter the user name for your Internet account Your ISP may require you to enter your username in e mail address format including and the domain name for example joe use...

Page 10: ...WAN DMZ Subnet Mask Enter the subnet mask for your connection Gateway Router Address Enter the address of your Internet Gateway SonicWALL LAN IP Address Accept the default IP address or enter a new I...

Page 11: ...ed Information on page 2 Click Apply to apply your settings to the SonicWALL security appliance If you click Cancel no settings will be applied to the SonicWALL security appliance The Storing SonicWAL...

Page 12: ...f you selected DHCP for your WAN settings you may need to specify a host name for your connection a Check with your ISP to see if a host name is required b Go to Procedure 4 Accessing the Management I...

Page 13: ...erface window from the Network Interfaces page You need a mySonicWALL com account to register the SonicWALL PRO 1260 You can create a new mySonicWALL com account directly from the SonicWALL management...

Page 14: ...onicWall Account page enter in your information in the Account Information Personal Information and Preferences fields All fields marked with an asterisk are required fields Note Remember your usernam...

Page 15: ...signatures for more than 1800 Trojan worm and application layer attacks Gateway Anti Virus protects your entire network from viruses Anti Spyware protects computers on your network from spy ware Netw...

Page 16: ...isplayed showing you all your activated services Congratulations Your SonicWALL PRO 1260 is now fully operational You can continue with this Getting Started Guide to Learn about SonicOS Enhanced 3 1 f...

Page 17: ...nti Virus provides maximum prevention with virtually no administrative overhead by enforcing client antivirus policies for every system on the network Documentation The SonicOS Enhanced Administrator...

Page 18: ...following SonicOS management interface pages The Network Interfaces page The Network Switch Ports page The PortShield Wizard VPN SonicWALL Global VPN Client provides mobile users with secure easy to u...

Page 19: ...tShield Configuration Configure this feature using the following SonicOS management interface pages The SonicPoint SonicPoints page The SonicPoint Station Status page The SonicPoint IDS Firewall Acces...

Page 20: ...e same subnet as the LAN IP address on your SonicWALL PRO 1260 For instructions on configuring the network settings for most Windows computers see Configuring Computers for Your LAN on page 20 You can...

Page 21: ...utomatically 5 Select Obtain DNS Server automatically 6 Click OK and then OK again to apply the settings Windows 2000 1 From your Windows Start menu select Settings 2 Open Network and Dial up Connecti...

Page 22: ...er the SonicWALL PRO 1260 has restarted follow the steps below for configuring your network clients running any of the following Microsoft Windows operating systems on your LAN WLAN Windows XP 1 Open...

Page 23: ...255 0 in the Subnet Mask field 7 Type the SonicWALL PRO 1260 LAN IP Address in the Default Gateway field 8 Click DNS at the top of the window 9 Type the DNS IP address in the Preferred DNS Server fiel...

Page 24: ...ork Packets have a header which contains information about the source destination and protocol to be used for the data and a body which contains the data being transmitted PPPoE The Point to Point Pro...

Page 25: ...placed by the user The SonicWALL must be returned to a SonicWALL authorized service center for replacement with the same or equivalent type recommended by the manufacturer If for any reason the batter...

Page 26: ...t temperature of 104 F 40 C is recommended Route cables away from power lines fluorescent lighting fixtures and sources of noise such as radios transmitters and broadband amplifiers Ensure that no wat...

Page 27: ...d descriptions subject to change without notice Trademarks SonicWALL is a registered trademark of SonicWALL Inc Microsoft Windows 98 Windows NT Windows 2000 Windows XP Windows Server 2003 Internet Exp...

Page 28: ...SonicWALL PRO 1260 Getting Started Guide Page 27 Notes...

Page 29: ...Page 28 Notes...

Page 30: ...names mentioned herein may be trademarksand or registeredtrademarksof theirrespective companies Specifications and descriptions subjectto change with out notice T 408 745 9600 F 408 745 9300 www sonic...

Reviews: