


Chapter 3: System Configuration
This chapter explains how to configure your Backup Interface using the SetApp mobile
application.
Before you begin, make sure the inverter firmware version is 4.8xx or higher. For
information on updating your inverter firmware, refer to the
Inverter Installation Guide.
To set up communication with the Energy Meter
1. Make sure the StorEdge Connection Unit switch is OFF.
2. Switch the inverter ON/OFF/P switch to OFF.
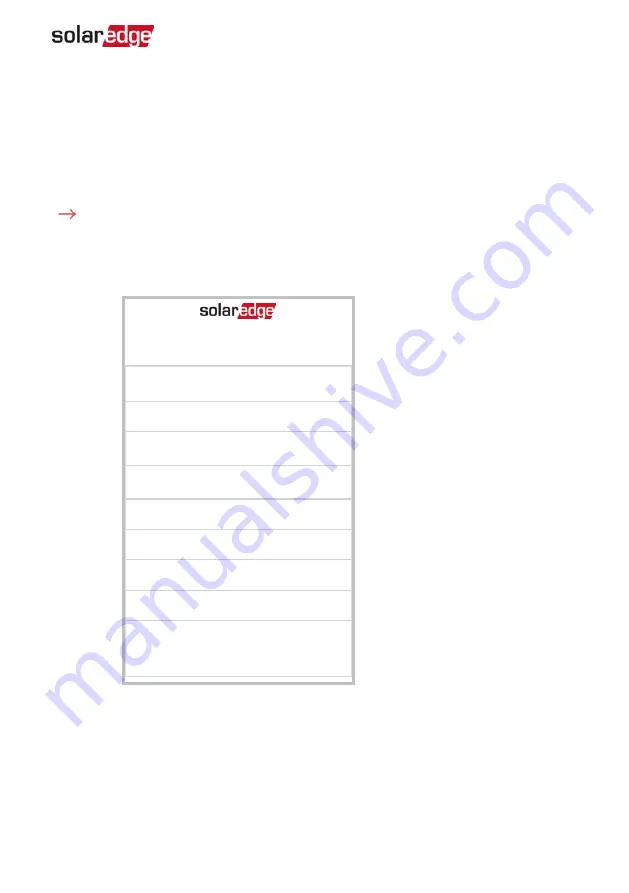
3. Access the SetApp and select
Commissioning > Communication
.
Communication
Server
LAN
›
LAN
DHCP
›
RS485-1
Modbus (Mutli-
Devices)
›
RS485-2
SolarEdge
Leader
›
ZigBee
NA
›
Wi-Fi
NA
›
Cellular
PCL
›
GPIO
RRCR
›
Modbus
TCP port
Disable
›
4. From the Communication screen, select RS485-1 > Protocol > Modbus (Multi-
Device).
5. Return to the
RS485-1
screen and select Add Modbus Device > Meter.
6. Set the Energy Meter’s CT Rating according to the CT specifications. If the CT rating
value returns to 0, check communication with the CT.
7. Select Meter 1 > Meter Function > Import (E+I).
Chapter 3: System Configuration
19
Backup Interface Installation Guide MAN-01-00728-1.0
Summary of Contents for StorEdge BI-NUSGN-01
Page 30: ......