- 39 -
- 39 -
6.9 COMPACTING ROLLER
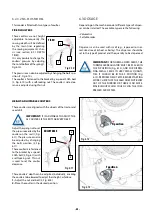
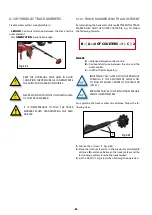
There are two BOLTS on each coulter that allow us to per-
form the following adjustments:
a.
The top bolt (1, Fig. 6.57) locks the roller’s position.
b.
The bottom bolt (2, Fig. 6.57) controls the roller’s penetra-
tion depth in the soil.
Fig. 6.57
2
1
VERY IMPORTANT:
DO NOT BLOCK THE COM-
PACTING ROLLER, AS IT MUST MOVE FREELY BE-
TWEEN THE BOLTS (1 and 2, Fig. 6.57).
VERY IMPORTANT:
THE COMPACTING RO-
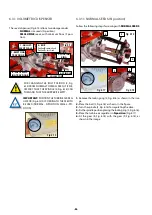
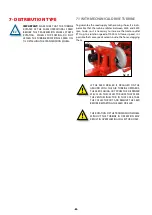
LLER CANNOT BE USED ON ROUGH LAND OR
SLOPES, AS THIS COULD DAMAGE THE MACHI-
NE (Fig. 6.58). YOU MUST FIRST MOVE BACK THE
HARROW TO DISCONNECT THE ROLLER.
Fig. 6.58
When the roller is raised to disconnect it, the harrow must be
moved back following these steps:
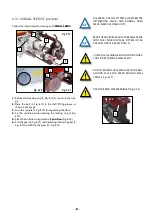
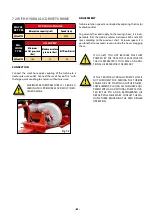
1-
Loosen the nut (Fig. 6.59).
Fig. 6.59
2-
Remove the bolt and the nut (Fig. 6.60).
Fig. 6.60
3-
Repeat this procedure for the other harrow bracket.
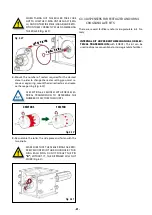
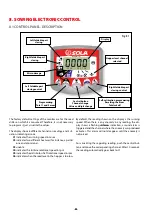
4-
Move the brackets backwards (Fig. 6.61).
Fig. 6.61
5-
Place the nuts and bolts in the new hole and tighten.
6-
Repeat this procedure for all three harrow sections.

