CPU Jumper Setting
After installing the CPU, you must set the clock selection jumpers to match the fre-
quency of the CPU. Find the jumpers labeled
JP7
¢
¢
¢
¢
¢
JP9
¢
¢
¢
¢
¢
JP10
and
SW1
set the
jumpers according to the figure below and table for CPU FSB and CPU overclock
frequency. We recommend them to users.
Hardware Installation
2-4
Caution !!
We don’t recommend user to try overclock, it may damage your CPU and
result in a slower speed. Please think carefully before you use overclock
function.
We introduce you how to clear CMOS, and enter into system BIOS, it could help
you accomplish CPU setting in BIOS easyly.
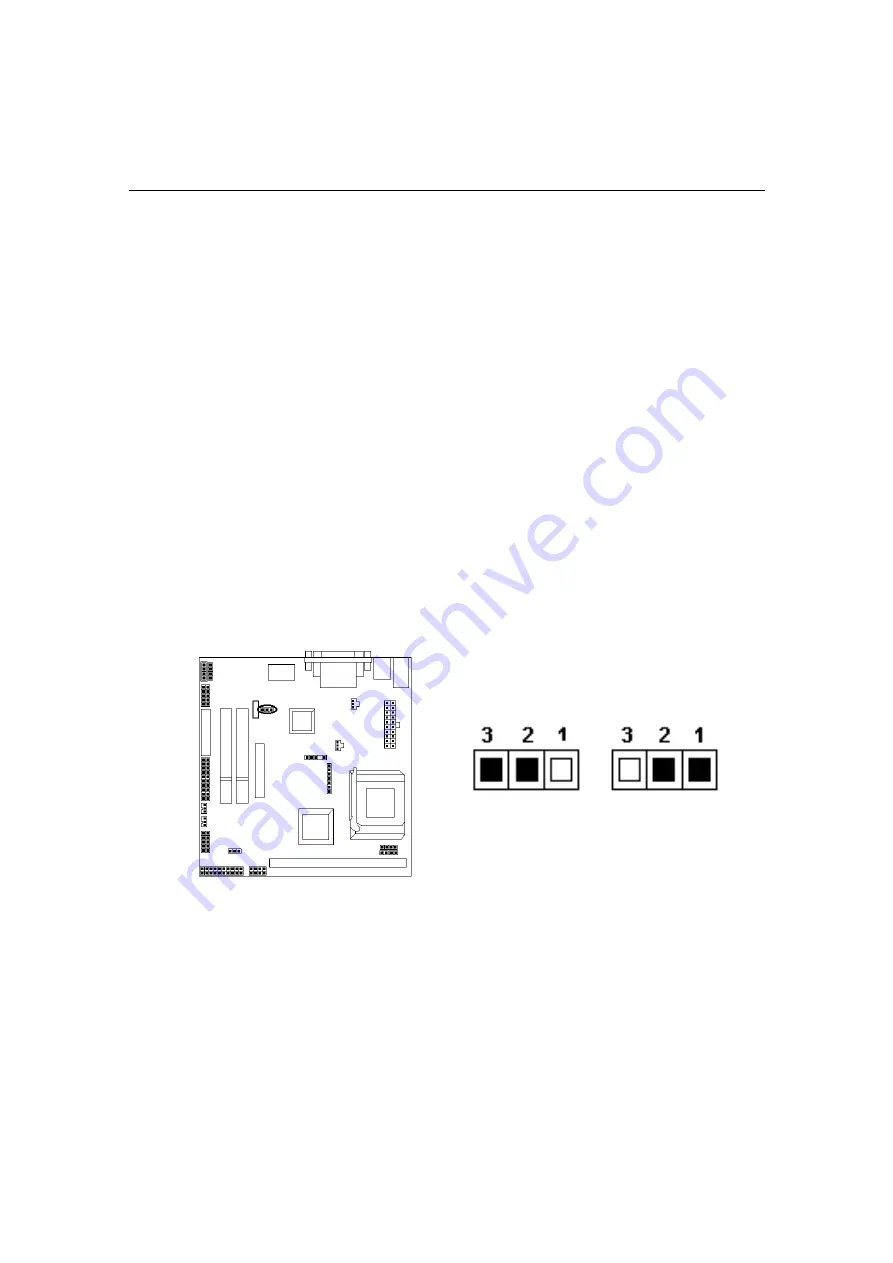
Clear CMOS: JP1
Clear CMOS: JP1
Clear CMOS: JP1
Clear CMOS: JP1
Clear CMOS: JP1
To Clear CMOS, please follow the steps below:
1.
Power off the system and unplug the chassis AC power cord.
2.
Short JP1 at pin 2-3 for few seconds.
3.
Set JP1 back to its Normal position at pin1-2
4.
Plug the AC power cord to the chassis.
5.
Power on the system and load the BIOS set up default.
JP1 Clear CMOS
Clear CMOS
Normal
(Default)
Summary of Contents for VMZV7
Page 8: ...Overview Motherboard Layout 1 3 ...
Page 58: ...4 3 Software Utility ...
Page 59: ...This Page Is Left For Note ...


